Saturday, 19 November 2022

Happy Turkey Day


Hello my crafty friends. Awhile ago I pulled out this older 12 x 12" sheet of patterned paper and made a couple of cards. I had one piece leftover and it was perfectly sized to fit on this pretty background die by Studio Katia. 

If we are away (camping etc) I like to bring stamped and die cut images with me. That gives me something to do in the evenings or if everyone is out and about in the daytime and I'm on my own for a couple of hours. Because of my RA, I can't go on hikes or long dog walks so I look after my own entertainment. 😊   

These images are from that bin of pre-coloured pieces and were done so long ago I can't even remember who makes them!


Inside, I added a second scalloped panel (because they are just so pretty!), a stitched rectangle with a stamped sentiment and a couple of acorn stickers. 

NOTE - I was setting up the thumbnail links and was having trouble linking the scalloped panel. I went to Studio Katia's website and see that it is no longer being offered! I'm disappointed for my followers as they can no longer purchase it. I really like it though, and will continue to keep creating with it.


That's it for me today!


Additional Supplies:
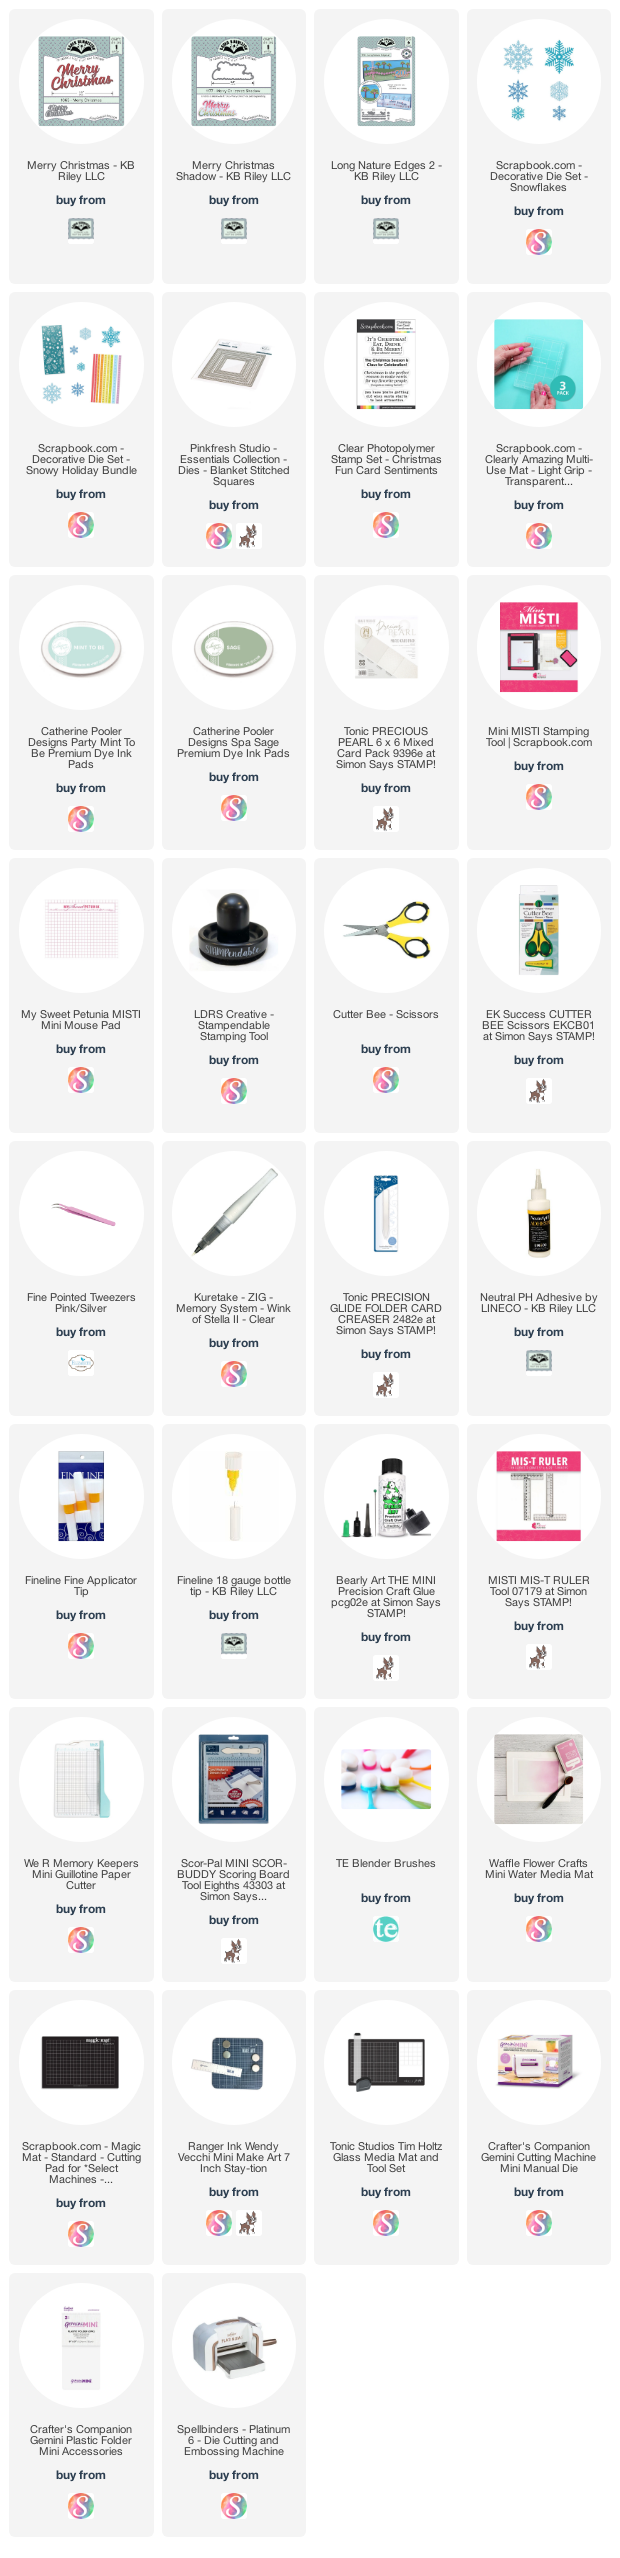
Scalloped die - Dotted Patterns Set 4, Studio Katia
Buff cardstock - stash
Brown cardstock - stash
Patterned Paper- old ... final leftover piece
Acorn Stickers - old, from my stash
Turkey and sentiment - unknown, possibly TAWS

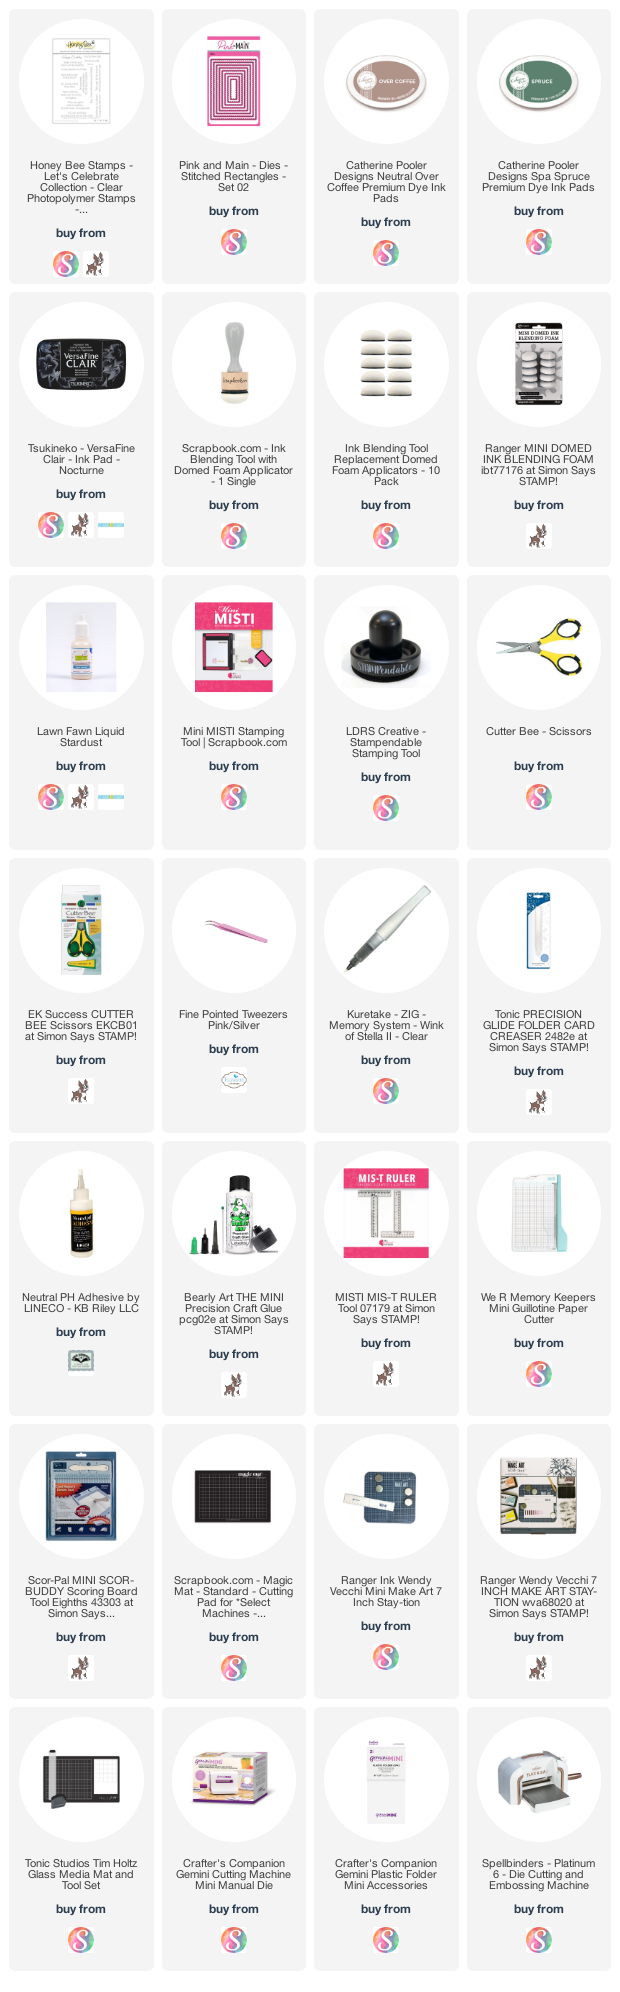
This blog uses affiliate links whenever possible. This means, that at no cost to you, if you make a purchase through one of my affiliate links that I may receive a small commission from your purchase. I only link products that I own, love and use for my card making and not every link below is an affiliate one! 😊
Friday, 18 November 2022

Winter Coffee Easel Card


Hello my crafty friends and welcome to Fun Fold Friday her on my blog. Today is also the last day of the Coffee Lover's Blog Hop and I really wanted to play along. Nothing like squeaking in at the last minute!  


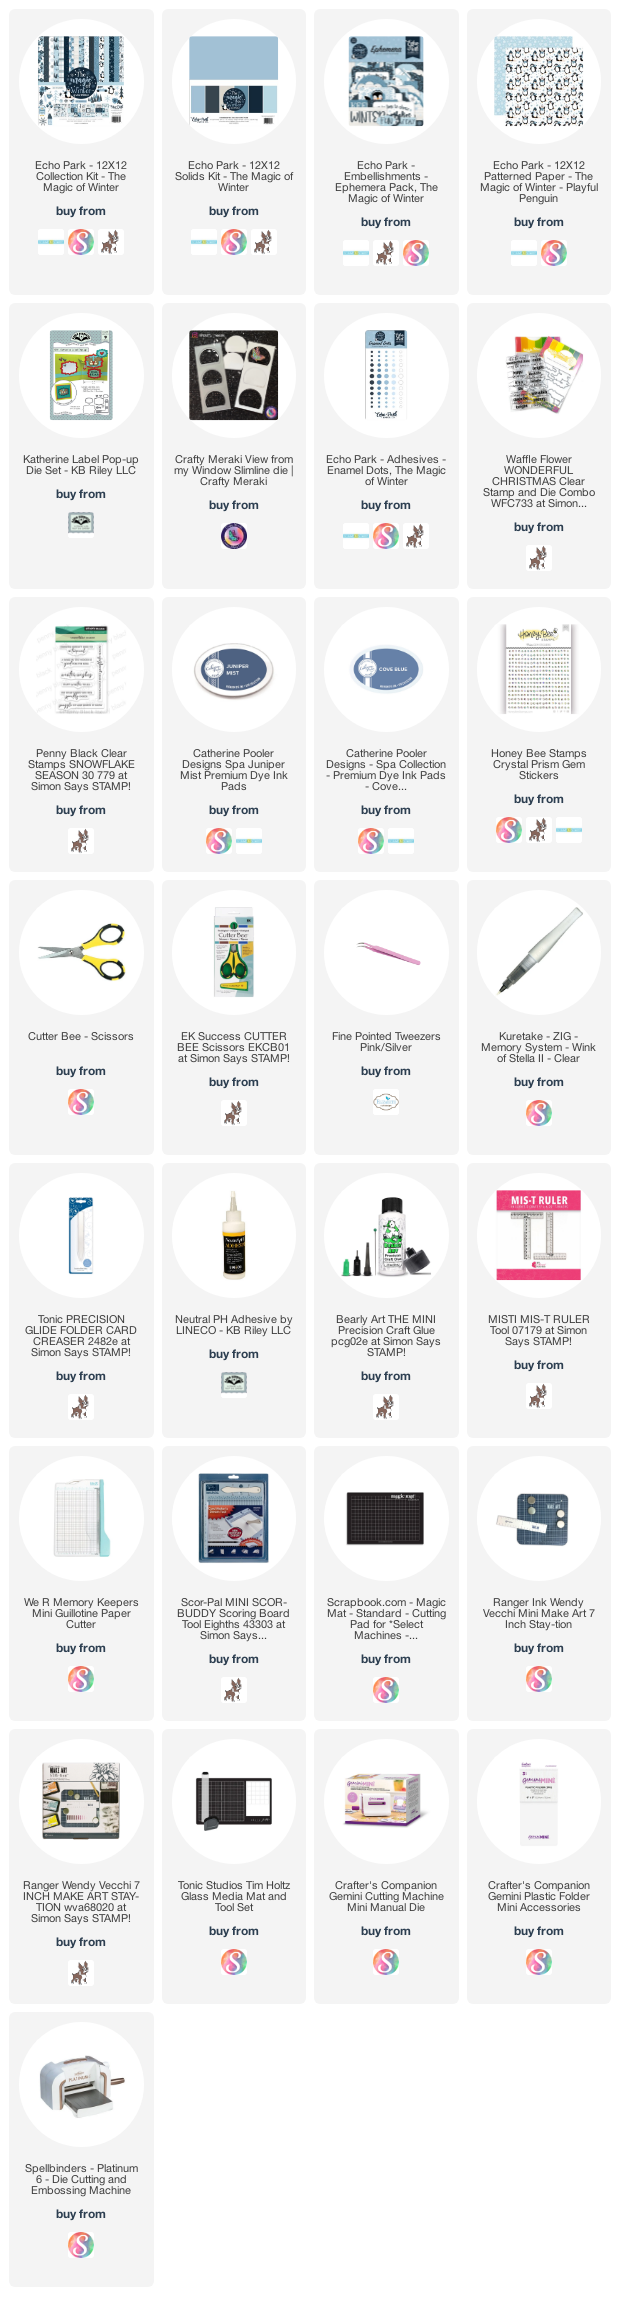
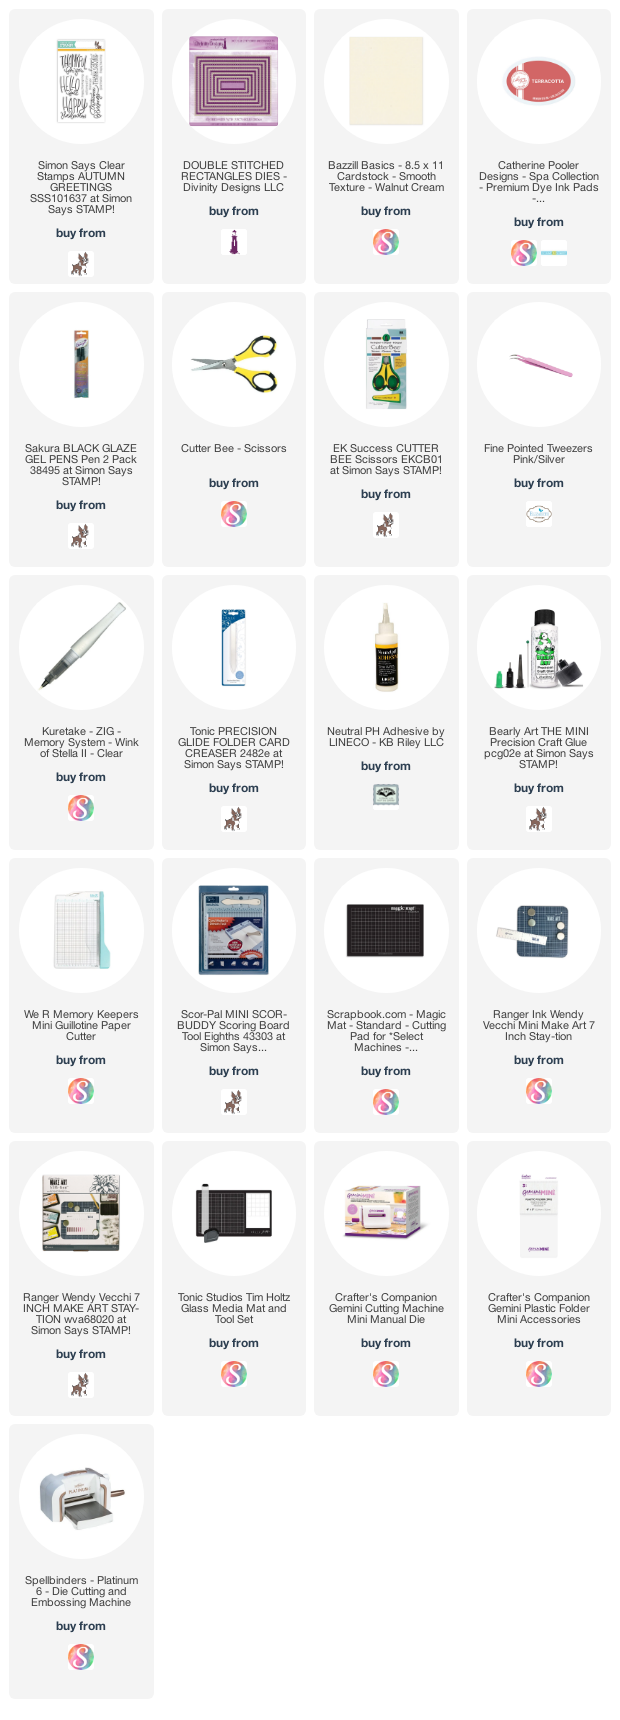
I will be taking part in a video hop on December 3, put on by Scrap 'n Stamp Canada. I chose to work with this Echo Park collection 'The Magic Of Winter' and have been having fun using it to create lots of other cards as well. When I saw this cut apart on one of the 12 x 12" sheets, I knew it would be perfect for the Coffee Lover's Blog Hop! 

I created a 5 x 7" Easel Card using it, the coordinating solids and the ephemera as well. While it's hard to see in the photos, I added some sparkly Paper Glaze to the whipped cream and the heart on the coffee.


The card folds flat for mailing, then stands up for display. The 'bumper' is popped up with foam tape and that is what keeps the card from collapsing.


I added a white rectangle as a place to write a personal greeting, and added one of the stickers that were included into the paper package.


... one more look, which is how it will come out of the envelope.


Additional Supplies:
5 x 7" Card & Envelope
Sequins - stash
White cardstock

This blog uses affiliate links whenever possible. This means, that at no cost to you, if you make a purchase through one of my affiliate links that I may receive a small commission from your purchase. I only link products that I own, love and use for my card making and not every link below is an affiliate one! 😊

Thursday, 17 November 2022

Hanukkah Shaker Card


Hello my crafty friends. Today I'm sharing a fun shaker card for Hanukkah.

The shaker on the card front is a 'Full Front Shaker' (also called 'Infinity Shaker' or 'Edge to Edge' shaker). I liked the 4 x 6" cut apart that was on one of the 12 x 12" sheets and knew it would great for one of these shaker cards. As usual, I cut a transparency to 5 x 7" and scored it on all 4 sides at 1/2". The corners were mitred and I added strong double sided tape to each outer edge. 

You secure the transparency to the back of the cut apart on 3 sides and pour in your filler on that 4th side then seal it up. I added some patterned paper to the front of a 5 x 7" card base then added the shaker on top. 

The glitter was sticking to the underside of the transparency and I felt like it was obscuring the sentiment in the centre of the cut apart. To remedy that, I added a large Hanukkah sticker right on top of the transparency!


Inside I added a strip of the patterned paper and some stickers that were also included in the paper package. 


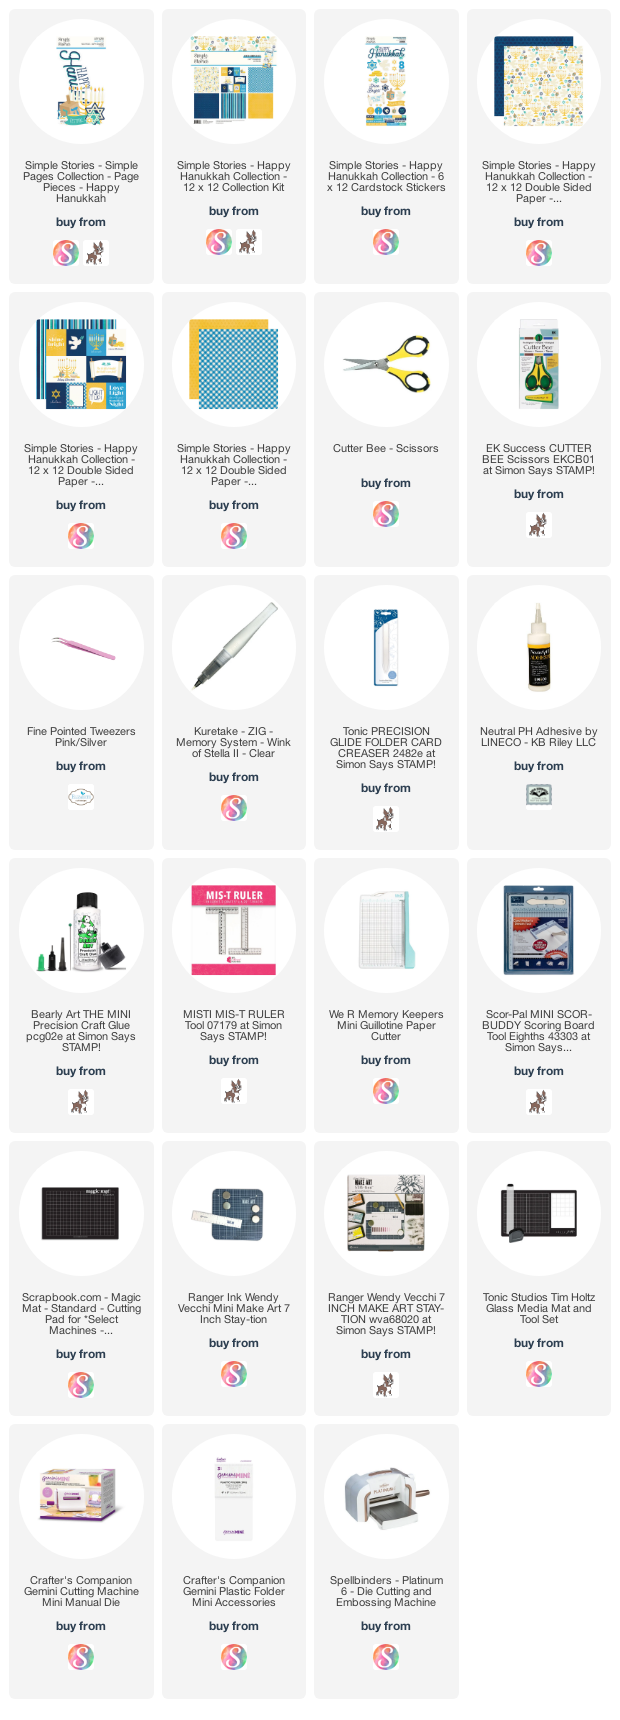
Since the Hanukkah package I used is retired, I will link a different one that would work just as well if you wanted to make a similar card. 😊

Additional Supplies:
Transparency - office supply store
Cut apart, stickers and patterned paper - Happy Hanukkah (Photo Play)
Sequins - stash
5 x 7" card and envelope

This blog uses affiliate links whenever possible. This means, that at no cost to you, if you make a purchase through one of my affiliate links that I may receive a small commission from your purchase. I only link products that I own, love and use for my card making and not every link below is an affiliate one! 😊

Wednesday, 16 November 2022

Thanksgiving Diamond Z-Fold Card


Hello my crafty friends. Today I'm sharing a Diamond Z Fold card using older patterned papers and stickers from my stash. These cards work up so quick and easy and I love how they look! 


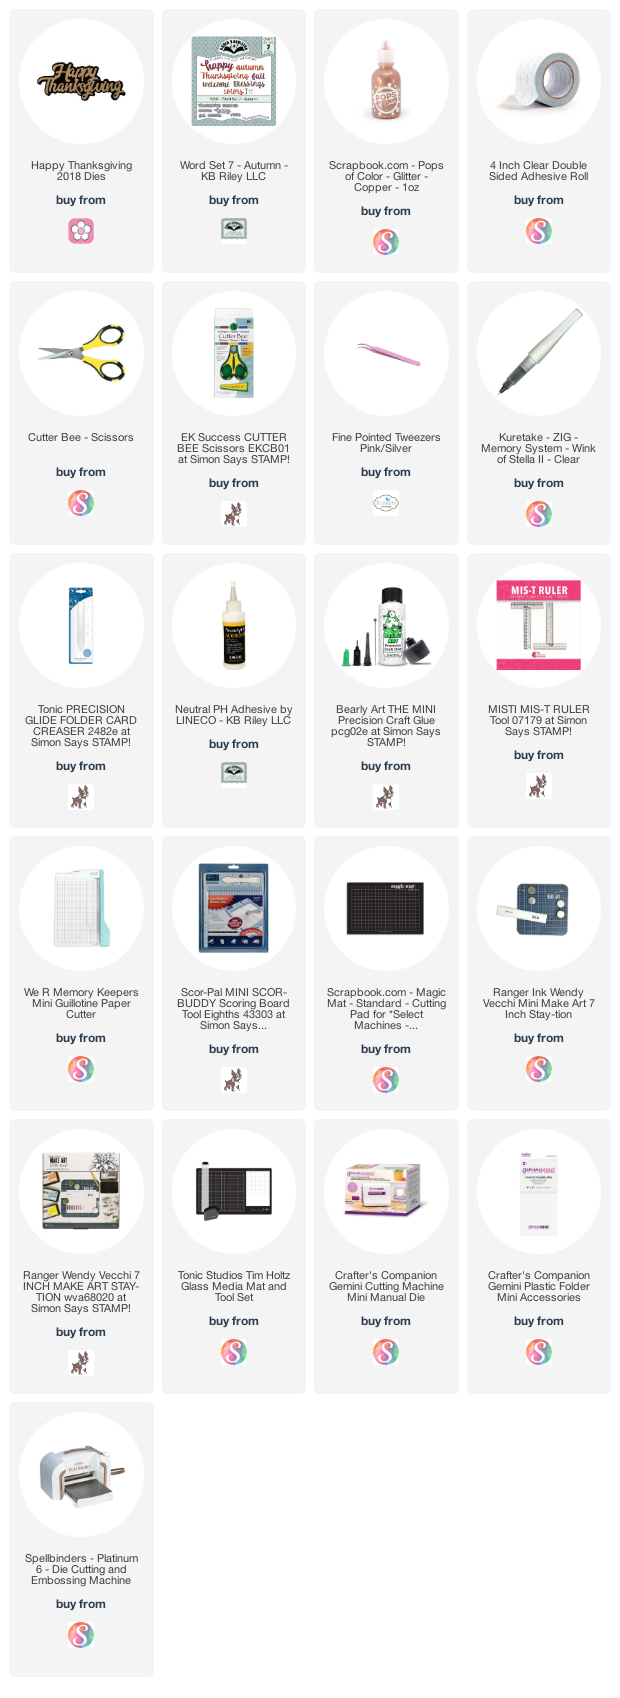
Since the stickers have gold foiling on them, I die cut the Happy Thanksgiving out of a metallic gold & copper cardstock. I also added Copper Pops of Colour to resemble enamel dots. There is lots of sparkle on this card!


... one more look ...


There are a lot of tutorials online for this type of card, but I really liked the 5 x 7" version as then the diamonds are a nice size for decorating. I found a tutorial to link for you, but of course, she doesn't refer to it as a Diamond Z-Fold. 😂  I always find it funny when stampers come up with their own names for a popular fun fold, not realizing it makes it hard for people to find your blog or YouTube video when searching. Anyhow, her finished card is BEAUTIFUL, which is why I chose to share her tutorial.  NOTE:  I didn't add all the layering panels that are often shown in these cards, as they are heavy enough and with even more layers the card would require extra postage. Click HERE to see Heather's tutorial and card.

Additional Supplies:
5 x 7" Card and envelope
Patterned paper - K & Co, old From my stash
White cardstock
Metallic cardstock - Damask Dreams - Hunky Dory
Stickers - Paper Studio

This blog uses affiliate links whenever possible. This means, that at no cost to you, if you make a purchase through one of my affiliate links that I may receive a small commission from your purchase. I only link products that I own, love and use for my card making and not every link below is an affiliate one! 😊

Tuesday, 15 November 2022

Merry & Bright Mini Slimline Card


Hello my crafty friends. Today I'm sharing a card that I actually made using two narrow leftover strips of patterned paper. One was a boarder strip with the gold foiling, and when adhered together they were sized perfectly for a Mini Slimline card! 

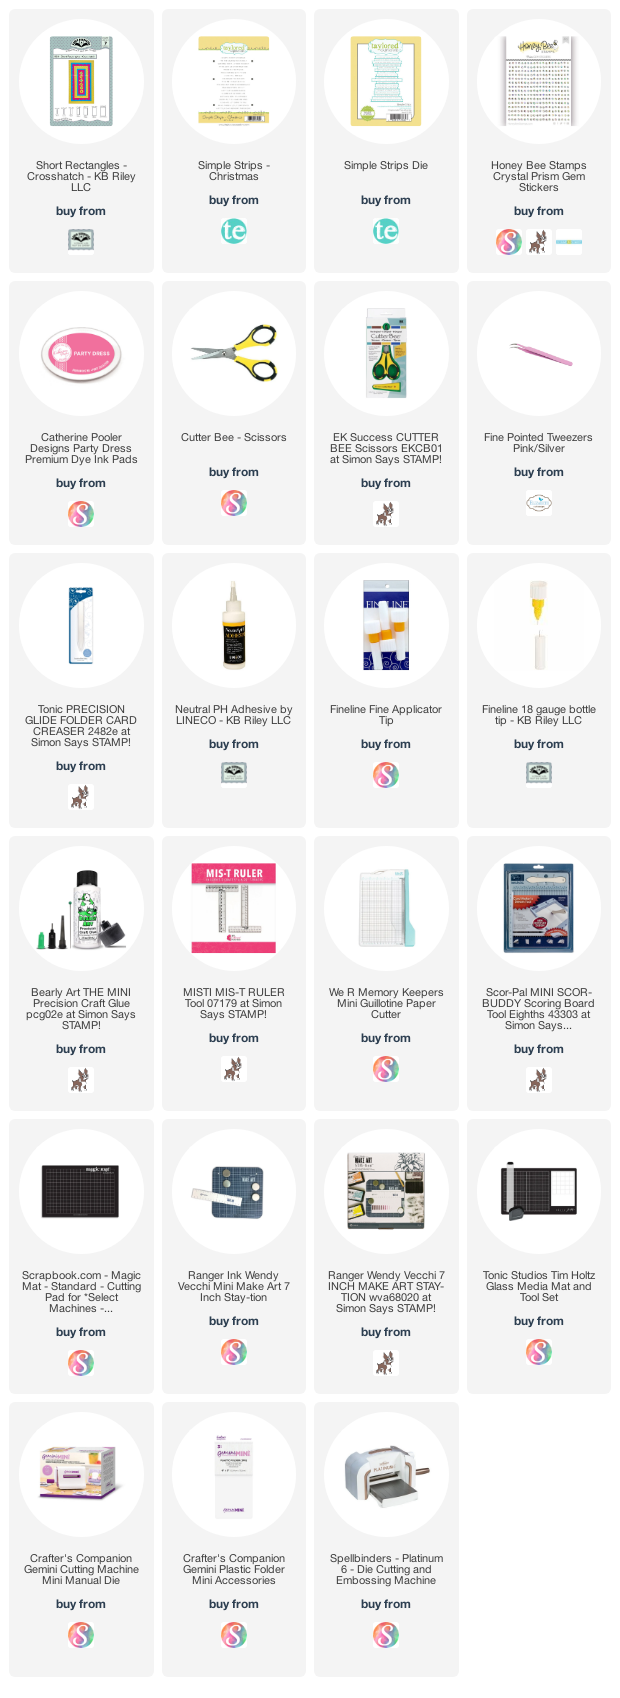
Using the Short Crosshatch Rectangle dies by Karen Burniston, I cut the panels then layered the patterned paper one over a white panel with thin foam tape. A few gold Peel Off snowflake stickers and some gems were added for additional sparkle and finally a stamped sentiment finished the card front.


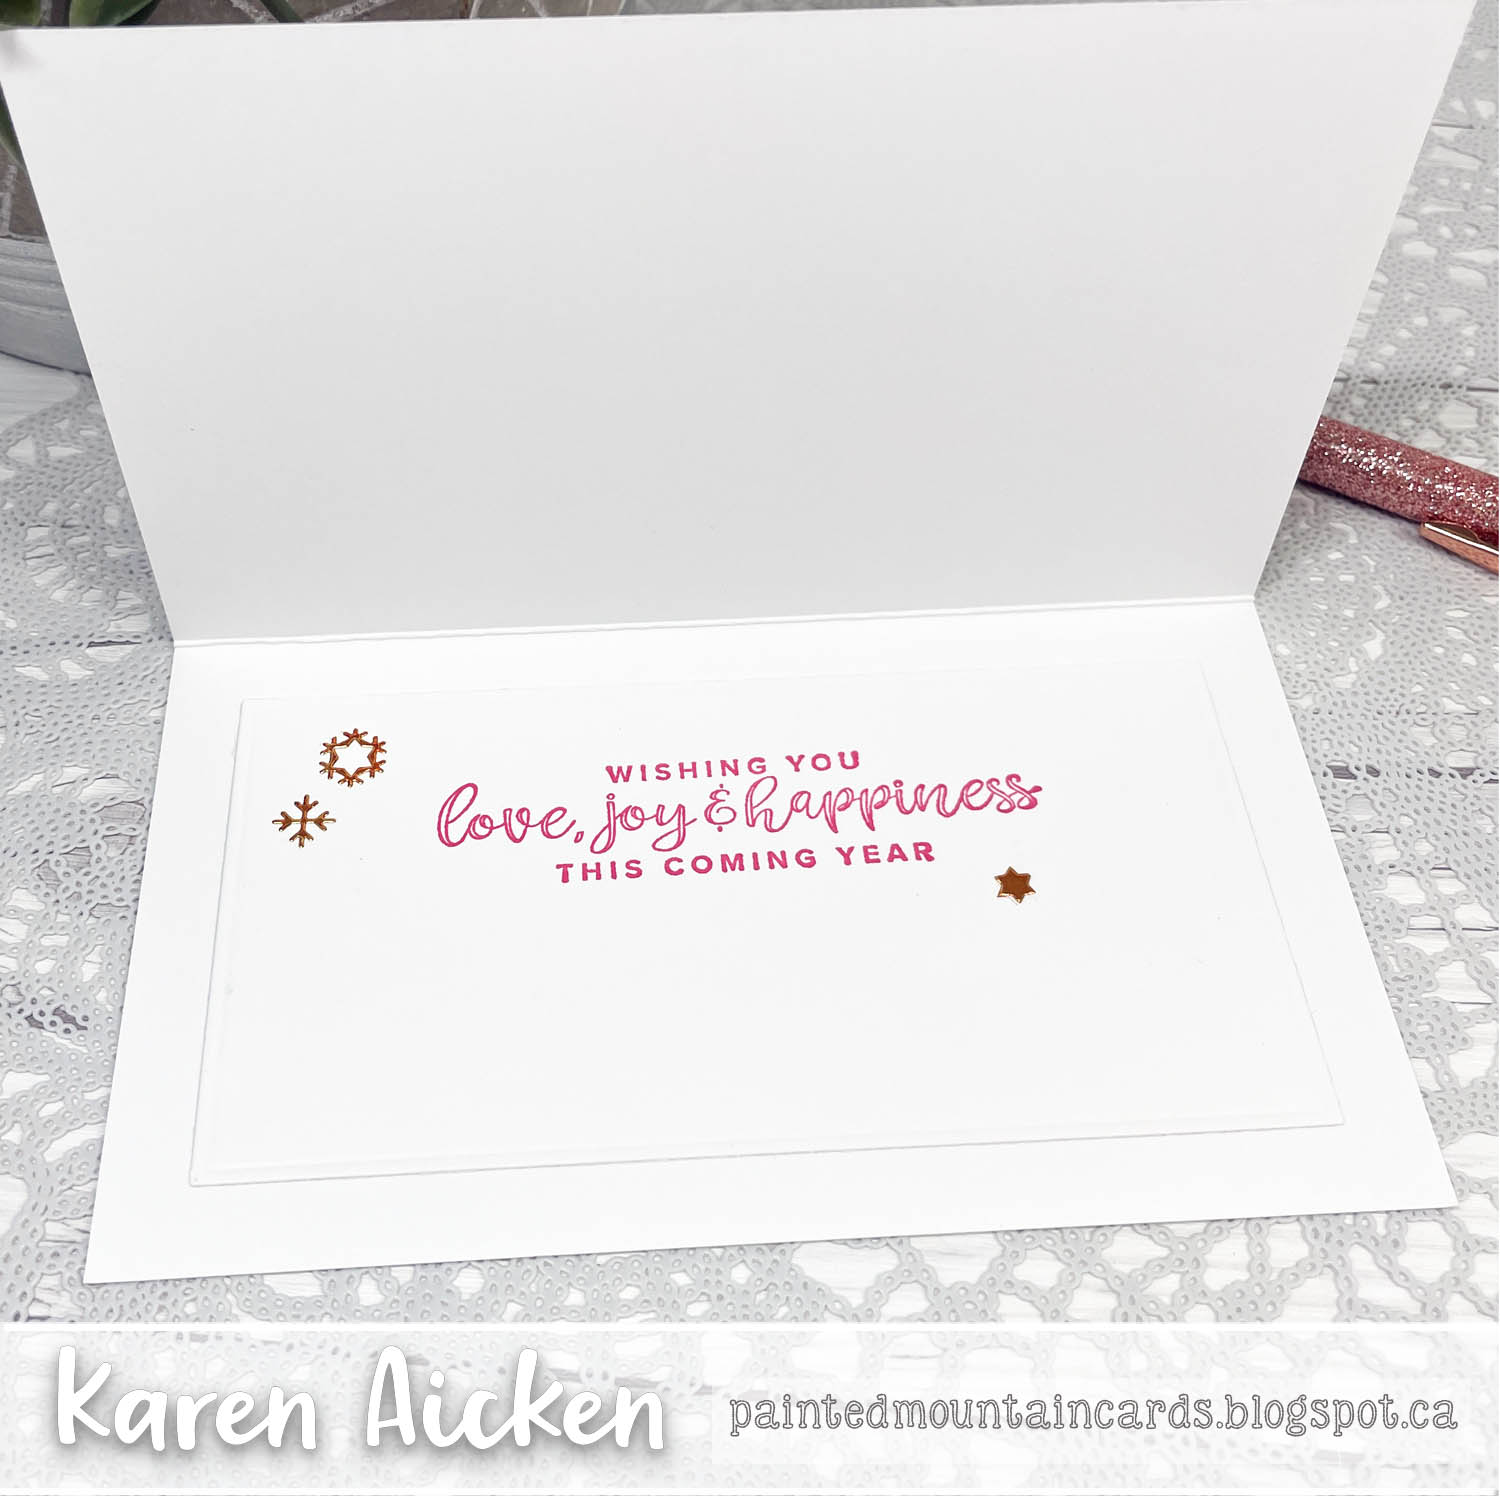
Inside is a stamped sentiment and three more of the peel off stickers. The ones inside were coloured with a pink alcohol marker before adhering them to the card.


I loved being able to use up some scraps with this quick and easy card.

This blog uses affiliate links whenever possible. This means, that at no cost to you, if you make a purchase through one of my affiliate links that I may receive a small commission from your purchase. I only link products that I own, love and use for my card making and not every link below is an affiliate one! 😊

Any supplies I'm unable to link are listed at the very bottom of my post.

Additional Supplies:
Patterned paper - Holiday Bash, Recollections
White cardstock
Snowflake Peel Off's - Elizabeth Craft Designs
Sentiment - Encircled in Warmth, Stampin' Up (retired)

Monday, 14 November 2022

German Shepard Birthday Card


Hello my crafty friends.  I have to admit, I may have spit out my coffee when I first saw this funny sentiment from Riley & Company. For my card I added it to one of the dog panels from the Little Book of Muddy Paws.

Below is the inside, with stamped sentiments & paw prints.


This blog uses affiliate links whenever possible. This means, that at no cost to you, if you make a purchase through one of my affiliate links that I may receive a small commission from your purchase. I only link products that I own, love and use for my card making and not every link below is an affiliate one! 😊

Any supplies I'm unable to link are listed at the very bottom of my post.

Additional Supplies:
Tornado Advice - Funny Bones, Riley & Company
Happy Birthday To You - Hampton Arts, old
White cardstock
5 x 7" Card and Envelope
Pawprint - old stamp set (stash)

Saturday, 12 November 2022

Winter Penguins Slimline


Hello my crafty friends ... today I'm sharing a Pop Up Slimline card in a Winter theme. This will be the first of many using this paper package by Echo Park! I will be taking part in a Video Hop in early December, put on by Scrap 'n Stamp Canada. I chose to work with this collection, which is called The Magic Of Winter. You can make a LOT of cards with a 12 x 12" paper package, so I will be sharing them both before the Video Hop and after. 😊 

I also chose the coordinating ephemera package. These cute penguins are stickers (included in the paper package) and were attached to white card stock & fussy cut before perching them in the windows created with a Crafty Meraki Slimline die.Then I added a few smaller ephemra pieces.


Inside, I used the Katherine Label Pop Up by Karen Burniston to animate one of the ephemera pieces.


I did some stamping (snowflakes and the sentiments) and my card was done.


... one more look ...


This blog uses affiliate links whenever possible. This means, that at no cost to you, if you make a purchase through one of my affiliate links that I may receive a small commission from your purchase. I only link products that I own, love and use for my card making and not every link below is an affiliate one! 😊

Any supplies I'm unable to link are listed at the very bottom of my post.


Additional Supplies:
White cardstock
All Tucked In Christmas (snowflakes, small sentiment) - Taylored Expressions
Peel Off Snowflake Stickers - Stamp On It

Friday, 11 November 2022

Happy Fall Slimline Easel Card


Hello my crafty friends and welcome to Fun Fold Friday here on my blog. Today I'm sharing another Easel Card, this time a Slimline sized one.

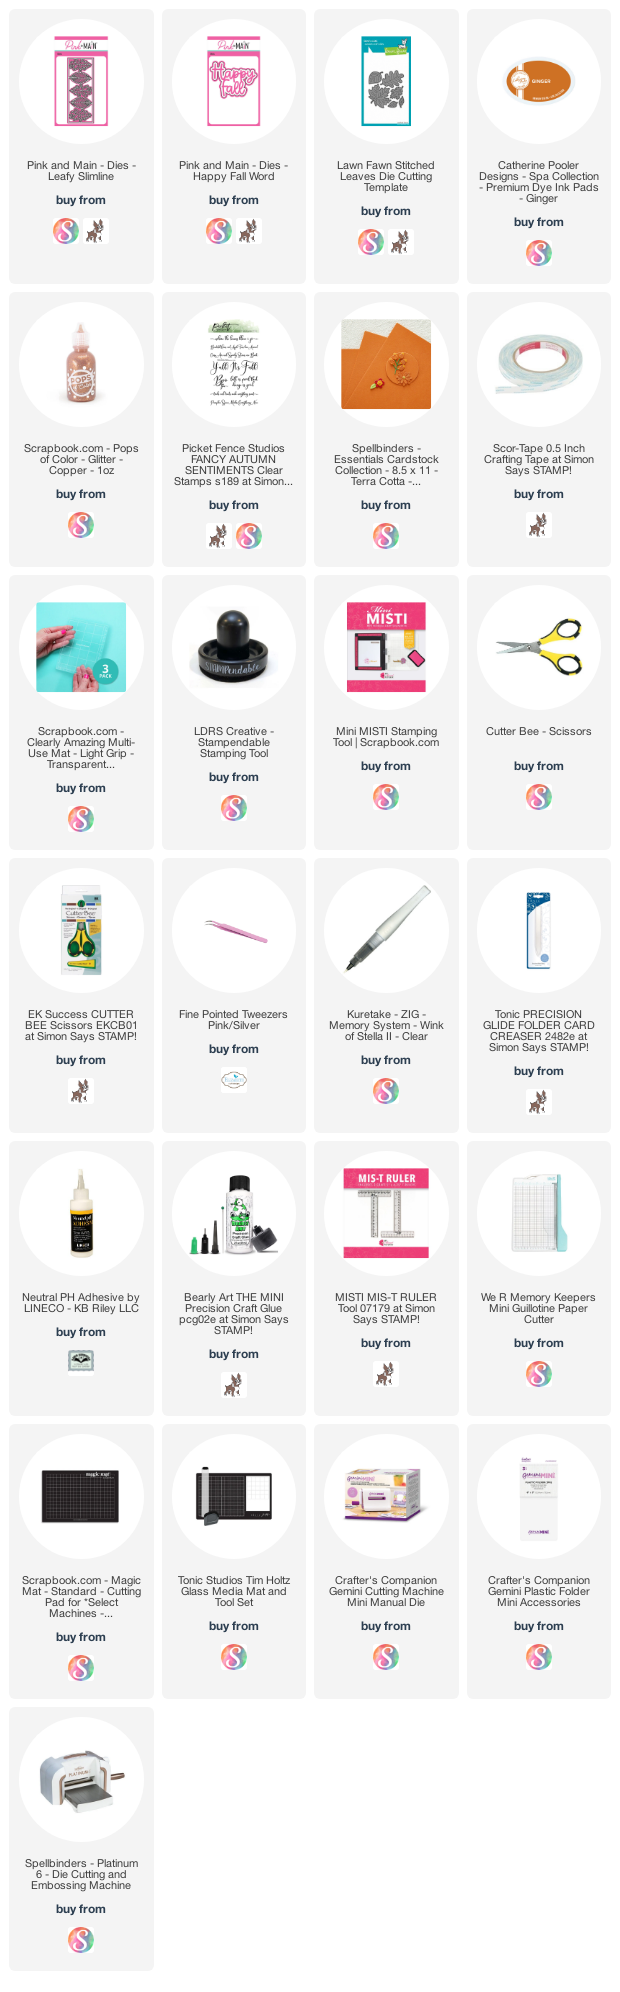
Die cutting the Slimline leaves background die from Pink & Main, I backed it with a transparency because I love the shine that gives. I added patterned paper behind the transparency before adhering the panel to the front of the easel.


To create the Slimline easel card base, I cut the pumpkin cardstock 8.5 x 7". With the longer side along the top I scored at 1.75 and 3.5". The center of the card is that 3.5" scoreline, and the remaining shorter score is where I attached the bottom portion of the leaf panel.

The Happy Fall with shadow (also from Pink & Main) is a relatively new die in my craft room, so I added it to the card front with thin foam tape and then added some Copper Pops of Color for extra sparkle. Tapping the card on my desktop flattened out those drops to resemble enamel dots.


Here is the inside and you can get a better look at the score lines. The sentiments are from Picket Fence Studio's and I fussy cut one to add to the bumper. The bumper is raised up with foam tape and that is what holds the Easel front from collapsing.


Below is what the card would look like coming out of the envelope.


This blog uses affiliate links whenever possible. This means, that at no cost to you, if you make a purchase through one of my affiliate links that I may receive a small commission from your purchase. I only link products that I own, love and use for my card making and not every link below is an affiliate one! 😊
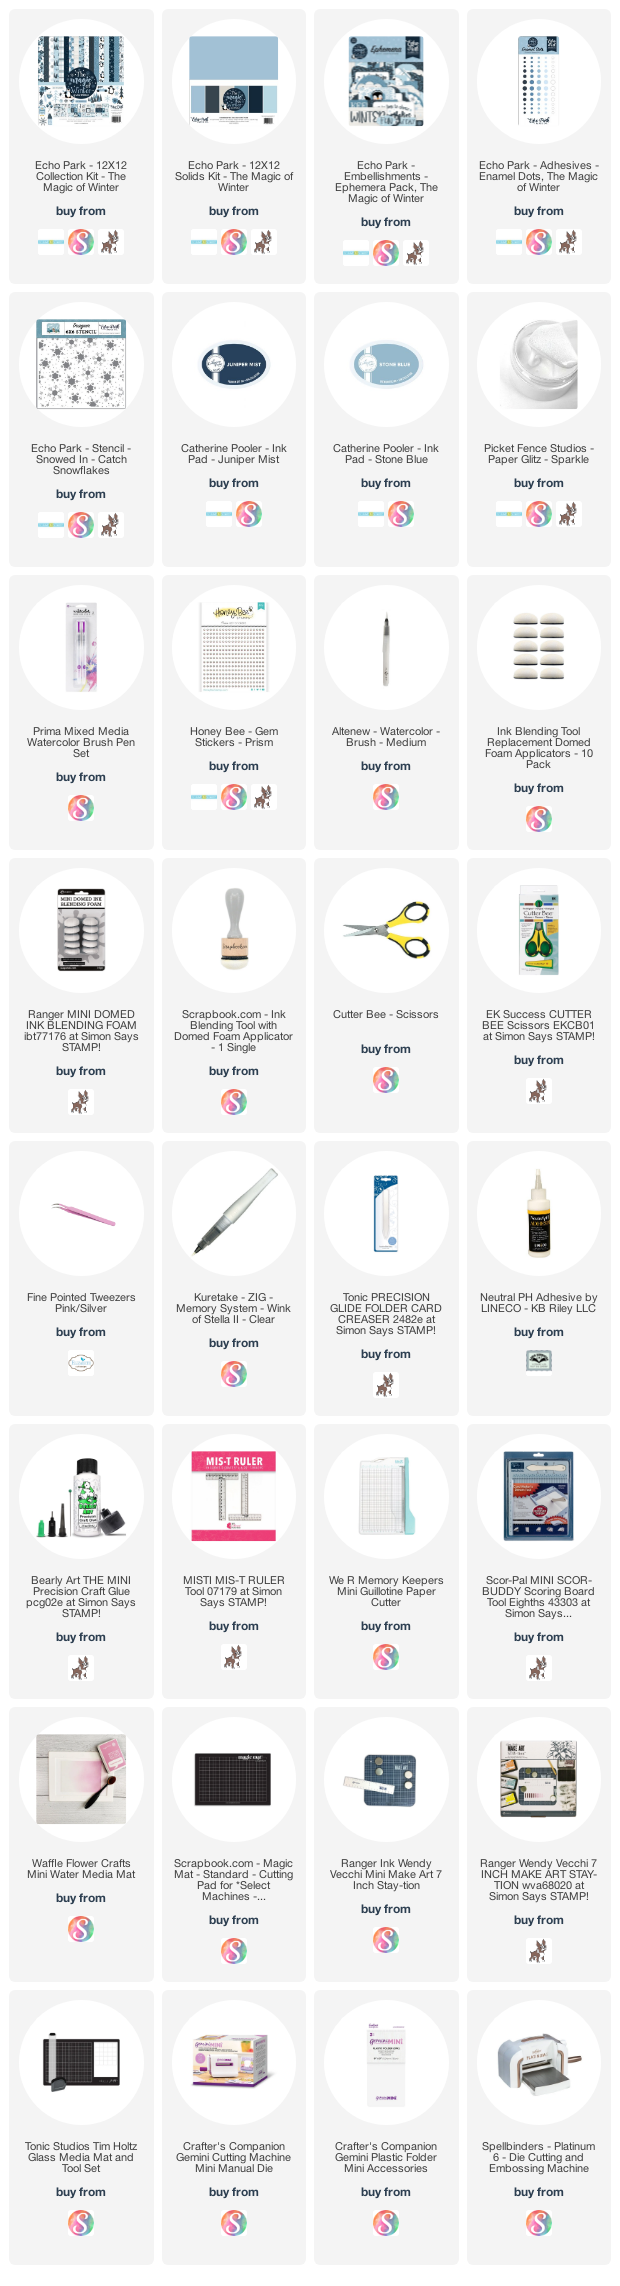
Any supplies I'm unable to link are listed at the very bottom of my post.

Additional Supplies:
Transparency - office supply store
Patterned paper - Guilded Ink, Michaels (old - from my stash)
White cardstock
Oval Set 1 - Dees Distinctively

Thursday, 10 November 2022

Snowmen & Sweets, A Sheetload Rewind


Hello my crafty friends! I actually made these cards back in early October. If you follow me you know I rarely post things in the same order I make them. I was thinking ahead for the upcoming November Sheetload of cards and deciding on what paper pad to use. I don't usually do this, but for some reason I wanted to use this pad for the Sheetload. Once I saw the November Sheetload though, I went in a different direction entirely. Ha.

However, I was able to use an older Sheetload with these papers - the February 2020 Sheetload of Cards - and this is what I came up with. I have a walkthrough of my cards on YouTube


The sentiment stamps are ones I've had for YEARS and I matted the ones on the fronts with a blue mirror cardstock.


Here is a peek at the inside ... all of the cards have the same sentiment.


Using the cutting guide for this Sheetload, you will have some patterned paper pieces leftover. I went ahead and used most of those on these two extra cards.


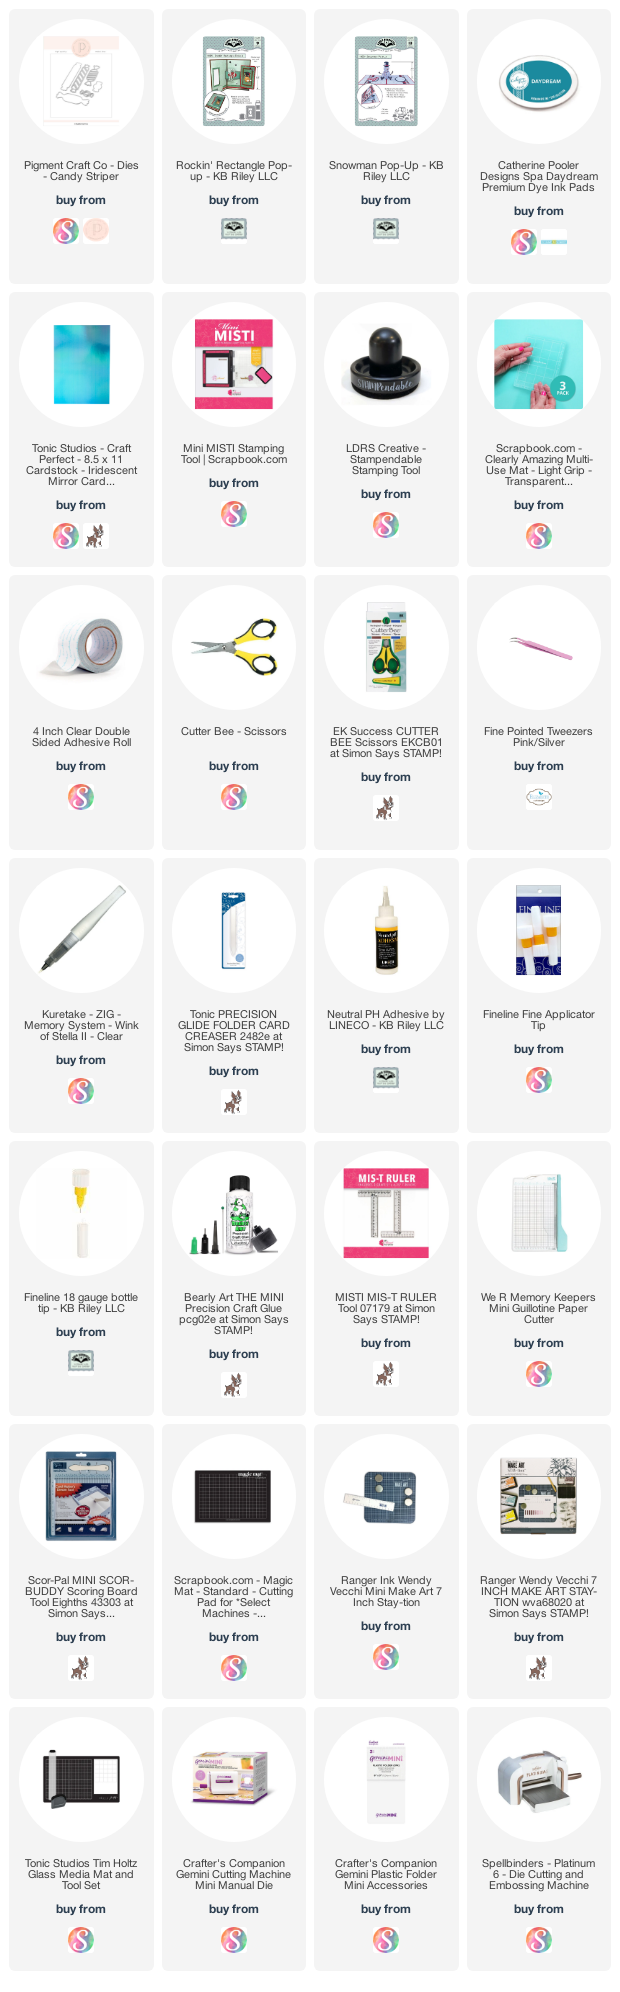
I also turned one of the Sheetload cards into a Pop Up using Karen Burniston's Rockin' Rectangle.


This blog uses affiliate links whenever possible. This means, that at no cost to you, if you make a purchase through one of my affiliate links that I may receive a small commission from your purchase. I only link products that I own, love and use for my card making and not every link below is an affiliate one! 😊

Any supplies I'm unable to link are listed at the very bottom of my post.

Additional Supplies:
Feb 2020 Sheetload of Cards
Patterned paper - Holiday Bash, Recollections (old)
White cardstock
Stamp on front - Hero Arts (old)
Banner punch - Stampin' Up (retired)
Gold peel offs and snowflakes, and words - Elizabeth Craft Designs
Blue cardstock
Adhesive backed snowflakes - Stampin' Up (retired)

Wednesday, 9 November 2022

Christmas Westie Easel Card


We have friends that own two Westies and I usually make them a dog themed holiday card. This year I chose one of the sweet images from the 'Little Book of Muddy Paws' pad (from Hunkydory) for their card. There are also a couple of pages with accessories so I fussy cut a scarf and bone to add onto the panel. 

For the bone, I cut a small slit in between the front paws and tucked the bone inside. Then I adhered the panel to a green cardstock panel. The row of snowflakes is a piece from Karen Burniston's Long Nature Rectangles 2 and cut from white pearl cardstock.


This card is a top folding 5 x 7", which would have meant I needed a 5 x 14" length of cardstock to create the green card base. Which obviously, I don't have. An easy workaround, is to add a tab to one end of either the front or the back of the cardstock. 

Here I added it to the top edge of thebottom panel, so that measured 5 x 7.5". The extra 1/2 inch created the tab which allowed me to adhere it to the underside top edge of the 5 x 7" front panel. Then I just scored the front panel in the centre at 3.5" to create the easel fold.


I added both punched and die cut snowflakes, and the bumper (the part that keeps the card from collapsing) was decorated with Karen Burniston's Merry Christmas and shadow. The Shadow was cut from holographic mirror card stock for holiday shimmer & shine. It was popped up with foam tape. Inside I added a blanket stitched square with inked edges, a stamped sentiment and more snowflakes. That is where we will sign our name and I think they will get a kick out of the sentiment inside.


This blog uses affiliate links whenever possible. This means, that at no cost to you, if you make a purchase through one of my affiliate links that I may receive a small commission from your purchase. I only link products that I own, love and use for my card making and not every link below is an affiliate one! 😊

Any supplies I'm unable to link are listed at the very bottom of my post.

Additional Supplies:

Little Book of Muddy Paws - Hunky Dory

White cardstock

Green cardstock

Holographic rainbow mirror cardstock - Hunky Dory

Self adhesive snowflakes - Stampin' Up (retired)

Snowflake punches - Martha Stewart