Wednesday, 18 May 2022

Watering Can Sympathy Card


Hello my crafty friends.  Today I'm sharing a sympathy card made for my stash. I do like to have a few of them on-hand, as usually when I need a sympathy card I'm feeling too sad to make one! This one is a larger card, it's 5 x 7" and features the watering can die I picked up back in March. It's meant to make a shaped card, but works great on it's own too.

The leafy background is lovely when cut from coloured card stock or patterned paper, but for this card I chose to go white on white. The flowers & leaves are die cut from Washi Tape - I'm crazy about the Washi Tape & coordinating dies from Pinkfresh Studio. The little butterfly is from a very old stamp & punch set .


Here is a peek at the inside, with a stamped sentiment and a few more Washi Tape elements - and lots of room for us to write a personal message.


The pretty 5 x 7" envelopes were a bit of a splurge for me - I found them online at Hobby Lobby when we were visiting Arizona and was able to place an order. We don't have Hobby Lobby in Canada! I will be hoarding saving them for special cards and I think a sympathy card qualifies. WHY is it so hard for me to part with things like this? Sheesh.

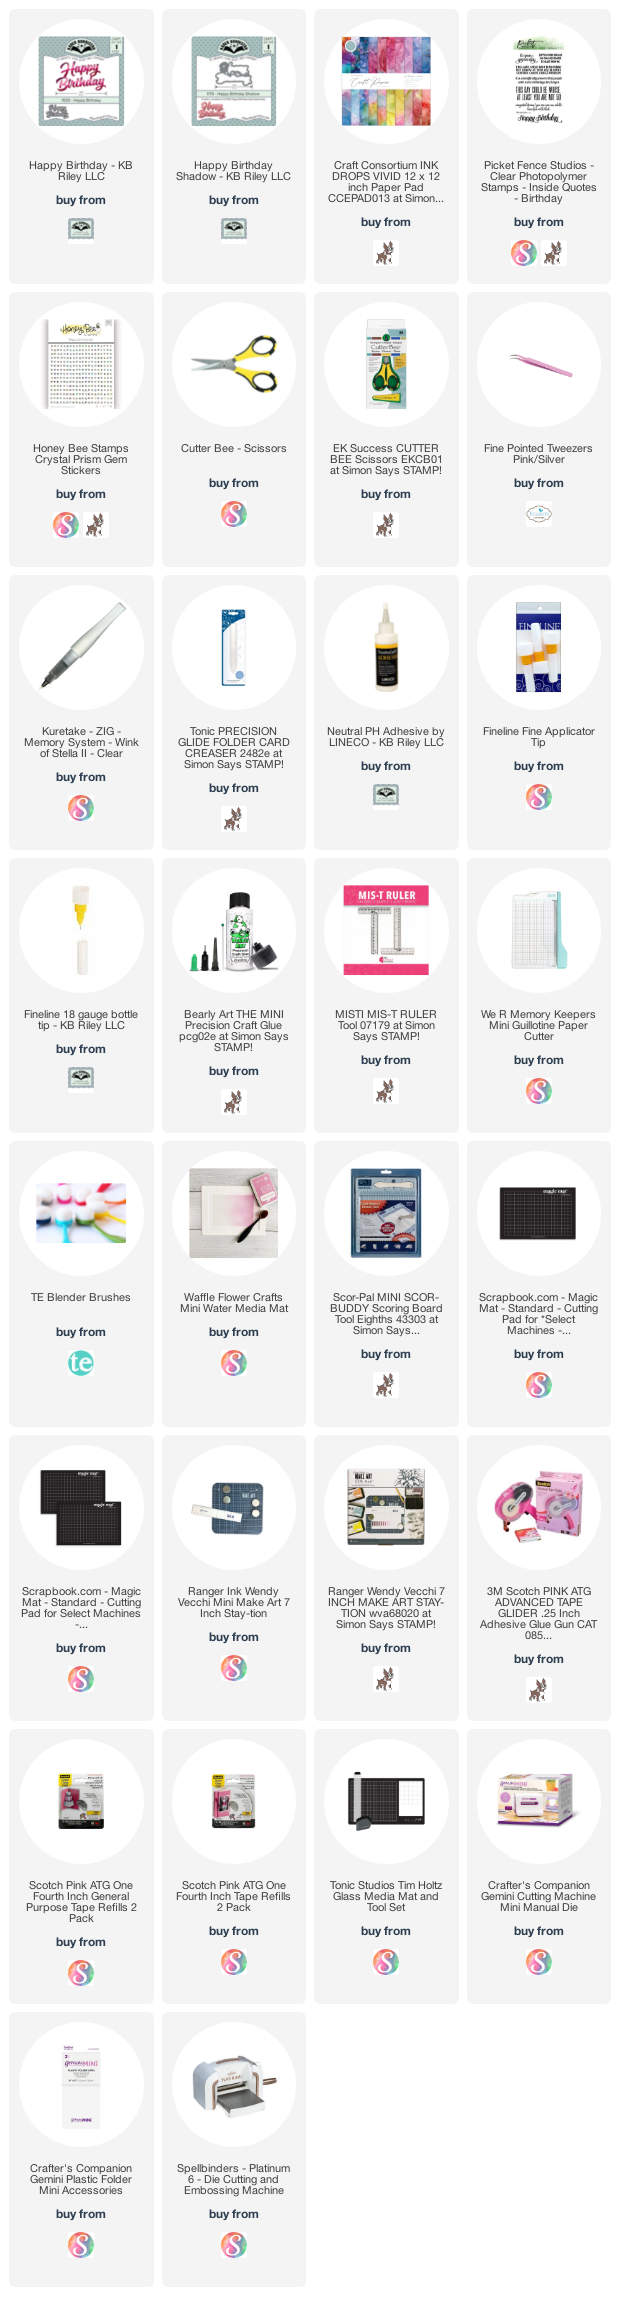
This blog uses affiliate links whenever possible. This means, that at no cost to you, if you make a purchase through one of my affiliate links that I may receive a small commission from your purchase. I only link products that I own, love and use for my card making!

Any supplies I'm unable to link are listed at the very bottom of my post.



Additional Supplies:
Patterned paper (for watering can) - Momenta 5 x 7" paper pad (OLD from my stash)
Patterned paper inside - Guilded Ink, Recollections
Butterfly stamp & punch - Stampin' Up (long retired)
White card stock - Accent Opaque Digital Super Smooth (Amazon .ca)
Alcohol markers

Tuesday, 17 May 2022

Floral Bouquet Birthday Card


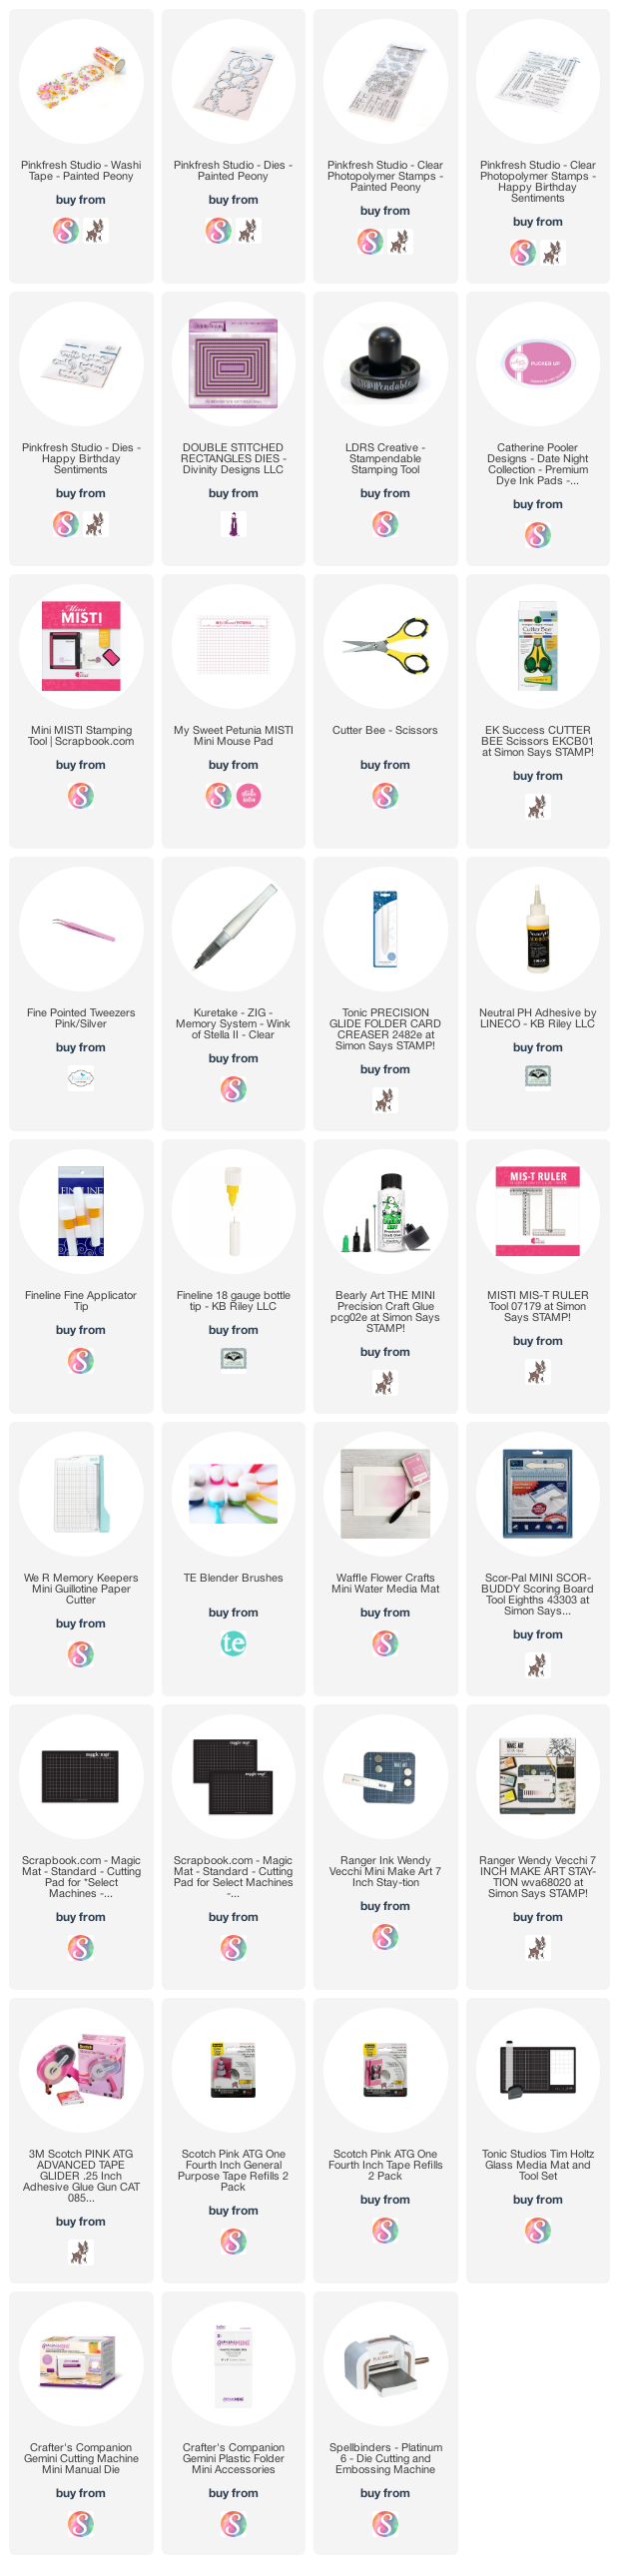
Hello my crafty friends.  Today I'm sharing the Birthday Card I sent to a friend, using the beautiful "Painted Peony' Washi Tape & die set from Pinkfresh Studios. The colours went really well with a card from a boxed set that I've had for awhile so I pulled that out too. Those note cards are often printed on both the front and back, so I will cut them in half to get two panels and adhere them to my own white card bases. 

I added some tiny butterfly stickers from my stash and gold Peel-Off stickers for additional shine. The Washi Tape has gold foiling in it which of course doesn't show up in photos.

The greeting inside is absolutely perfect for this lovely lady. ❤️

This blog uses affiliate links whenever possible. This means, that at no cost to you, if you make a purchase through one of my affiliate links that I may receive a small commission from your purchase. I only link products that I own, love and use for my card making!

Any supplies I'm unable to link are listed at the very bottom of my post.


Additional Supplies:
Boxed Cards - Water Colour Ombre, Hobby Lobby
Gold Peel-Off stickers - Dazzles
Tiny butterfly stickers - stash
White card stock - Accent Opaque Digital Super Smooth (Amazon .ca)

Monday, 16 May 2022

Mini Slimline Shaker Accordion Card


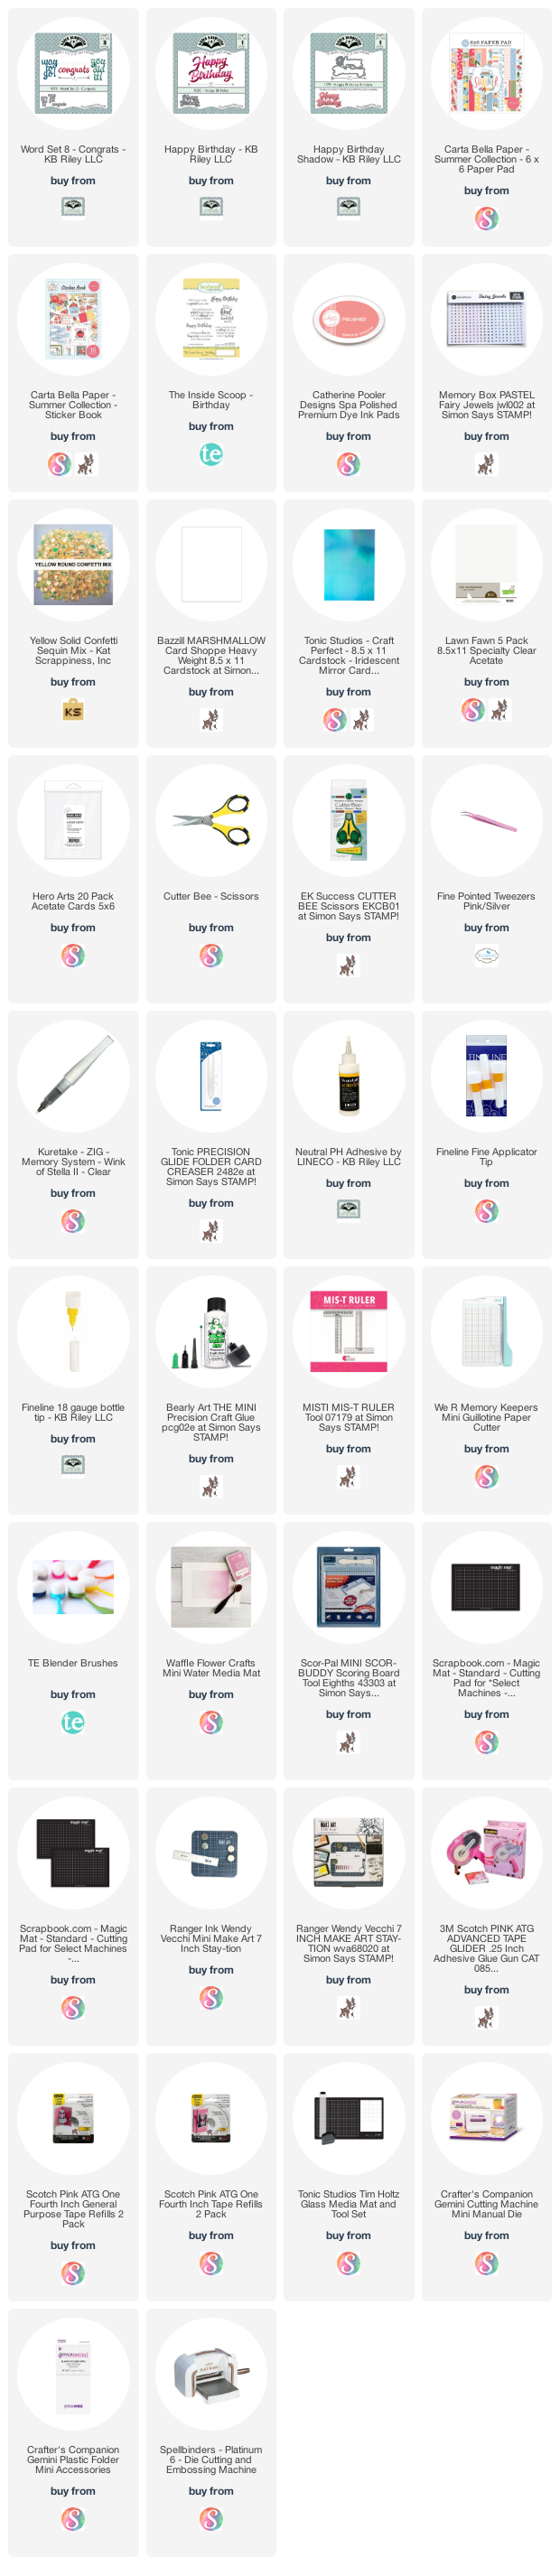
Hello my crafty friends! Welcome to our Karen Burniston Products - KB Riley LLC May Release Blog Hop. The Design Team have come together with Karen today for a fun blog hop to celebrate the release of 8 new dies. Sneak peeks of the new release started last week, and the dies are available to order NOW!  I have more details about the hop at t the end of my post.
I'm sharing the Birthday card I made for our middle daughter, using several dies from the new release. This is an accordion card with the new Landscape Rectangle Accordion and I added a solid page to the back side. I have a walkthrough of my card on YouTube:  


Below is what the card looks like when it comes out of the envelope:


And here is what the card looks like as it expands!


Using the Short Crosshatch Rectangles to create the shaker on the front, I also added dragonflies from the new Flutter Charms.


I took advantage of the flat back panel to add a scalloped rectangle and a stamped sentiment.


NOTE:  The back panel is 6-1/2 x 3.5", scored 1/2" down the left short side. Adhere that 1/2" flap to the last accordion page.


This release includes:
  • 1 new "Ball" Die Set - Mini Ball Pop-up
  • 2 new Add-Ons Die Sets - Mini Ball Add-ons 1 Gnomes; Mini Ball Add-ons 2 - Monkey and Lion
  • 1 new Accordion Die Set - Landscape Rectangle Accordion
  • 1 new Crosshatch Die Set - Short Rectangles - Crosshatch
  • 1 new Charms die Set - Flutter Charms
  • 1 new Slimline Sized Die Set - Long Flap and Closure
  • 1 new Alphabet Set - Mini Alphabet and Numbers
Dies are available to order now on the WEBSITE

GIVEAWAY:
To celebrate the release Karen Burniston and each of the Karen Burniston - KB Riley LLC Design Team members will be giving away a $25 Gift Certificate to some lucky person who comments on our blog posts, so make sure you join the hop and comment on everyone's blog post. I will combining names from comments on my YouTube video for even more chances to win! 
Winners will be randomly chosen from ALL of the blog hop comments received on our blog posts by Monday, 23rd May 2022. Lots of chances to win some goodies, so just leave a comment on this post or any other blog hop posts to enter! Don't forget to leave some way for us to contact you, in case you are a lucky winner!

Blog Hop Order and Permalinks:

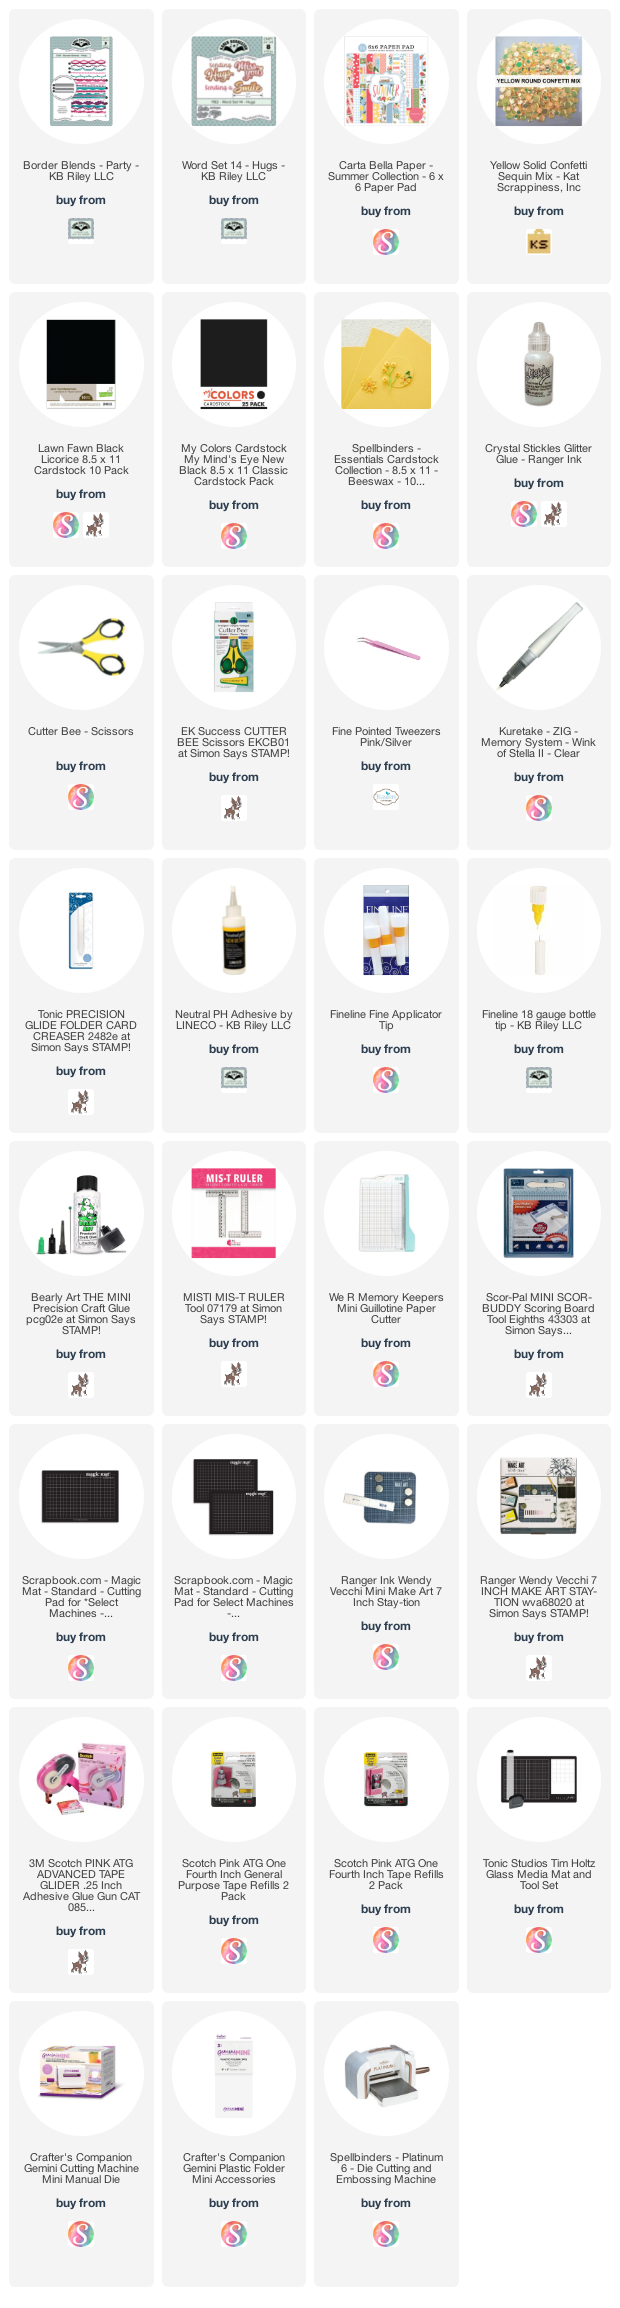
This blog uses affiliate links whenever possible. This means, that at no cost to you, if you make a purchase through one of my affiliate links that I may receive a small commission from your purchase. I only link products that I own, love and use for my card making!

Any supplies I'm unable to link are listed at the very bottom of my post. Since I'm unable to link the blue mirror card stock I used, I did link a similar one for you.


Additional Supplies:
Extra confetti for inside filler - gift with purchase from Studio Katia
White card stock - Accent Opaque Digital Super Smooth (Amazon .ca)

Friday, 13 May 2022

Floral Pop Up Mother's Day Card


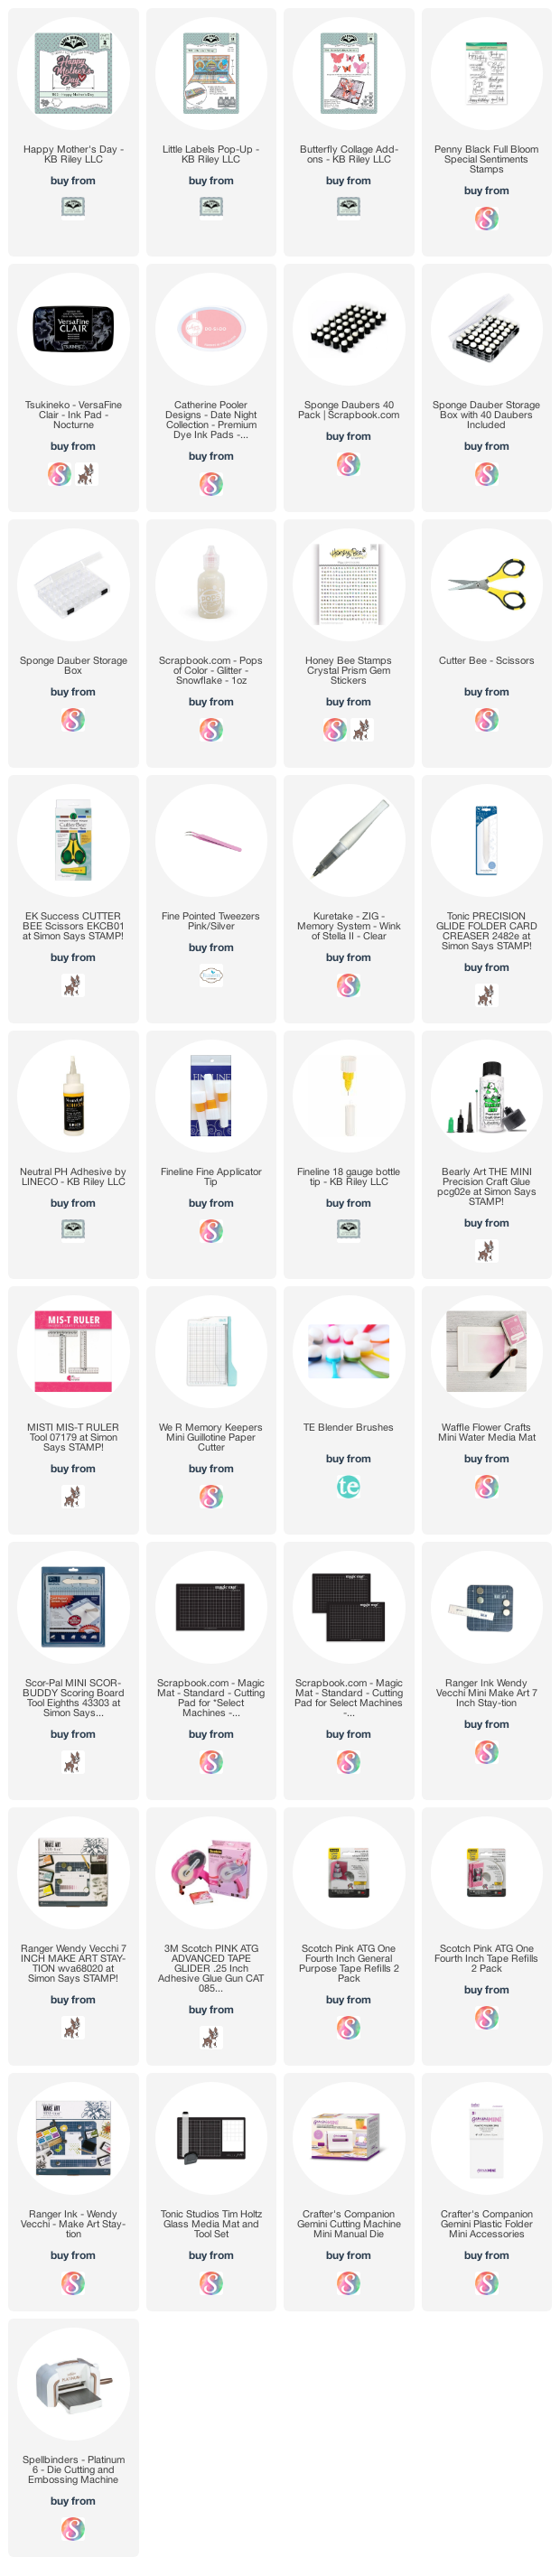
Hello my crafty friends and welcome to Fun Fold Friday here on my blog! While Mother's Day in Canada is over, I couldn't share this card earlier as I had used some of Karen Burniston's new release which we couldn't share until this week. I have a walkthrough of my card with all the details on YouTube:   


Inside I used the Little Labels Pop Up, as well as stickers that were included in the paper package. I like that the Happy Mother's Day comes with the shadow die!


The centre pop up has one of the expanding butterflies from the Butterfly Collage Add On, and the rectangles on the lower portion are from the new Short Rectangles Crosshatch.    


Instead of adding a banner or sentiment to the lower platform, I tied it with pink seam binding. The bow creates a little bulk but since I'm hand delivering the card that isn't a problem.


... one more look ...

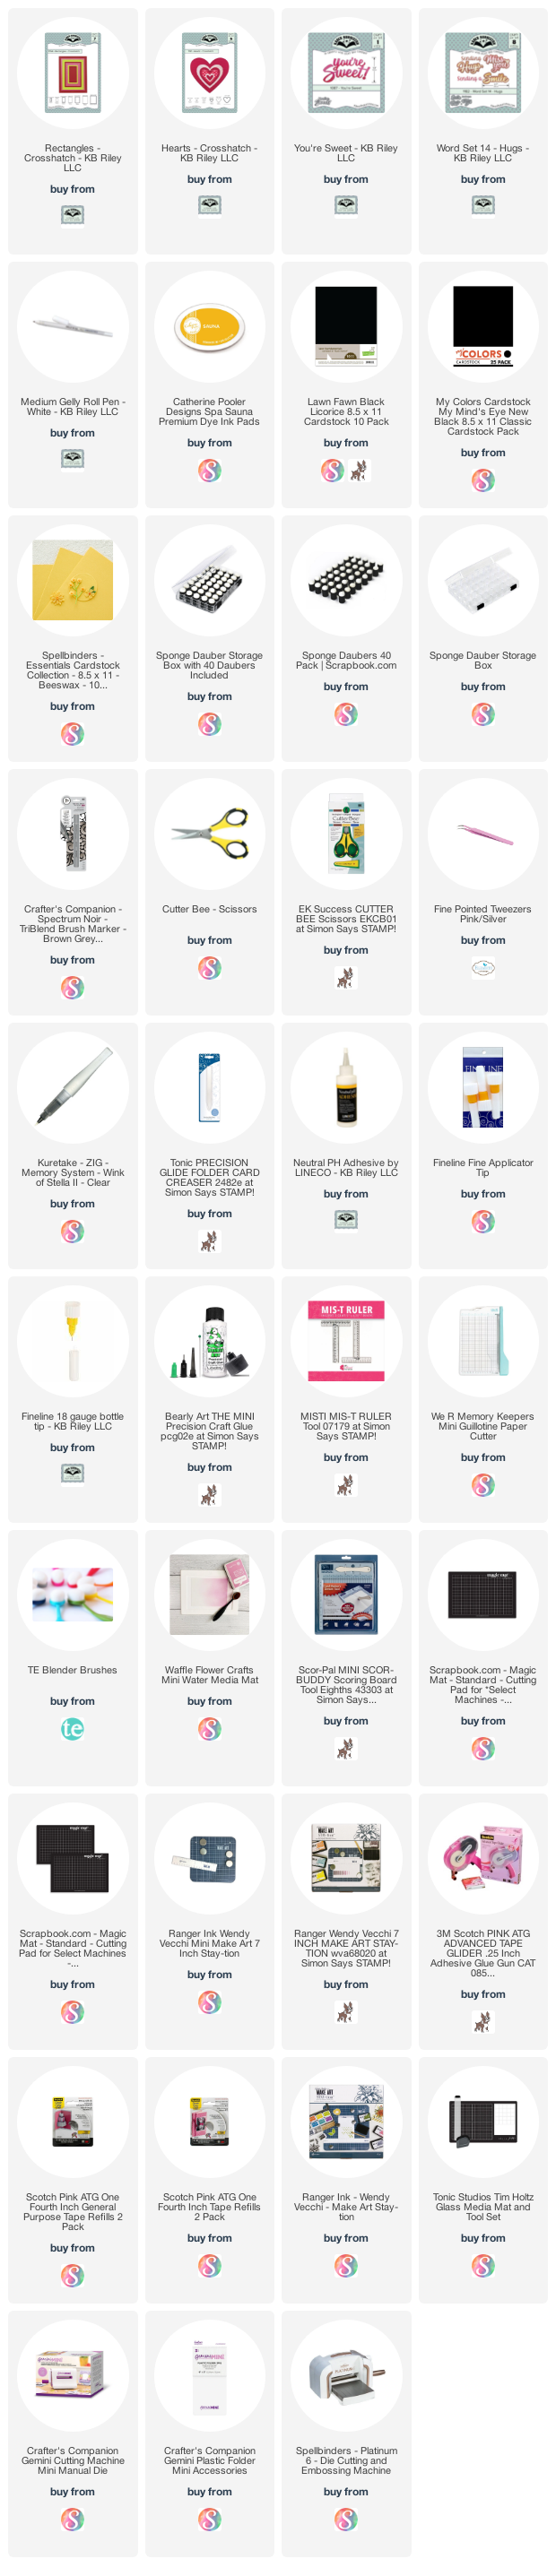
This blog uses affiliate links whenever possible. This means, that at no cost to you, if you make a purchase through one of my affiliate links that I may receive a small commission from your purchase. I only link products that I own, love and use for my card making!

Any supplies I'm unable to link are listed at the very bottom of my post.


Additional Supplies:
Patterned paper, stickers & Cut aparts - Flower Market, Carta Bella (retired)
5 x 6.5" Card & envelope - Michaels
Pink cardstock scrap
Pink seam binding - stash
Washi tape - stash
White card stock - Accent Opaque Digital Super Smooth (Amazon .ca)

Thursday, 12 May 2022

Diamond Flip-Its Hello Card


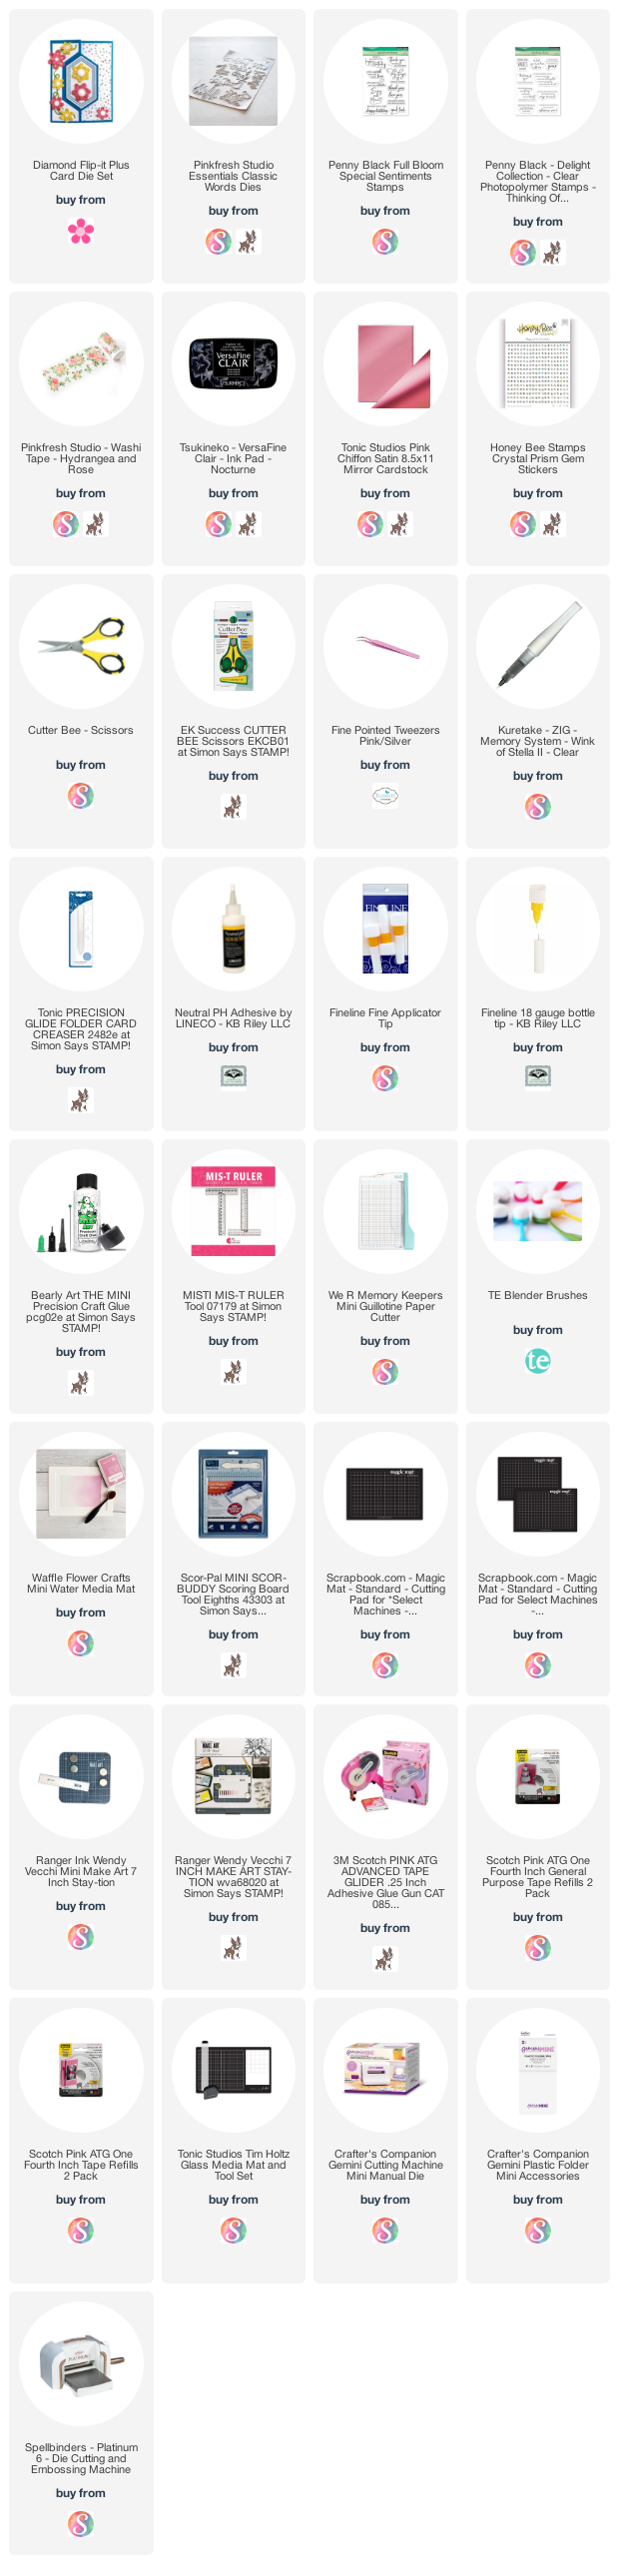
Hello my crafty friends. Today I'm sharing a Flip-It's card - with an additional flap - that I sent to my Mother In Law to let her know we were thinking of her. I have all the details on YouTube:   


This was my first play with this new Flip-It's die set from the Stamps of Life ... it's the Diamond Flip-It's Plus and it gives you an extra flap and the coordinating layering dies too! 


Above is how the card looks when it comes out of the envelope, and below you can see what it looks like when you open it as a regular Flip-Its!


... here is a look at that second flap ...


... and here it is fully open!  Note the crosshatch rectangle inside?  That is part of Karen Burniston's new release, which will be shipping on the 16th.


This blog uses affiliate links whenever possible. This means, that at no cost to you, if you make a purchase through one of my affiliate links that I may receive a small commission from your purchase. I only link products that I own, love and use for my card making!

Any supplies I'm unable to link are listed at the very bottom of my post.


Additional Supplies:
Patterned paper, Cut Aparts and Stickers - Flower Market, Carta Bella (retired)
White card stock - Accent Opaque Digital Super Smooth (Amazon .ca)

Wednesday, 11 May 2022

Landscape Accordion Birthday Card


Hello my crafty friends.  Today I'm sharing another Landscape Accordion card using Karen Burniston's new release. This was sent to a friend, and I have all the details on YouTube:   


The first photo shows what the card looks like as it comes out of the envelope, and below you can see what it looks like open and how it would likely be displayed.

This is the greeting I added, and of course I put a few butterflies on there!


Here is the view from the top!

This blog uses affiliate links whenever possible. This means, that at no cost to you, if you make a purchase through one of my affiliate links that I may receive a small commission from your purchase. I only link products that I own, love and use for my card making!

Any supplies I'm unable to link are listed at the very bottom of my post.


Additional Supplies:
Shimmer Spray
White card stock - Accent Opaque Digital Super Smooth (Amazon .ca)

Tuesday, 10 May 2022

Mini Ball 'Bee' Pop Up Card


Hello my crafty friends and welcome to Karen Burniston's Designer Challenge day. She challenged her Design Team to create a card using a 'Ball and a Small' (pairing one of the three different Ball Pop Up's with a coordinating small animal die).  I took a couple of liberties with the challenge, and didn't create an ANIMAL. Instead I used the new Mini Ball Pop Up to make a bee and paired it with the bee from the new Flutter Charms. I have all the details in my YouTube video:   


I added the new Long Flap & Closure which I trimmed to fit this A2 sized card. I love the layering pieces that come with the closure, and used it with patterned paper to hide magnets which keep the card closed.

I used several different dies to create the little bee face (which I covered in the video) but I wanted to point out that the silly grin was made using two of the fallaway pieces from the bee charm. When you cut the body out of black, there are three fallaway pieces. The smallest one was too small, but when I angled the remaining two, I got this cute crooked grin! 
 

The wings were made with the Crosshatch Hearts and layered with thin foam tape for dimension without a lot of extra bulk.


An upside down heart makes the little stinger. 


I have the rest of the Design Team linked on the right side of my blog, and I hope you will check out what they came up with for the challenge. Karen Burniston will have her post tomorrow (Wednesday) on her BLOG.

This blog uses affiliate links whenever possible. This means, that at no cost to you, if you make a purchase through one of my affiliate links that I may receive a small commission from your purchase. I only link products that I own, love and use for my card making!

Any supplies I'm unable to link are listed at the very bottom of my post.


Additional Supplies:
Shimmer Spray
#12 Elastic
Patterned paper - The Sweetest Thing, My Minds Eye (old, from my stash)
Magnets (click HERE
Black fine point marker

Monday, 9 May 2022

"Bee Happy" Mini Slimline Accordion Card


Hello my crafty friends.  It's an exciting day for fans of Karen Burniston as the Design Team can start sharing sneak peeks of her upcoming release!! I couldn't wait to play with the new Landscape Accordion, which is Mini Slimline sized. ❤️❤️❤️ I have a walkthrough and all the details on YouTube


The new Mini Alphabet has an optional shadow die, and it's a great size to create customized sentiments with a punch. I also added the Bee and Honeycomb from the new Flutter Charms.


I don't usually decorate the back side of my accordion cards, but I couldn't resist doing it on this one.


Below is a view from the top, and you can see I also decorated the Mini Slimline envelope flap.


One more look ... this is how it looks coming out of the envelope.


This blog uses affiliate links whenever possible. This means, that at no cost to you, if you make a purchase through one of my affiliate links that I may receive a small commission from your purchase. I only link products that I own, love and use for my card making!

Any supplies I'm unable to link are listed at the very bottom of my post.


Additional Supplies:

White card stock - Accent Opaque Digital Super Smooth (Amazon .ca)  

Friday, 6 May 2022

Slimline Happy Birthday Pop Up Tutorial


Hello crafty friends.  Welcome to Fun Fold Friday here on my blog, and today I have a quick tutorial on YouTube, showing how to turn the Giant Happy Birthday word from Lawn Fawn into a Pop Up! You can find my video HERE:  


I used some bright and cheery paper from my stash, and the tag is a cut apart from one of the sheets in the package. Some of the hearts are glittery, which was a fun touch. I love papers that have a bit of glitter or foil to them!


Below is Lawn Fawn's Giant Happy Birthday and how it looks inside the card as a Pop Up. I wanted to show you another way to use these large word dies!


One more look ...

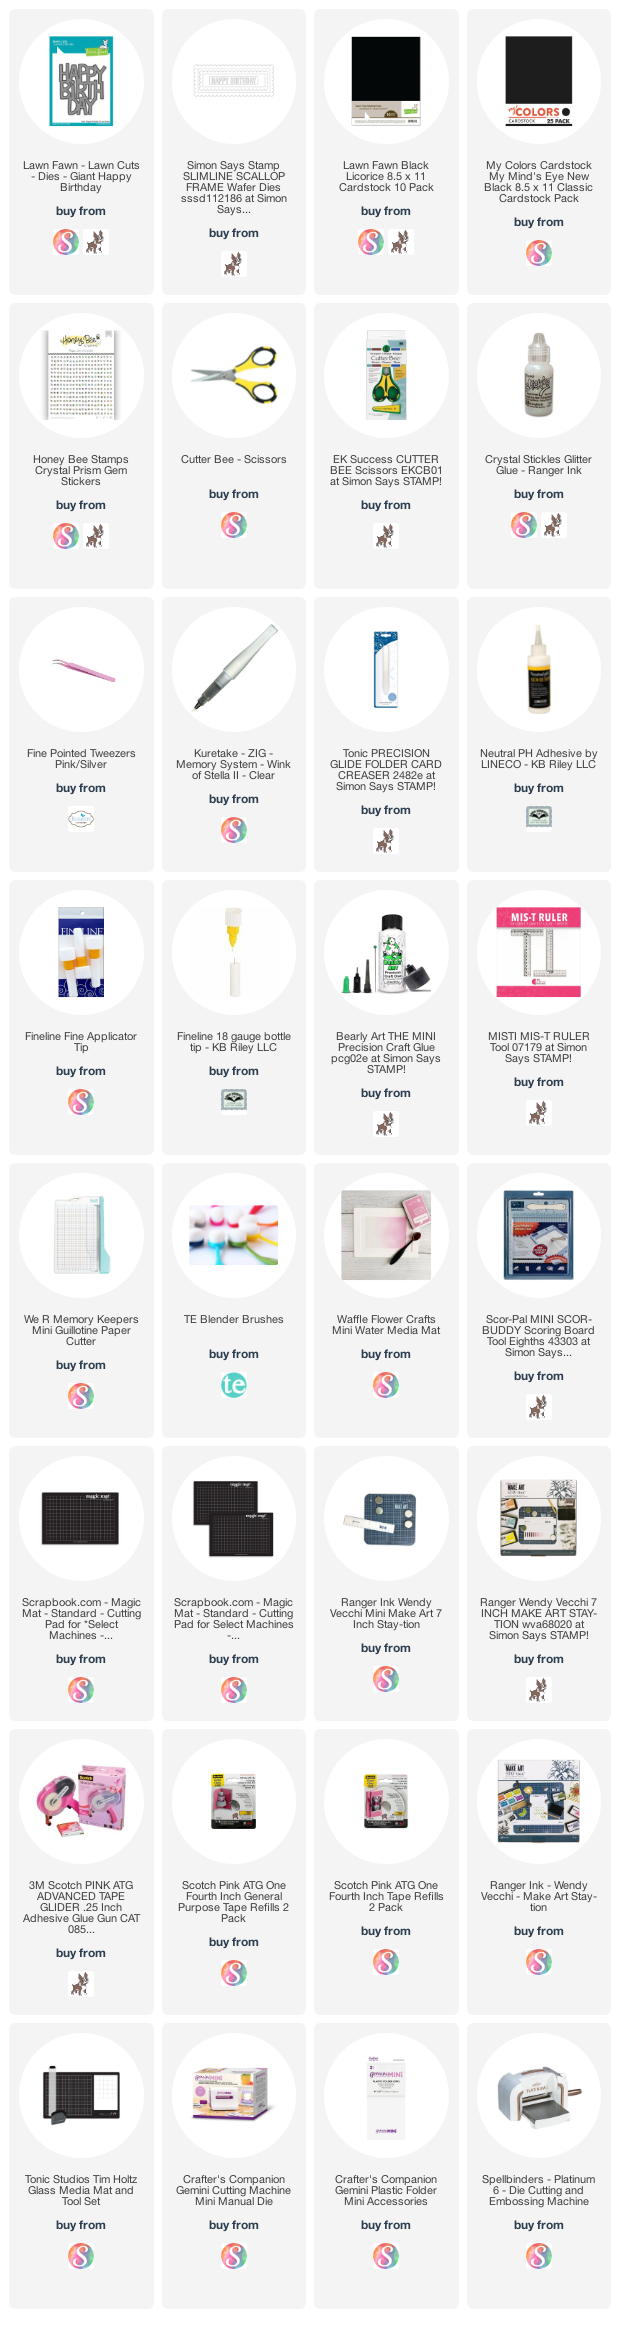
This blog uses affiliate links whenever possible. This means, that at no cost to you, if you make a purchase through one of my affiliate links that I may receive a small commission from your purchase. I only link products that I own, love and use for my card making!

Any supplies I'm unable to link are listed at the very bottom of my post.


Additional Supplies:
Patterned paper & tag - Over the Rainbow, Recollections
Pink twill - Stampin' Up