Wednesday, 16 March 2022

Cheery Four Panel Fold Card


Hello my crafty friends.  Today I'm sharing a fun fold card that is ready to send off for Happy Mail. I used the Four Panel Fold Card Die with Layers from Divinity Designs, and some Doodlebug goodies with all of the details on YouTube:  


The first photo shows what the card would look like coming out of the envelope, and below you can see the card fully open.


I added some glitter glue here and there for some sparkle ... white gel pen highlights too.


The back of the card has a stamped sentiment and a few more bits from Doodlebug, and that is where I will write the message.


This blog uses affiliate links whenever possible. This means, that at no cost to you, if you make a purchase through one of my affiliate links that I may receive a small commission from your purchase. I only link products that I own, love and use for my card making!

Any supplies I'm unable to link are listed at the very bottom of my post.


Additional Supplies:
White 12 x 12" card stock - Michaels


Tuesday, 15 March 2022

Slimline Birthday Card with Cupcakes


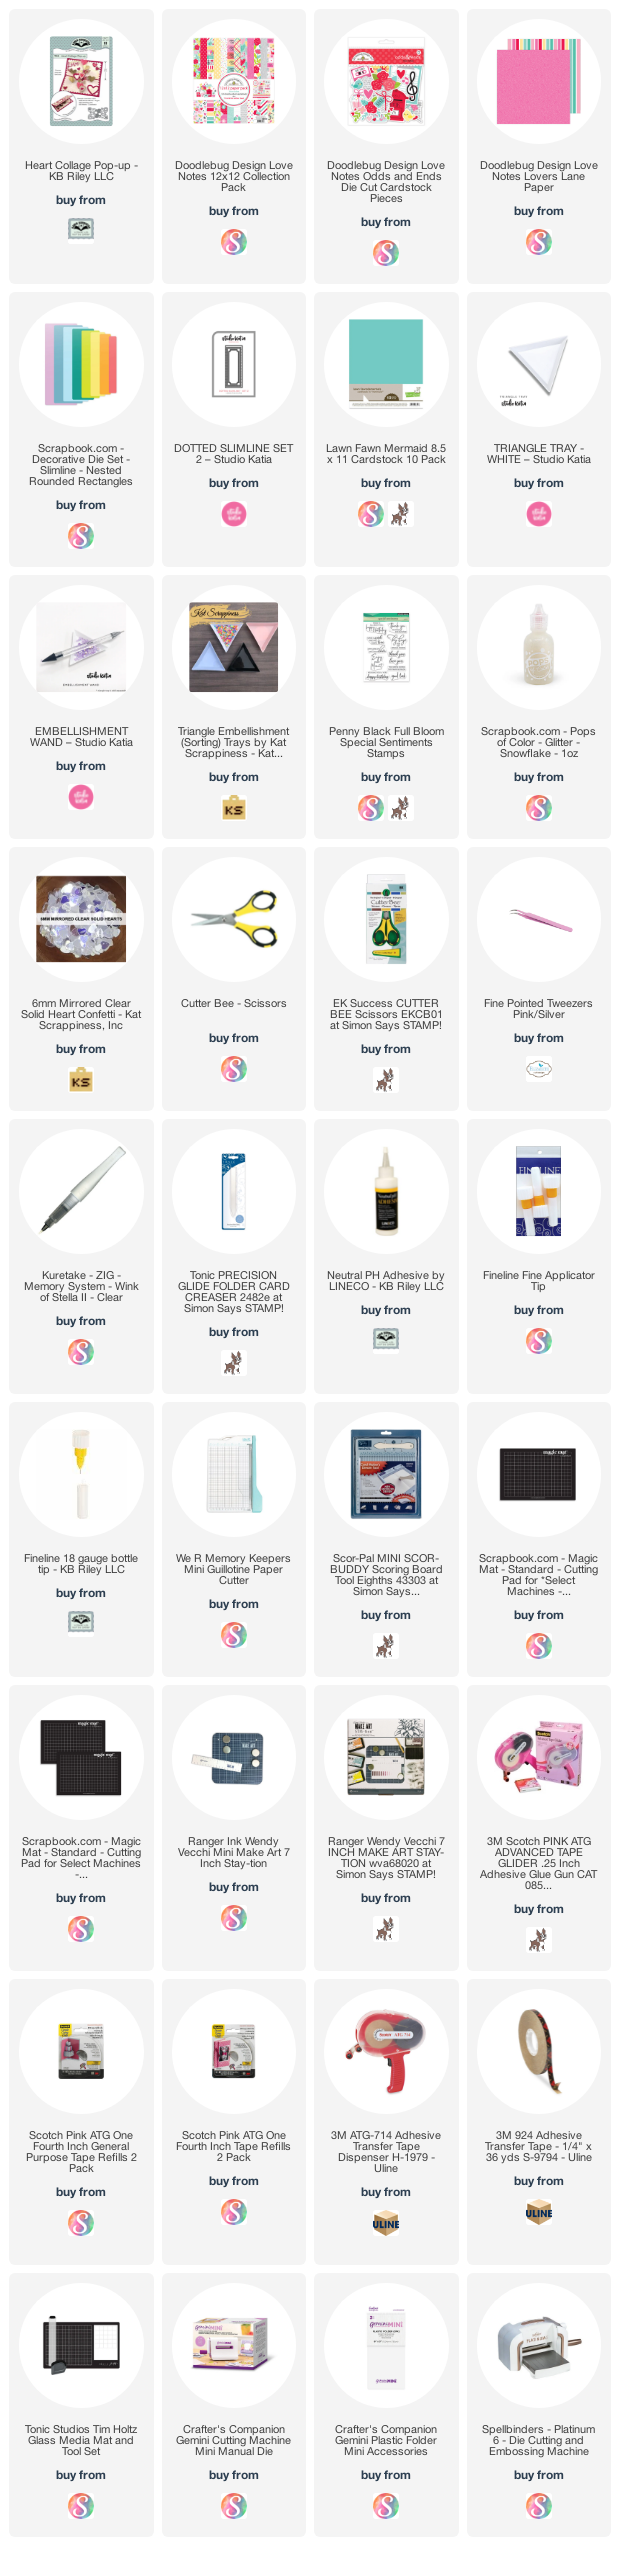
Hello my crafty friends! I have been having a lot of fun using a 12 x 12" paper package and embellishment set from Doodlebug the past month or so. The collection is called Love Notes and while it definitely has a Valentine vibe, I used it today for this Birthday card as well!

I've long been a fan of the 'Odds & Ends' embellishments from Doodlebug and I have been making an effort to USE them on my cards instead of just hoarding collecting them. 😊  For Birthday Sparkle, I added mirrored hearts and glittery Pops of Color.


The Slimline dies are from both Studio Katia and Scrapbook .com and the stripes inside use those paper strips I shared in a video last week. Click HERE if you want more information. 


Love love LOVE this sentiment stamp set from Penny Black, which is new to my craft room, and I added more of the cute elements from Doodlebug inside the card as well. I had a heart leftover from a previous card that used Karen Burniston's Heart Collage Pop Up so I added that since it matched so well. 


This blog uses affiliate links whenever possible. This means, that at no cost to you, if you make a purchase through one of my affiliate links that I may receive a small commission from your purchase. I only link products that I own, love and use for my card making!

Any supplies I'm unable to link are listed at the very bottom of my post.


Additional Supplies:
White card stock - Accent Opaque Digital Super Smooth (Amazon .ca)

Monday, 14 March 2022

Slimline Card With Pop Up Balloons


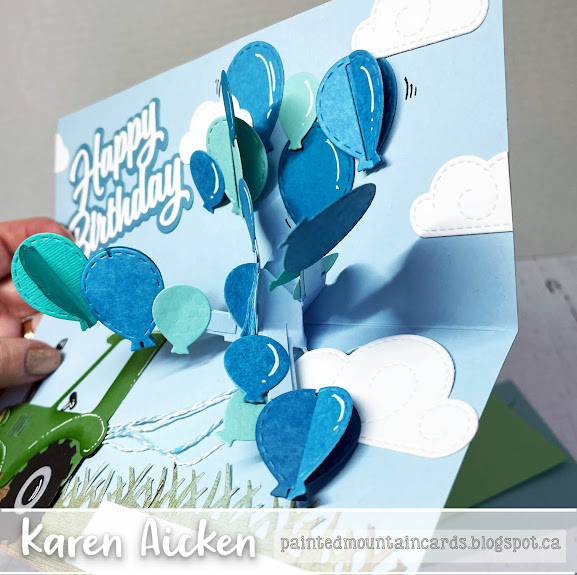
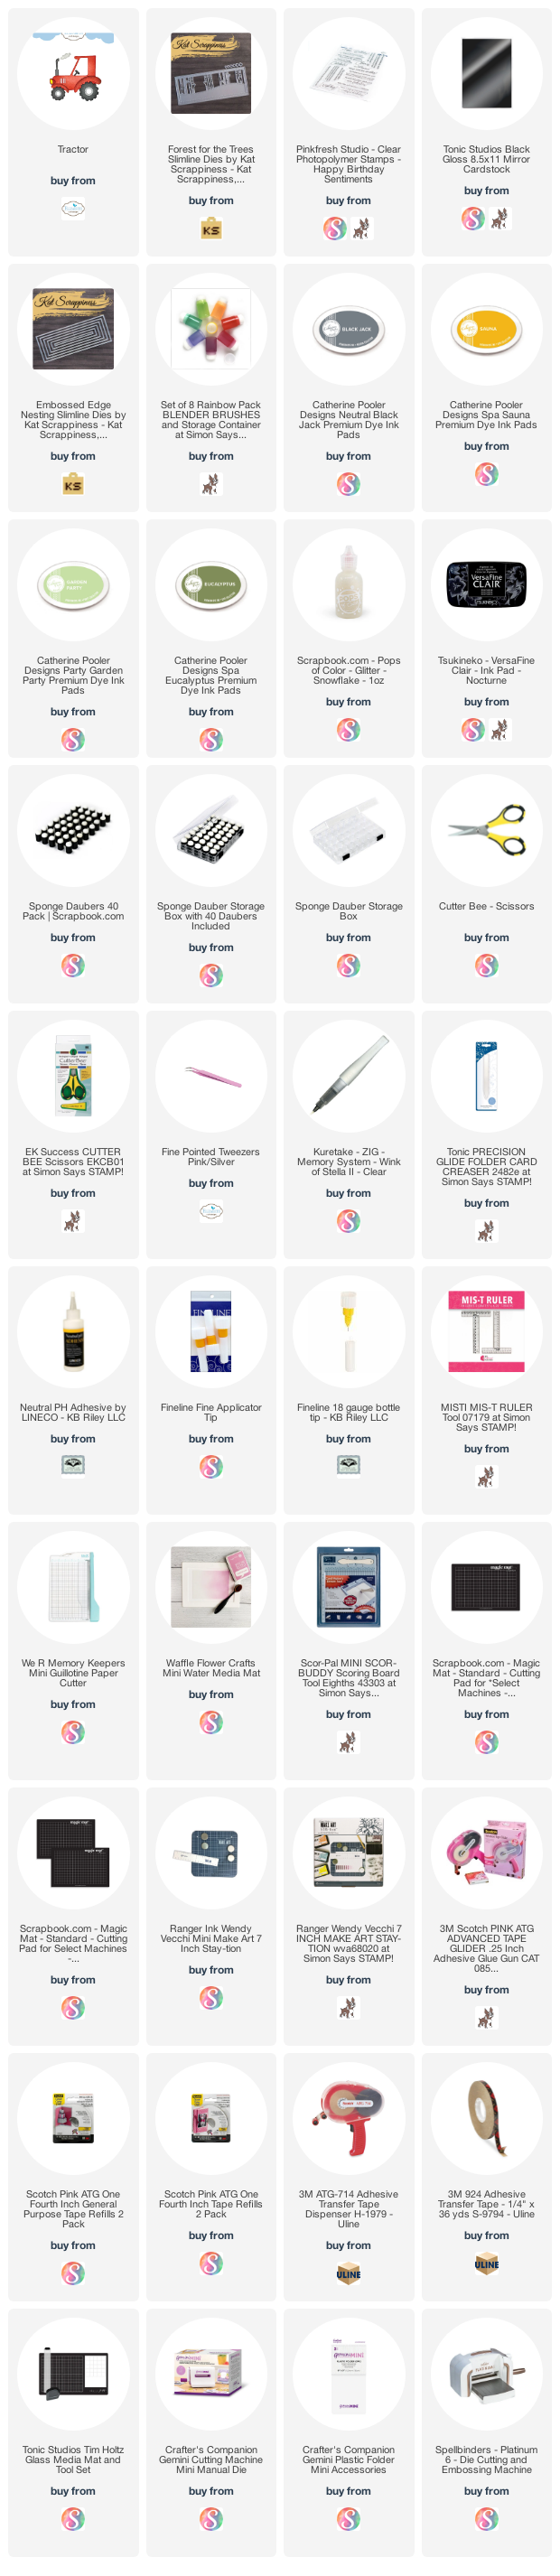
Hello my crafty friends and welcome to Masculine Card Monday here on my blog. Today I'm sharing the Pop Up Slimline card I made for our Son In Law! Once again I used the Forest Slimline die by Kat Scrappiness on the card front along with a humorous sentiment from Clearly Besotted. The balloons give a hint at what is inside ...


I used Karen Burniston's Heart Collage Pop Up with the Balloon Collage Add on for the mechanism. The twine was added to the balloons and to the ECD tractor. 


Our SIL has a tractor on their farm and I know he is going to get a kick out of his card. When he finally receives it, that is - it is SLOWLY making it's way through the mail system, and he didn't get it in time for his Birthday. Sigh.


This blog uses affiliate links whenever possible. This means, that at no cost to you, if you make a purchase through one of my affiliate links that I may receive a small commission from your purchase. I only link products that I own, love and use for my card making!

Any supplies I'm unable to link are listed at the very bottom of my post.


Additional Supplies:
Blue cardstock and scraps
Twine - stash
White card stock - Accent Opaque Digital Super Smooth (Amazon .ca)
Green card stock scraps 
Patterned paper scrap - Basic Grey (old, from my stash)

Sunday, 13 March 2022

'Thanks For the Therapy' Card


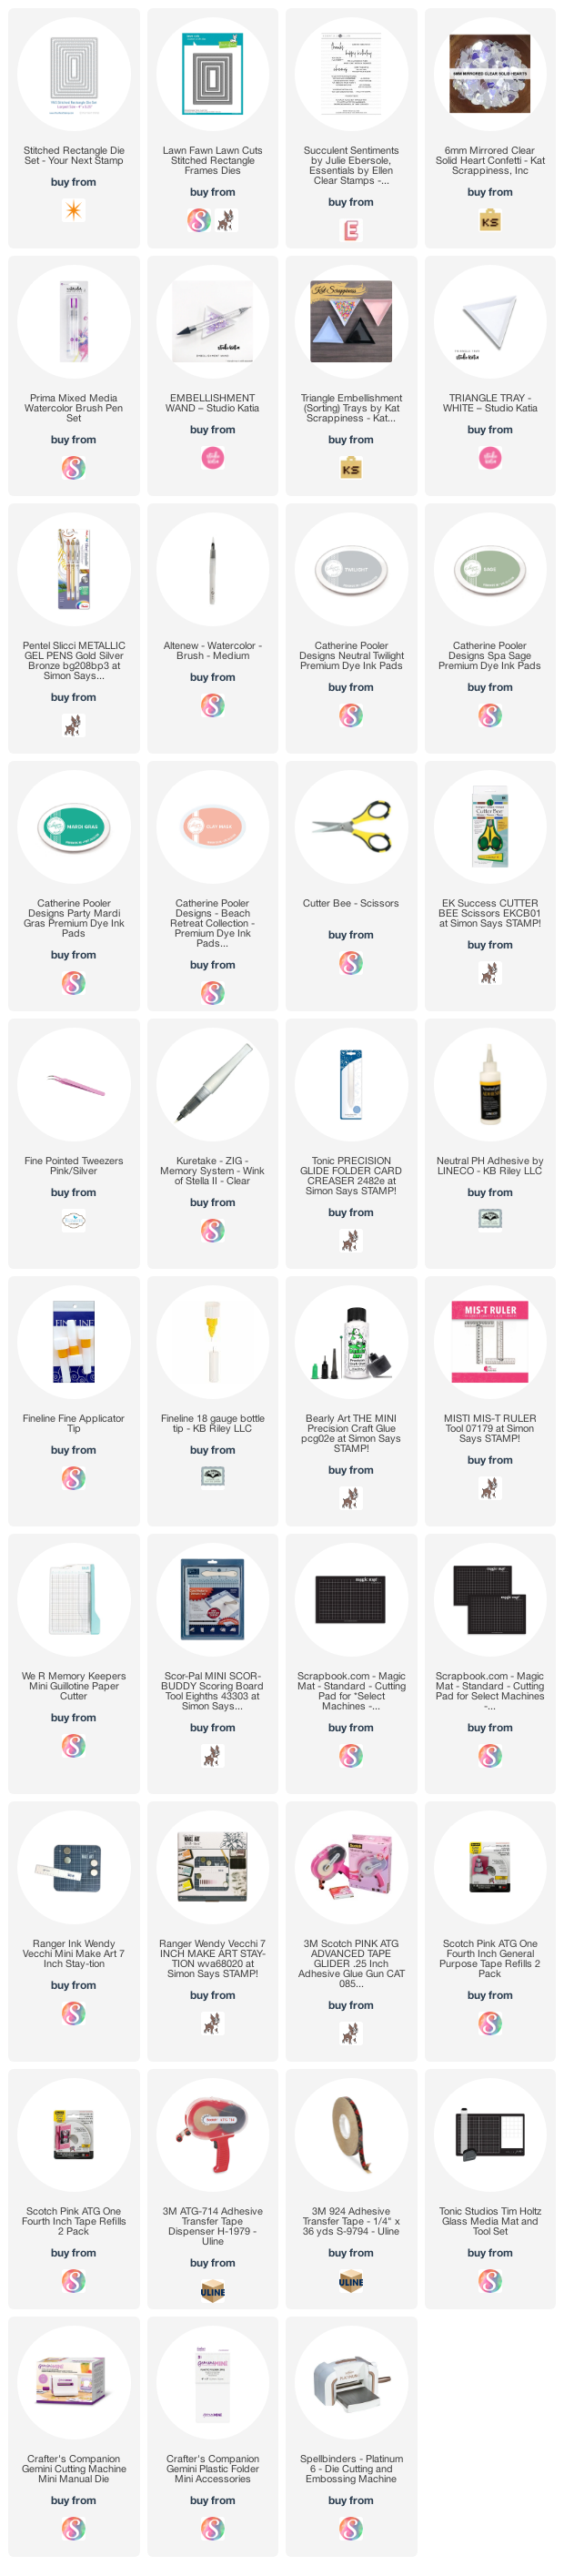
Hello my crafty friends. Today I'm sharing the first card I've made with one of my Birthday gifts ... the Plentiful Plants bundle from Stampin' Up. I had my eye on it when it first came out last year but didn't order it. I was happy to add it to my craft room as a gift from our eldest daughter and had to play right away!  In fact, I made this card and sent it to her, as she wanted to send it to a friend. I had been reading her some of the sentiments from the Succulent Sentiments (from Ellen Hutson) and she said how perfect some of them were for herself and long-time friend so I immediately made two cards and popped them in the mail to her. I'll share that second card another day.

Both the decorative front panel and the ombre card base are card & envelope sets from Hobby Lobby. I bought them a couple of years ago when they were on sale, and now it's time to start actually using them. Ha. I used a stitched rectangle die to cut the front and back floral card apart, then added the front to the green ombre card base. The back of the card was then die cut with a couple of stitched frames and one was added inside. The other frames will be used on other cards using the same package.

I liked this stamp set because the images are solid, so there is no colouring involved. After stamping and die cutting the images, I arranged them on the front of the stitched panel and added some gold gel pen highlights. A few mirrored hearts for additional sparkle and shine, and a stamped & fussy cut 'thanks' and the card front was finished.

 
Inside, I added one of the stitched frames and a stamped white panel with one more mirrored heart. The sentiment reads "for always being there when I can't afford a therapist.". 


This blog uses affiliate links whenever possible. This means, that at no cost to you, if you make a purchase through one of my affiliate links that I may receive a small commission from your purchase. I only link products that I own, love and use for my card making!

Any supplies I'm unable to link are listed at the very bottom of my post.


Additional Supplies:
Plentiful Plants bundle - Stampin' Up
White card stock - Accent Opaque Digital Super Smooth (Amazon .ca)
Green and tan card stock scraps
Ombre and printed A2 cards/envelopes - the Paper Studio, Hobby Lobby (from my stash)

Friday, 11 March 2022

Hello Friend, Mini Slimline Card


Hello my crafty friends and welcome to and non Fold Friday here on my blog. Today I'm sharing the Mini Slimline card I sent to a friend for Happy Mail and all the details are in my YouTube video:  


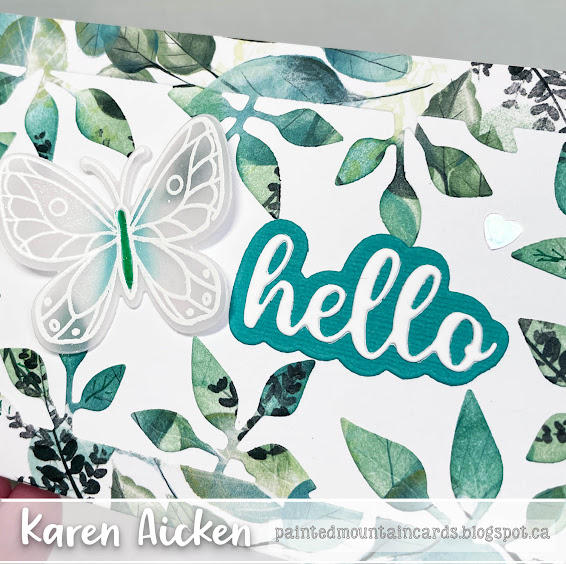
I used 'That Paper', which this particular friend sent to me as a Random Act of Kindness. It's available at Hobby Lobby and of course we don't have HL in Canada. I absolutely love this paper and make sure to USE it and not HOARD it as I would normally do with paper I love but can't replace when it's gone.  NOTE:  It's referred to as "That Paper', as a talented paper crafter Bette Manning uses it a lot and shares her beautiful creations on the Facebook group Stamp Junkies. She started a full on craze using 'That Paper', which is how I became aware of it in the first place. 


I die cut the Mini Slimline Foliage Frame (linked below) from 'That Paper', and adhered it to a white card base. The butterfly was stamped and heat embossed with white embossing powder onto vellum. I added colour in the centre area with water based markers spreading the colour with a water brush then Wink of Stella for lots of shimmer.

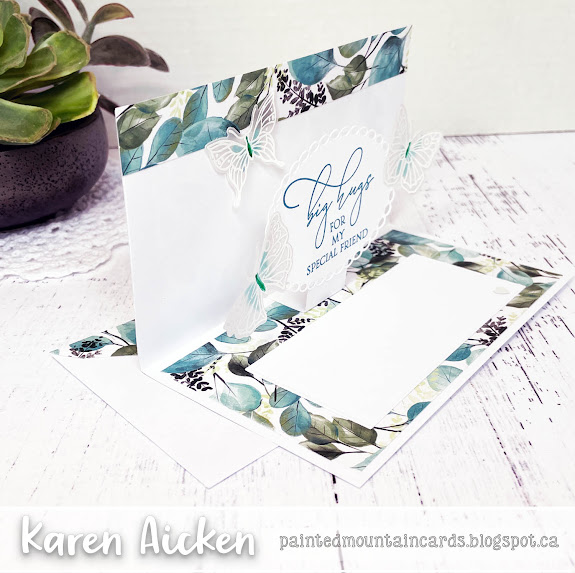
Inside I created a simple box pop up to add the stamped oval and more butterflies to. Not one to waste pretty paper, I added a leftover piece to the top edge.  Note:  HERE is a link to my tutorial on creating a simple box pop up - once you get the hang of it (it's so easy - I promise!) you can vary the measurements of the platform to work with the card size you are creating.


I wrote my note on the white panel which has a lovely embossed edge, and added more of the patterned paper to the envelope.


This blog uses affiliate links whenever possible. This means, that at no cost to you, if you make a purchase through one of my affiliate links that I may receive a small commission from your purchase. I only link products that I own, love and use for my card making!

Any supplies I'm unable to link are listed at the very bottom of my post.


Additional Supplies:
Teal fine point marker
Teal card stock scrap
White card stock - Accent Opaque Digital Super Smooth (Amazon .ca)
Patterned paper - Eucalyptus, Hobby Lobby

Thursday, 10 March 2022

Leprechaun Pop Up Card


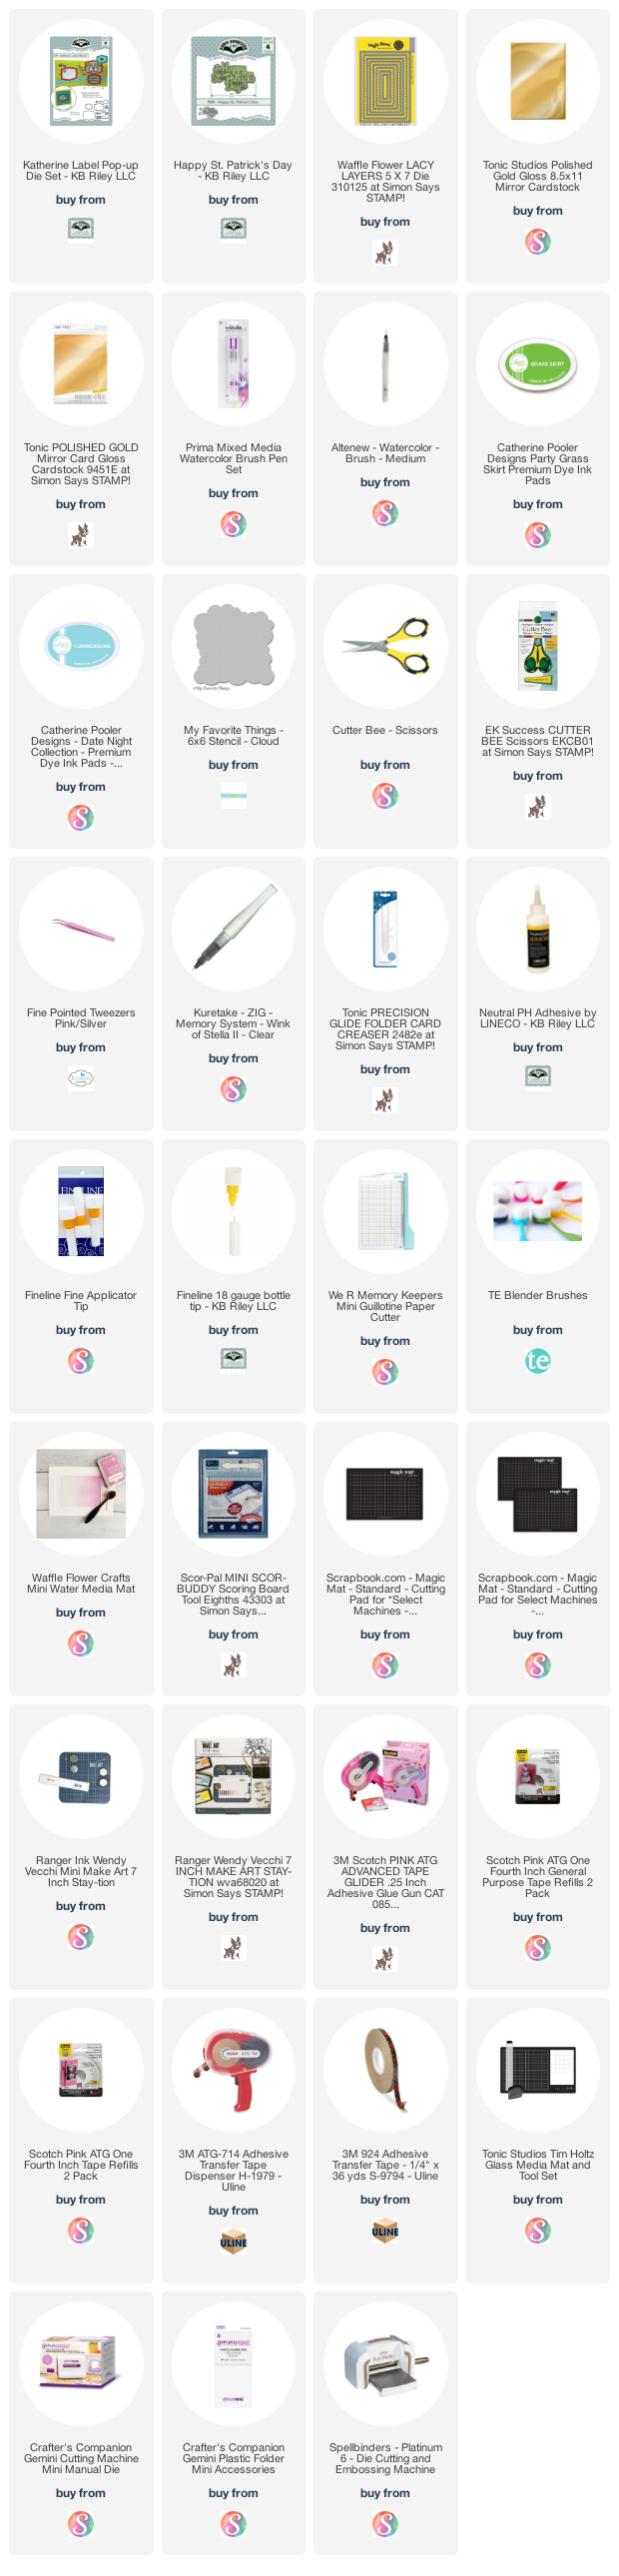
Hello my crafty friends.  Several years ago, I saw these St. Patrick's Day stickers at a dollar store and thought they would be cute on cards. Into the stash they went. And there they stayed. This year, I pulled them out again and decided to USE them. I didn't manage to use all of them, but I did make a good dent into the two packages I had purchased. This large Leprechaun was in one of the packages, so did some ink blending on a stitched scalloped panel and added that to a 5 x 7" card base. The (foiled and puffy) stickers were adhered with glue, since they are so old I didn't have any faith in the remaining adhesive. 


Inside, I used the Katherine Label Pop Up by Karen Burniston to animate the Happy St. Patrick's Day & shadow (also KB), then added a few more stickers from the other package.


I added the additional shamrocks to the sentiment, cutting them from gold mirror card stock, and also used blending brushes to give the words an ombre look.


While I had everything out anyhow, I went ahead and made a couple of Mini Slimlines to send to the Grandkids, but I likely won't get them posted on my blog before St. Patricks Day. So ... I'll be saving them for next year. I used up most of the stickers at least! 😊

This blog uses affiliate links whenever possible. This means, that at no cost to you, if you make a purchase through one of my affiliate links that I may receive a small commission from your purchase. I only link products that I own, love and use for my card making!

Any supplies I'm unable to link are listed at the very bottom of my post.


Additional Supplies:
Stickers - Old, from my stash
White card stock - Accent Opaque Digital Super Smooth (Amazon .ca)

Wednesday, 9 March 2022

Floral Slimline Birthday Card


Hello my crafty friends!  I have to say, I really enjoyed making this card. I popped it in the mail right away, as it was a Birthday card for a friend ... but I would have loved to have had it on my table for awhile so I could enjoy it too. 😊


Most of the products I used are from Pinkfresh Studio ... the large floral spray was one of the first PFS items I had purchased, back in 2020. I was very intrigued, and purchased the stamp set, coordinating die AND the layering stencils. The first time I used them I was blown away - such a brilliant concept with the layering stencils for easy peasy colouring. I also like the loose, whimsical style of this set so no need to 'stay inside the lines' or use 'proper' botanical colours. ❤️❤️❤️


I'm still playing with that retired paper package from Carta Bella (Flower Market) and I added one of the cutaparts inside as a place to stamp the sentiment. The butterflies are also from Pinkfresh - again, stamp, die and layering stencils. There is also a hot foil plate for the butterflies but I'm not going there. Ha. 

This blog uses affiliate links whenever possible. This means, that at no cost to you, if you make a purchase through one of my affiliate links that I may receive a small commission from your purchase. I only link products that I own, love and use for my card making!

Any supplies I'm unable to link are listed at the very bottom of my post.


Additional Supplies:
Patterned paper, stickers and cut aparts - Flower Market, Carta Belle
White card stock - Accent Opaque Digital Super Smooth (Amazon .ca)

Tuesday, 8 March 2022

Pop Up St. Patrick's Day Card


Hello my crafty friends.  Today I'm sharing a Pop Up card for St. Patrick's Day that is also a Slimline card.  The front features Karen Burniston's new Happy St. Patrick's Day die (with shadow!) and a sweet image from Doodlebug Designs.


Inside, I created a simple box pop up to animate a few more of the elements from the same package. 

HERE is a link to my tutorial on creating a simple box pop up - once you get the hang of it (it's so easy - I promise!) you can vary the measurements of the platform to work with the card size you are creating.


I liked the gold foil on some of the elements, so also added some gold circle peel-offs!.


This blog uses affiliate links whenever possible. This means, that at no cost to you, if you make a purchase through one of my affiliate links that I may receive a small commission from your purchase. I only link products that I own, love and use for my card making!

Any supplies I'm unable to link are listed at the very bottom of my post.


Additional Supplies:
Green card stock - stash
Gold circle stickers - Dazzles

Monday, 7 March 2022

Tractor & Woods Slimline Birthday Card


Hello my crafty friends and welcome to Masculine Card Monday here on my blog. Today I'm sharing the Slimline card I sent to our niece's hubby for his Birthday. His family has a farm, so I thought the tractor die from Elizabeth Craft Designs would be perfect. He is also an avid outdoorsman ... thus the forest background die.

I pretty much used scraps for the tractor, including the black mirror card stock. That stuff can be hard to find so I save all but the tiniest of pieces.


Here is a peek at the inside ...


This blog uses affiliate links whenever possible. This means, that at no cost to you, if you make a purchase through one of my affiliate links that I may receive a small commission from your purchase. I only link products that I own, love and use for my card making!

Any supplies I'm unable to link are listed at the very bottom of my post.


Additional Supplies:
Scraps of Silver ardstock - stash
Pool Party cardstock - Stampin' Up
Dot stamp - Stamps by Judith
White card stock - Accent Opaque Digital Super Smooth (Amazon .ca)

Sunday, 6 March 2022

Sweet Birthday Shutter Card


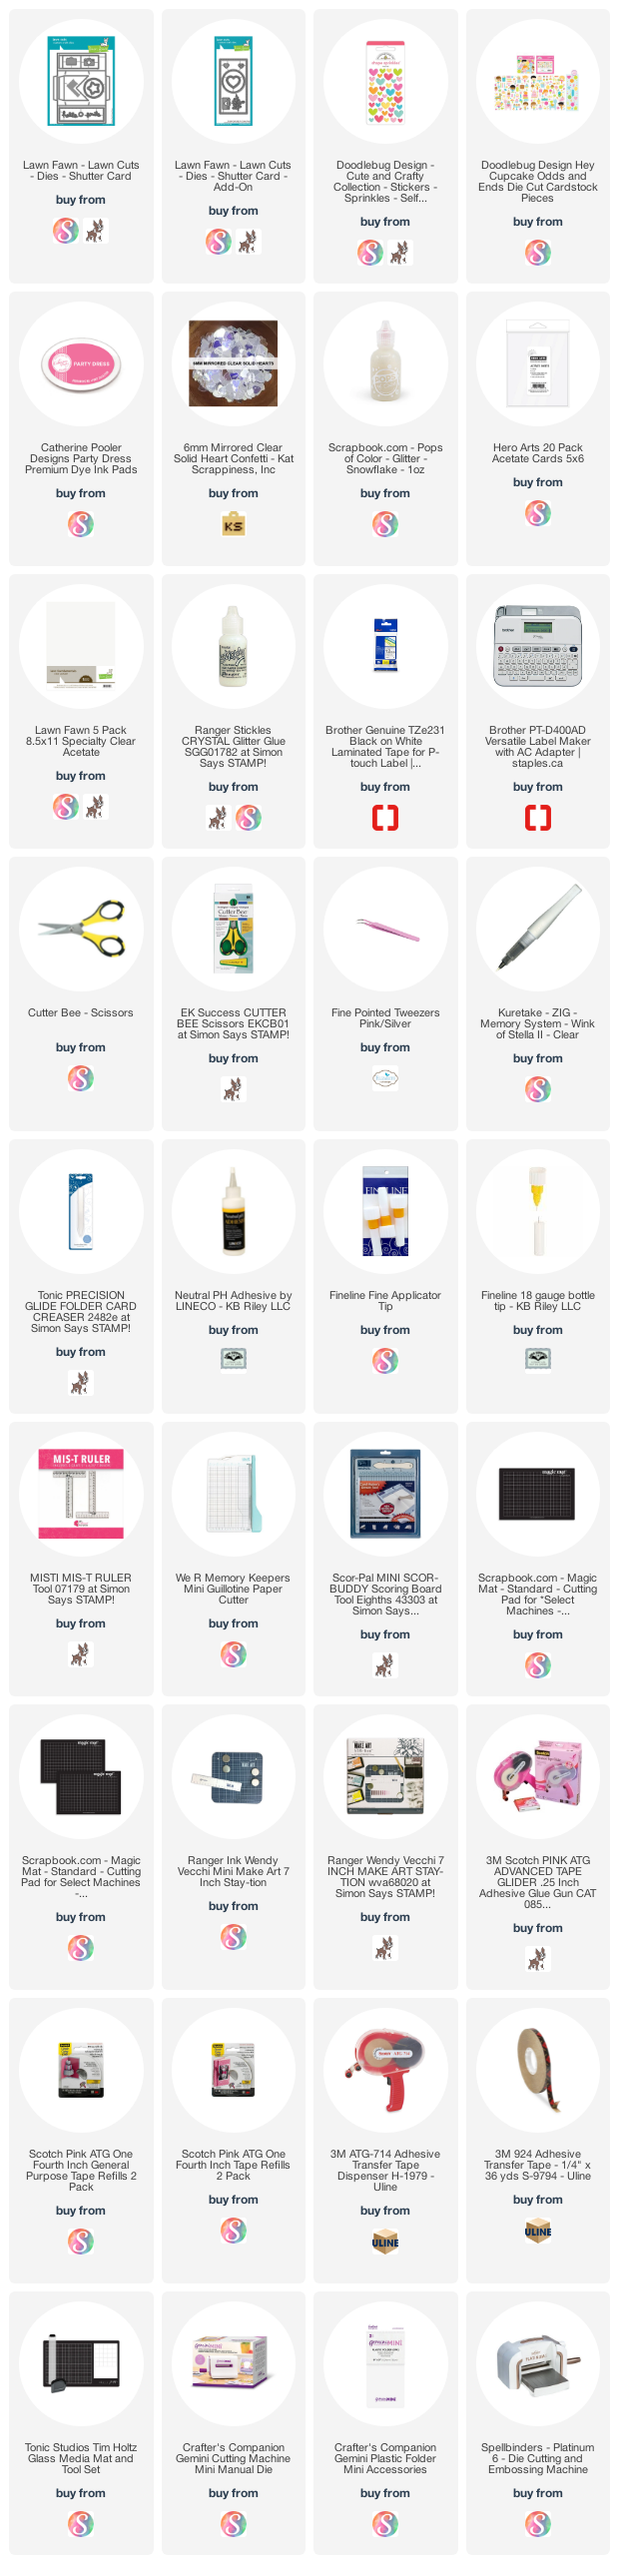
Hello my crafty friends.  I'm back with ANOTHER shutter card made using the Lawn Fawn Shutter Card die set. I am having so much fun with it - as soon as I finish one card I want to make another. 😊 I have a walkthrough of my card on YouTube, including a tip on how I deal with card stock that cracks when folding. 


This card went to our Nephew's little one, who was celebrating a birthday last month. 


I added a sentiment block on the reverse side, and that is where we signed our names as well. The stamp set I used on the back is retired, and I thought MFT might have come out with a similar one but I was mistaken.


This blog uses affiliate links whenever possible. This means, that at no cost to you, if you make a purchase through one of my affiliate links that I may receive a small commission from your purchase. I only link products that I own, love and use for my card making!

Any supplies I'm unable to link are listed at the very bottom of my post.


Additional Supplies:
Patterned paper - The Little Miss, DCWV (old, from my stash)
Handwritten Happiness - MFT Stamps (retired) 
Dimensional Sticker - old, from my stash
White card stock - Accent Opaque Digital Super Smooth (Amazon .ca)