Thursday, 16 December 2021

Six Christmas Wreath Cards


Hello!  MANY years ago, I got this Christmas card kit from Stampin' Up. I don't actually remember ordering it as it's a photo card kit with the idea being you add a 4 x 6 photo inside the ivory scalloped frame. That made me think it was probably a gift from my then-Stampin' Up demonstrator. At any rate, I pulled it out and decided to USE IT UP. 

Well, I didn't actually get to use the whole kit, but I did use half of it and some more really REALLY old patterned paper from my stash, so I'm calling it a win. The Kraft card bases are 5 x 7" and have the polka dot strip printed on one edge. The kit came also came with with lovely ivory envelopes, the scalloped frames, the sentiment strips and the winter sprig that I added inside the cards. The elements were all stickers at one time, but they are so old I didn't trust that the adhesive would hold up so I ended up attaching everything with glue.


I created the wreath's from a (retired) bundle from Stampin' Up, and stamped sentiments (both stamp sets are long retired).

Below shows the inside of three of the cards - they were all done pretty much the same.
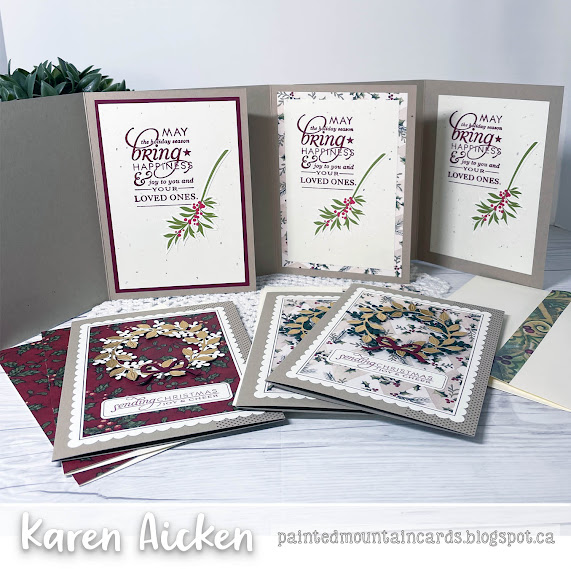

I was so happy with how these cards turned out and especially enjoyed using so many older items from my stash. The patterned papers are from Magenta (2003), Provocraft (also 2003) and Daisy D (about the same age). The Simply Sent Card Kit was dated 2006.

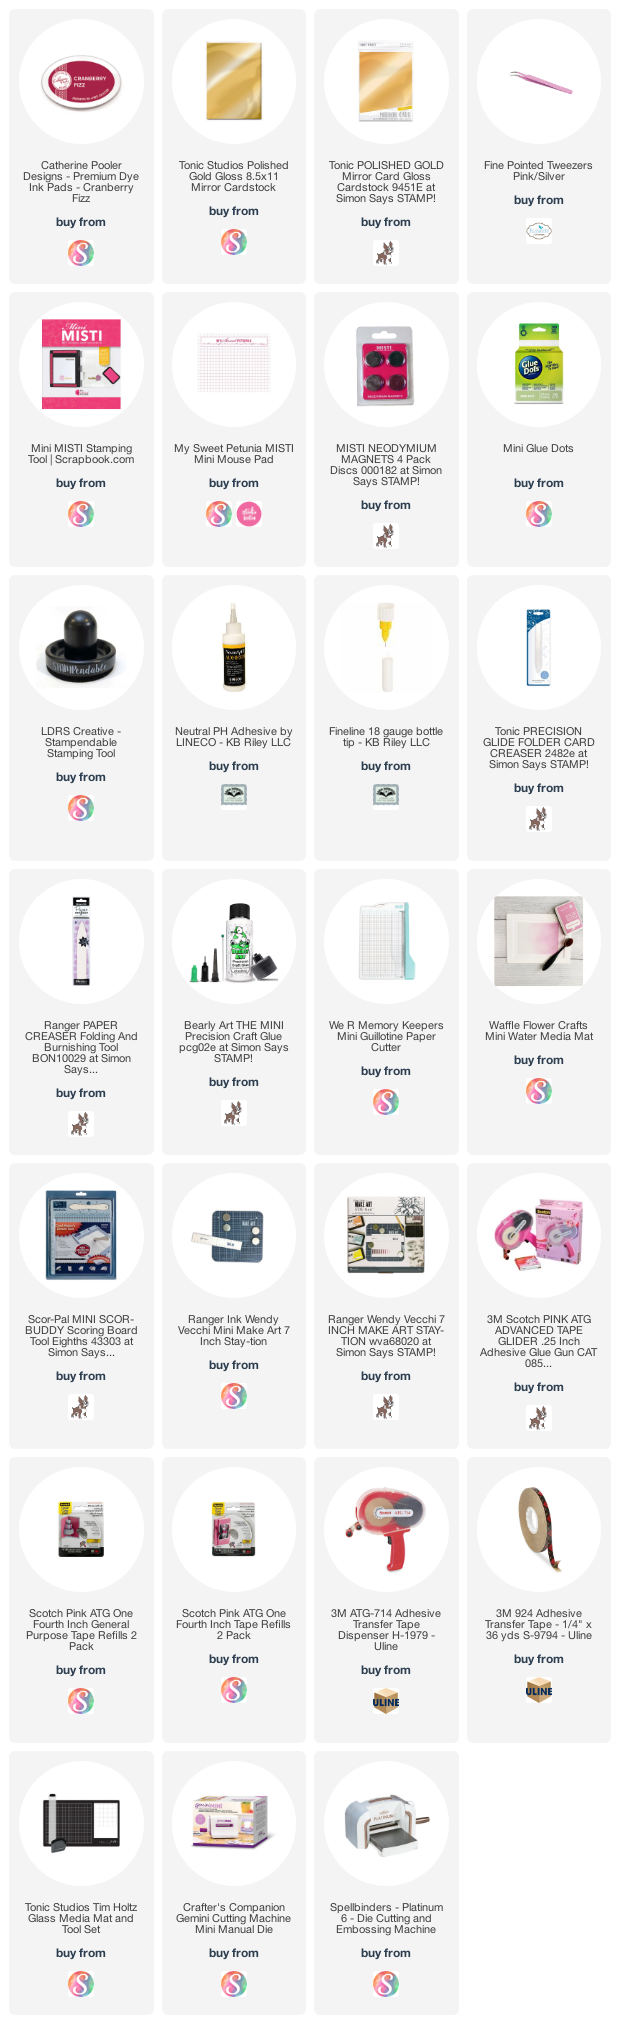
This blog uses affiliate links whenever possible. This means, that at no cost to you, if you make a purchase through one of my affiliate links that I may receive a small commission from your purchase. I only link products that I own, love and use for my card making!

Any supplies I'm unable to link are listed at the very bottom of my post.

Additional Supplies:
Confetti card stock - stash
Green and burgundy card stocks - stash
Wreath Builder die set - Stampin' Up (retired)
Sentiments - Stylish Sentiments Holiday, Papertrey Ink (retired)
Shimmer Spray

Wednesday, 15 December 2021

Vintage Christmas Half Shutter Card


Hello!  I managed to USE some older items for my holiday cards this year and this card features mostly those in addition to a couple of products added to my craft room in 2021. I have been enjoying the Half Shutter Card With Layers die set from Divinity Designs, and for this card I paired it with some of those older items to create a vintage Christmas card. I have all the details on YouTube

Since I only used half of the 12 x 12" sheet of red card stock for this one, I have another Christmas Half Shutter card made and will share another day. As I said in the video, this K & Co Chipboard element had already been used twice - once layered on a large patterned paper label and tied to a gift bag with velvet ribbon. That was for my Mom, and she returned it to me on a wrapped gift (as a topper) a few years later. I saved it and that was my inspiration for this card.

 
Inside I used the Slim Flaps and Frames, a die set by Karen Burniston, and a stamped sentiment from Papertrey Ink. The Pine Cone and sprigs are retired from Stampin' Up.


One more look ... 

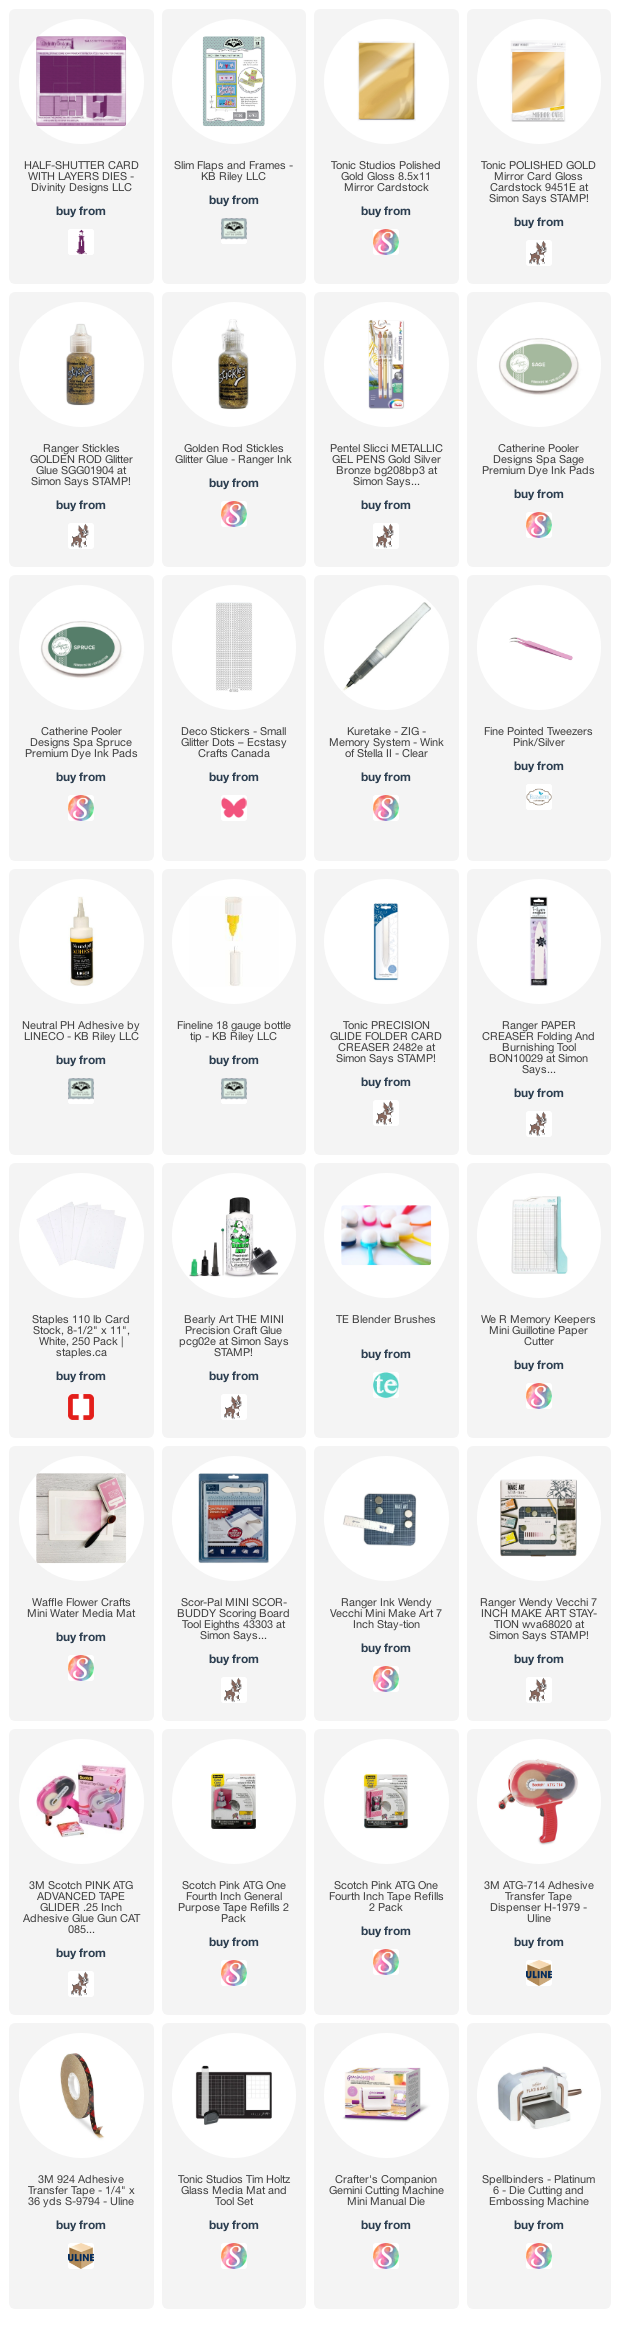
This blog uses affiliate links whenever possible. This means, that at no cost to you, if you make a purchase through one of my affiliate links that I may receive a small commission from your purchase. I only link products that I own, love and use for my card making!

Any supplies I'm unable to link are listed at the very bottom of my post.

Additional Supplies:
Patterned paper - Deck the Halls, Stampin' Up (retired)
Burgundy card stock - stash
Confetti card stock - stash
Chipboard label - K&Co (stash, many years old)
Sentiment - Stylish Sentiments Holiday, Papertrey Ink
Peaceful Boughs, Stampin' Up (retired)
Red fine point marker

Tuesday, 14 December 2021

Christmas Sheetload of Cards


Hello!  Today I'm sharing a set of Christmas cards loosely based on the August 2021 Sheetload of Cards. That is one I have made multiple times already, and when I had this patterned paper out for a different card I thought I would make another set. 

I got my pieces all cut  & matted according to Alissa's sketch & cutting guide** and when I went to add them to the card base I started playing with the arrangement. That's why I said the cards are 'loosely based' on the Sheetload. The Giant Merry Christmas die was on my stamping table when I was playing with the layouts, so I spied that and that is how the first four cards got done. (Everything that is available is linked below.)


I have really enjoyed using mirrored card stocks on my holiday cards ... both gold and silver! For these ones, the Giant Merry Christmas was cut from gold and white card stocks, then both layers were adhered together for stability. The mirrored card stock creases easily and with the different layers of the matted patterned paper I wanted them to hold up going through the mail.

Then I went rooting around in my Christmas Embellishment bin for items I could add and found these holly and poinsettia 3-d elements from K & Co. They are many years old and honestly, I hoarded them for several years before I would even consider using them sparingly. I broke out of that chain of thought for these cards, ha ha.


Here is a peek at the inside with a stamp from Divinity Designs ...


For the next four cards I pulled out the poinsettia elements from the package and then went looking for a smaller word die to use with them. The 'joy' die is one of my favourites - and sadly retired. Once again, I played with the layout of the matted patterned papers and came up with these four cards.


The poinsettias looked like they needed a little somethin' somethin' so I added some pine sprigs (Impression Obsession) die cut from green card stock.

The inside of the Joy cards were done the same as the Merry Christmas ones. 

**You can check out the Call Me Crafty Al's YouTube channel to see how you can download your own Sheetload of Cards - every month she provides a different one and the Collaboration Team shares their take on it as well. TONS of inspiration - I'm a HUGE Sheetload fan ... and was even before Alissa asked me to join the Collaboration team for 2021. I'm happy to say I will be staying on until June 2022 - the terms are 6 months long.

I was so happy with these ones, I made ANOTHER set of Christmas cards using the August Sheetload and hopefully I can share that one before Christmas.

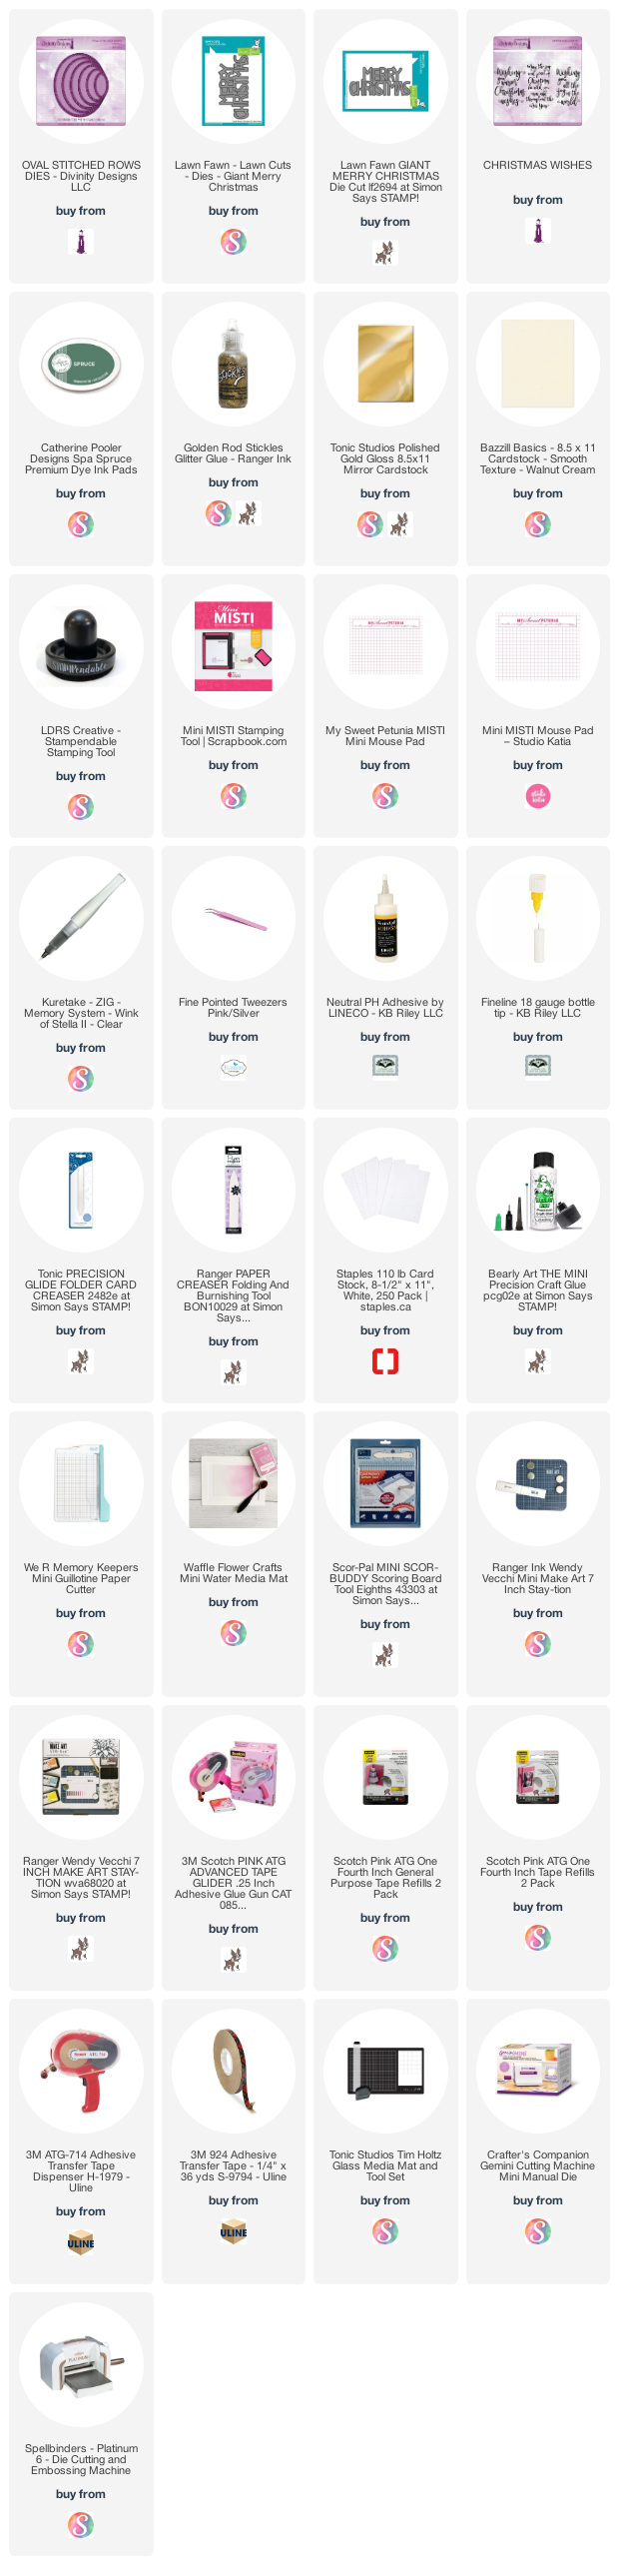
This blog uses affiliate links whenever possible. This means, that at no cost to you, if you make a purchase through one of my affiliate links that I may receive a small commission from your purchase. I only link products that I own, love and use for my card making!

Any supplies I'm unable to link are listed at the very bottom of my post.

Additional Supplies:
Green card stock scraps
Confetti card stock - stash
3D embellishments - K & Company
Patterned paper - Deck the Halls, Stampin' Up (retired)
Burgundy card stock - stash
Joy die - MFT Stamps (retired)
Pine sprig - Impression Obsession (retired?)

Monday, 13 December 2021

Tweet Warm Wishes Bookbinding Card


Your Next Stamp is having an Instagram Hop with the theme of 'Winter Wonderland'.

I have wanted to try a Bookbinding card for awhile, now, so made my first one for this hop. There are only a couple of sheets left in this 6 x 6" patterned paper and I was able to use almost one full sheet and most of the second one on this card. I'm really hoping to use it up this year!

I chose the Tweet Warm Wishes stamps with Coordinating dies to feature on my card, adding some snowflakes with the YNS Snow Flurries stencil. The scalloped rectangle and sparkly gumdrops are also from Your Next Stamp.


Here is a peek at the inside ...


Here are more details on the Instagram Hop
 hope you can hop along there and 
see all the fun inspiration 
from the Design Team!


Welcome to the YNS Winter Wonderland IG hop!  The Instagram Hop starts at 11 am EST on 12/13/2021. Join in our hop, leaving comments as you go, for your chance to win 10 packages of YNS gumdrops!  The Instagram Hop starts at YNS' Instagram and continues on... 

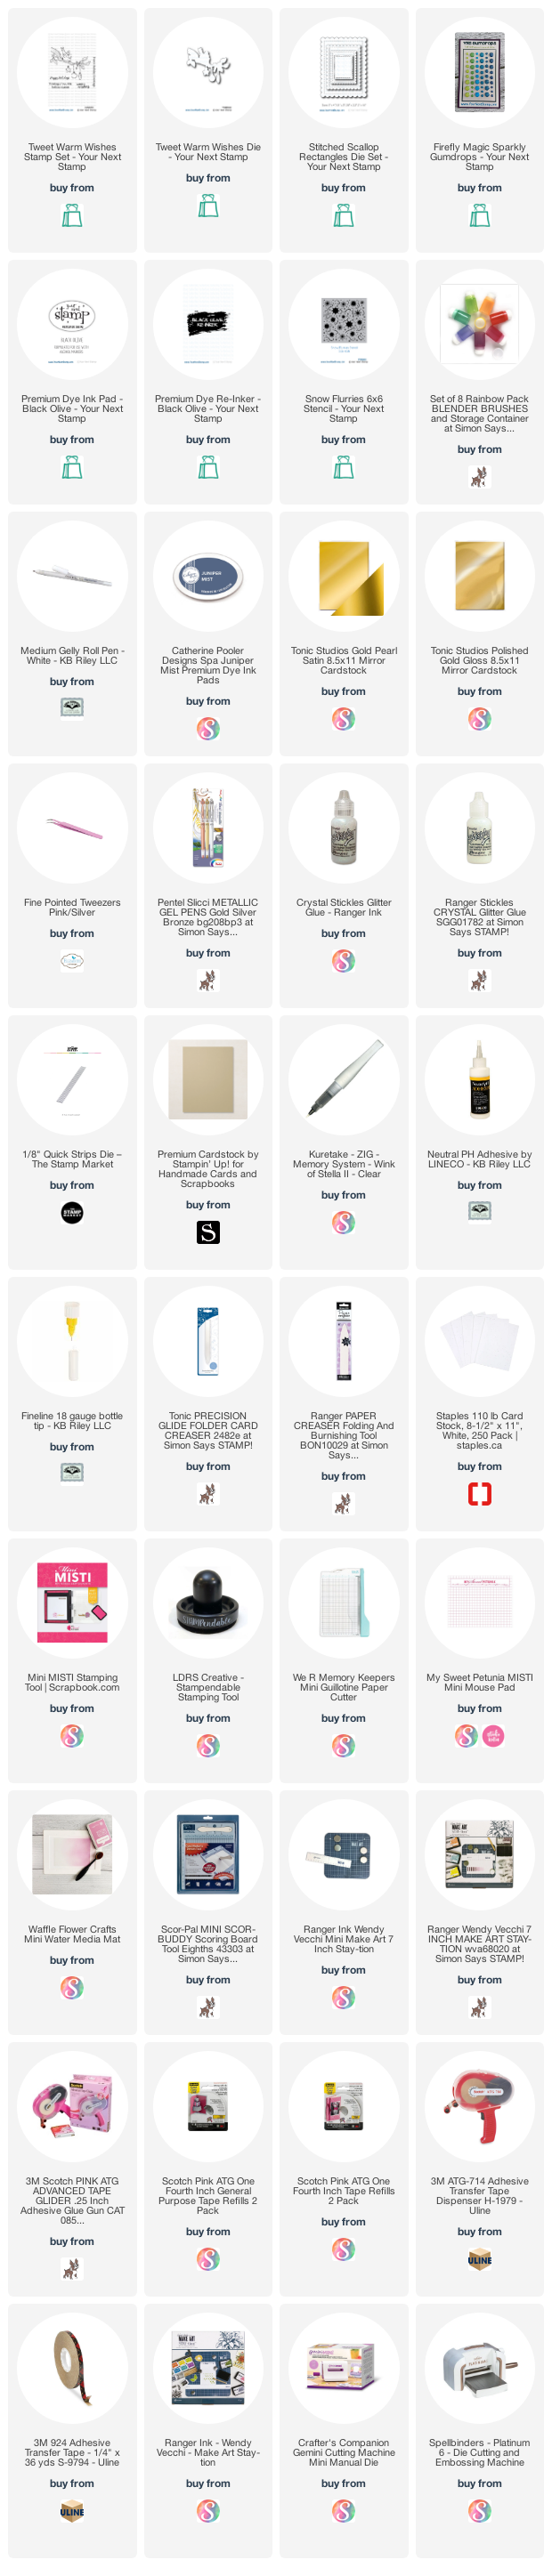
This blog uses affiliate links whenever possible. This means, that at no cost to you, if you make a purchase through one of my affiliate links that I may receive a small commission from your purchase. I only link products that I own, love and use for my card making!

Any supplies I'm unable to link are listed at the very bottom of my post.

Additional Supplies:
Patterned paper - A Winter's Night, Recollections 6 x 6"
Coloured pencils - Prismacolor
Gamsol and blending stump
Black marker

Sunday, 12 December 2021

Winter Cheer Christmas Card

Hello!  Today I'm sharing a larger-than-A2 card using one of those edger dies I purchased from R&R Scrapbooking this fall. It's made by Creative Expressions and R&R had an amazing Flash Sale on those dies that I just happened to see. And take advantage of. 😊

I die cut the edger from white pearl card stock, then added it over a patterned paper that has been in my stash for YEARS. The snowflakes were punched using a Martha Stewart punch and I added some adhesive backed snowflakes for additional shimmer and shine.


Here is a peek at the inside:

This blog uses affiliate links whenever possible. This means, that at no cost to you, if you make a purchase through one of my affiliate links that I may receive a small commission from your purchase. I only link products that I own, love and use for my card making!

Any supplies I'm unable to link are listed at the very bottom of my post.

Additional Supplies:
Patterned paper - Peppermint Twist/Believe, Brenda Walton
5 x 6.5" card & envelope - Michaels
Adhesive backed snowflakes - Stampin' Up (retired)
Snowflake punch - Martha Stewart
Winter Cheer Edger - Creative Expressions

Friday, 10 December 2021

Sunset Silhouette Mini Slimline Bridge Card


Hello!  Today I'm sharing the Birthday Card I made for hubby ... a Mini Slimline Bridge card. I have been in a MAJOR Moho slump, so barely got this card done in time to give him and I didn't have a chance to do a tutorial or video. I will list the measurements I used for the base itself, and since I'm happy with how the card turned out I will make more and promise to do a video tutorial as well. 

Thankfully I had already finished my Christmas cards and scheduled most of the posts or my blog would be pretty bare this month. I think I went over two weeks without making a card or even WANTING to make a card. Definitely out of character for me and I'm happy to say I'm starting to feel more like creating again. 

The silhouette dies I used are from Divinity Designs with the sunset/sunrise paper from Whimsy stamps. Everything that is available is linked below for you. I added the 'Love You' from Karen Burniston's Word Set 12 Snow, cutting it three times. Once from dark yellow, once from orange and the final time from black. Then I stacked them on top of each other and I like the little shadow of colour this gives the words and helps them stand out more. 

The card folds flat and fits in a #8 (or 6-3/4") envelope. I added several layers of foam tape for dimension knowing I would be hand delivering the card. Ha.


The back of the card is where I wrote him a personal message.


One more look ...


Measurements **I was just fiddling around and came up with this so there may be other measurements out there.

Folded, my card is 6 x 3.5", which is my favourite size of Mini Slimline card to make.

The Card Base measures 7.5 x 3.5", scored along the long side at .75". 1.5", 6" and 6.75". 

The Bridge Strip is 6" long, and as deep as you wish. Mine was about 6 x 1.25". Since the dies weren't quite long enough to reach across the 6" span I used scissors on either end to finish the cut. 

This blog uses affiliate links whenever possible. This means, that at no cost to you, if you make a purchase through one of my affiliate links that I may receive a small commission from your purchase. I only link products that I own, love and use for my card making!

Any supplies I'm unable to link are listed at the very bottom of my post.

Additional Supplies:
Card stock scraps - stash

Thursday, 9 December 2021

Happy Howl-idays Mini Slimline Card


Hello!  The new Fun Friday Challenge at Your Next Stamp is to "Create a card inspired by your pet - or your dream pet". There is a chance to win a prize as well - be sure to check out all the details below.

I'm sharing the Mini Slimline card I sent to some dog-loving friends for Christmas. I wish you could see the sparkle and shine on this one - photos just don't do it justice. The Mini Slim Star Panel Die from a galaxy metallic card stock, and after it was adhered to the card base I added more sparkle by adding gold Stickls into some of the star openings. The Icicles were cut from white pearl card stock as well.

This goofy dog image from 'Crazy for Christmas' was coloured with Prismacolor pencils blended with Gamsol and a blending stump and his nose got a dollop of glossy accents so it really stands out. 😊 I also added some gold gel pen highlights.


Here is a peek at the inside. It barely shows up in the photos, but I stamped the second dog image in the stamp set in a pale green ink,


Our challenges always come with 2 ways to win:

#1 – Would you like the chance to win a YNS stamp set? Leave a comment on the Your Next Stamp Blog by December 15th, 2021 at midnight EST to be entered in the random drawing. Want more entries in the drawing? Leave comments on YNS’ IG and FB pages too!

#2 – Would you like the chance to win a YNS store e-gift card? Play along with the challenge! Link up your creation at the bottom of the post on the YNS BLOG by January 6th, 2021 at midnight EST to be entered in the random drawing to win a $15.00 YNS gift certificate. If your creation contains YNS products and you are the random winner then you receive an extra $5.00. 
****This challenge runs longer since everyone is busy during the holidays****

This blog uses affiliate links whenever possible. This means, that at no cost to you, if you make a purchase through one of my affiliate links that I may receive a small commission from your purchase. I only link products that I own, love and use for my card making!

Any supplies I'm unable to link are listed at the very bottom of my post.

Additional Supplies:
Mirri Starry Galaxies card stock - HunkyDory
Copic markers
Coloured Pencils - Prismacolours
Gamsol & Blending Stump

Holiday Critter Slimline


Hello!  I'm back today with another holiday Slimline card using that sweet patterned paper that was a "free with purchase" item when Stampin' Up had their last Sale A Bration. I fussy cut the cute images from the 12 x 12" sheets so I could use them as elements, and added Wink of Stella for shimmer and shine.

The Slimline die is by Pinkfresh Studio and everything that is available is linked below for you. I added one of the SU iridescent snowflakes behind the stamped & die cut sentiment - that set is from Waffle Flower and I am using it a LOT for my Christmas cards this year!


Here is a peek at the inside. I used blending brushes to add the blue behind the critters so they would stand out a little more.

This blog uses affiliate links whenever possible. This means, that at no cost to you, if you make a purchase through one of my affiliate links that I may receive a small commission from your purchase. I only link products that I own, love and use for my card making!

Any supplies I'm unable to link are listed at the very bottom of my post

Additional Supplies:
Patterned paper - Penguin Playmates, Stampin’ Up (retired)
Adhesive backed snowflakes - Stampin’ Up (retired)

Wednesday, 8 December 2021

Peaceful Cabin Christmas Card


Hello!  I'm sharing another holiday card using the Peaceful Cabin bundle that I purchased from Stampin' Up. I loved it as soon as I saw it and have really enjoyed using it for my cards this season.

This card is sized 4-1/2 x 6", so larger than A2 and fits in a standard A6 envelope. I love this size of card! After lightly stencilling the snowflakes onto the white panel, I embossed it for some additional texture. While that snowflake stencil is no longer available, I also have others and linked those for you below.


Here is a peek at the inside:

This blog uses affiliate links whenever possible. This means, that at no cost to you, if you make a purchase through one of my affiliate links that I may receive a small commission from your purchase. I only link products that I own, love and use for my card making!

Any supplies I'm unable to link are listed at the very bottom of my post

Additional Supplies:
Mirri Card Essentials - Stunning Silver
Subtle Embossing Folder - Stampin’ Up (retired)
Jingle Bell Snowflakes Stencil - Echo Park

Tuesday, 7 December 2021

Snowflakes and Snowman Pop Up Card


Hello!
 It's time for Karen Burniston's Designer Challenge and she challenged her Design Team with:  Theme: "MOD HOLIDAY" - make a Christmas card using a non-traditional color scheme". I love using non traditional colours, but didn't really step too far outside the box for this card. Blue & white with the sparkle of silver. 😊 I have a walkthrough of my card on YouTube


Inside, I used the Snowman Pop Up (which I absolutely LOVE) and I cut the snowman body from blue pearl card stock instead of white. That is also non-traditional, right? Ha.


Of course the sparkle and shine doesn't show up in photos, but there is plenty of it on this card.


The crosshatch rectangles form the sentiment block, decorated with Word Set 13 Snow.


The sentiment block on the right side is where we can sign our names before mailing the card.


I have the rest of the Design Team linked on the right side of my blog, and I hope you will check out what they came up with for the challenge. Karen Burniston will have her post tomorrow (Wednesday) on her BLOG.

This blog uses affiliate links whenever possible. This means, that at no cost to you, if you make a purchase through one of my affiliate links that I may receive a small commission from your purchase. I only link products that I own, love and use for my card making!

Any supplies I'm unable to link are listed at the very bottom of my post

Additional Supplies:
Card stock scraps - stash
Blue pearl card stock - Stardream (stash)
Bling - October Paper Pumpkin, Stampin' Up