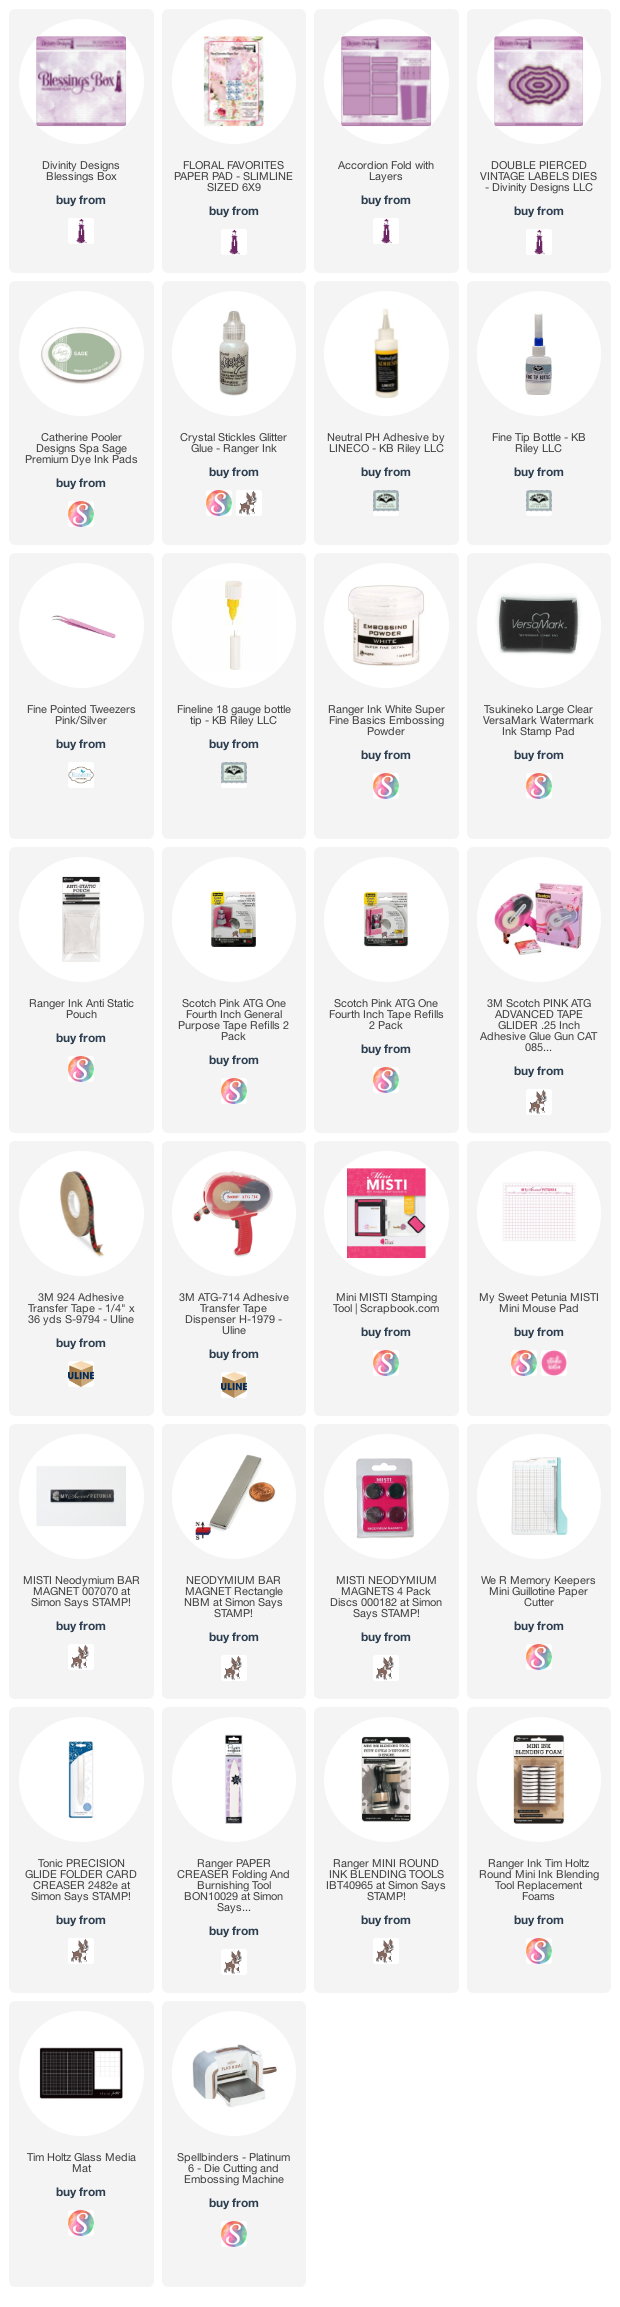
I purchased the Accordion Card with Layers die set back in April and I am really enjoying it! I know you can use a Belly Band to hold the card closed, so maybe the next time I use it I'll try that. Love how easy it is to change up the look of this die set.

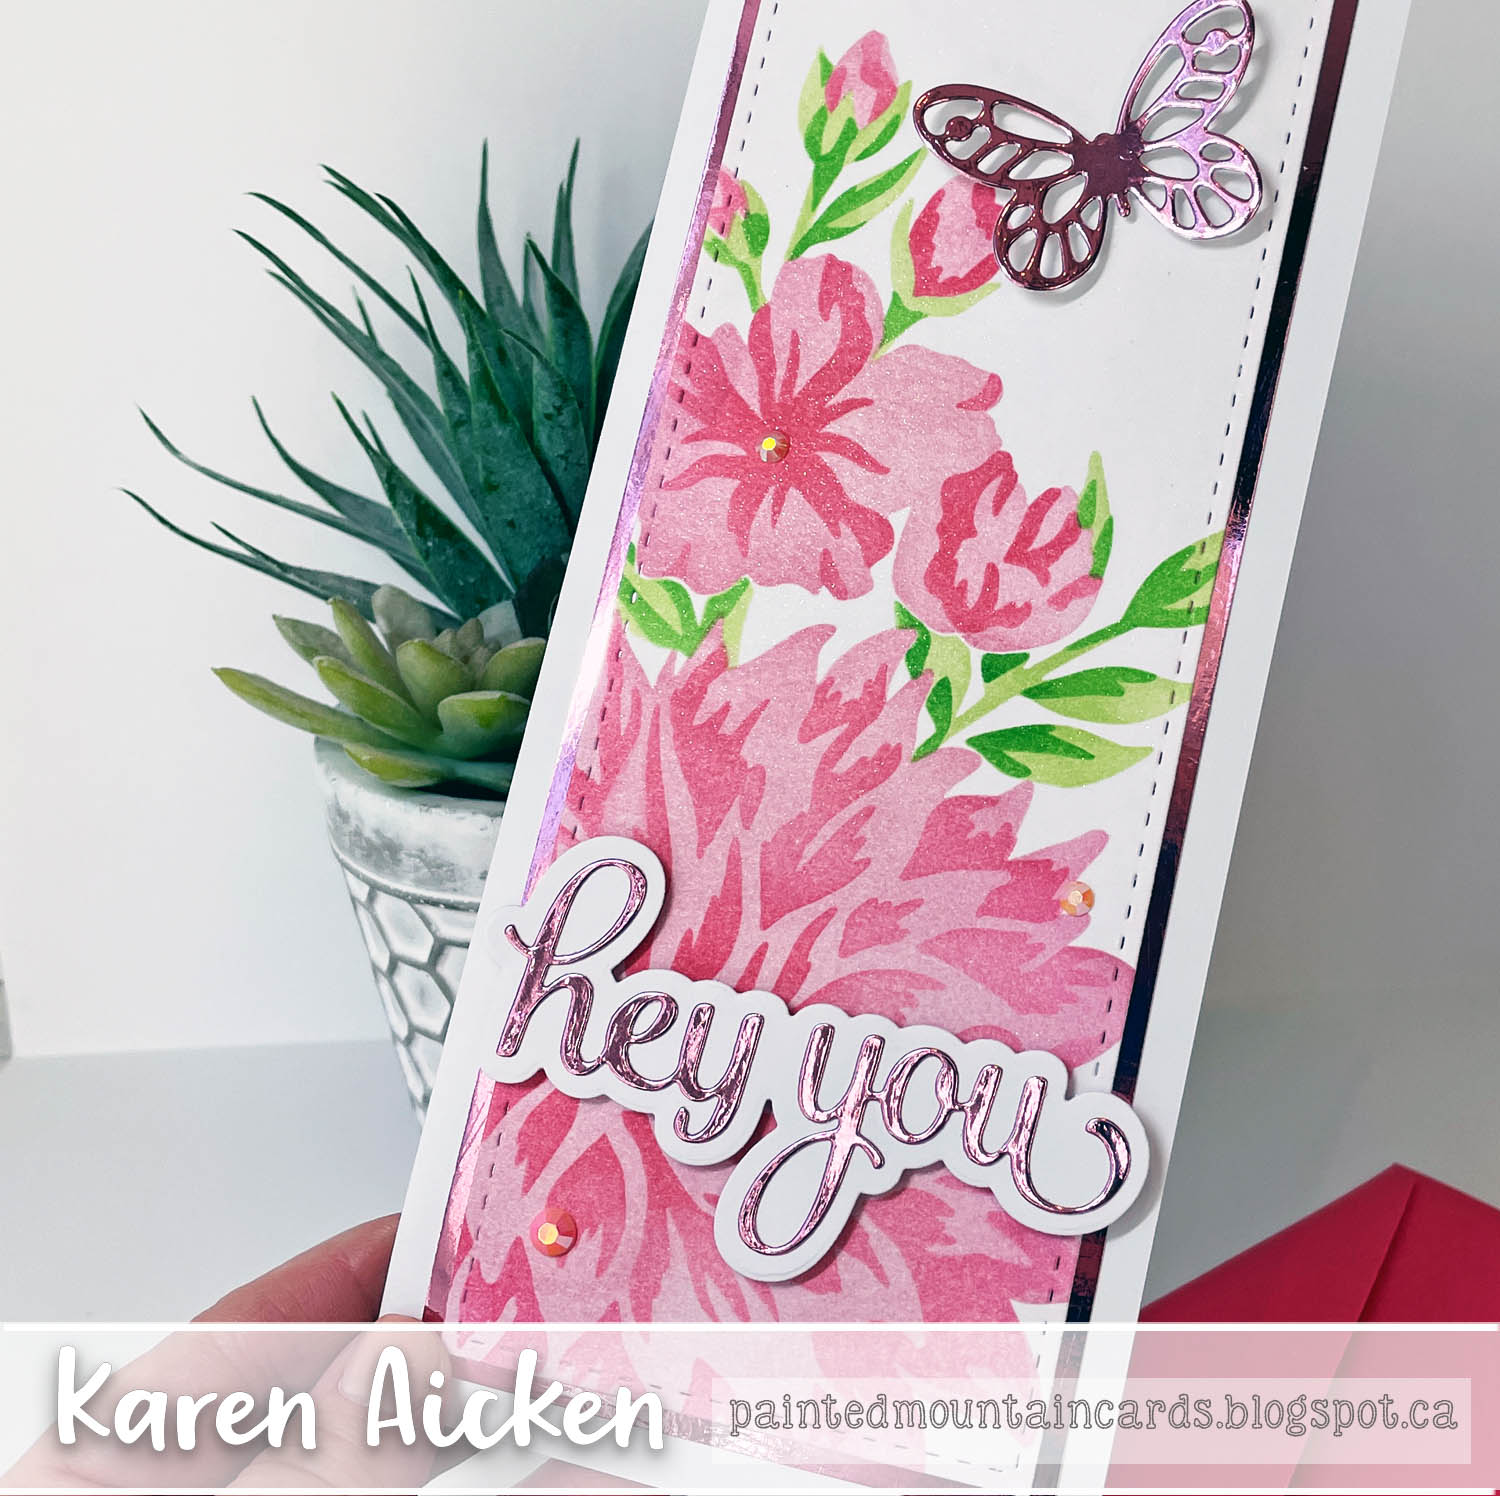
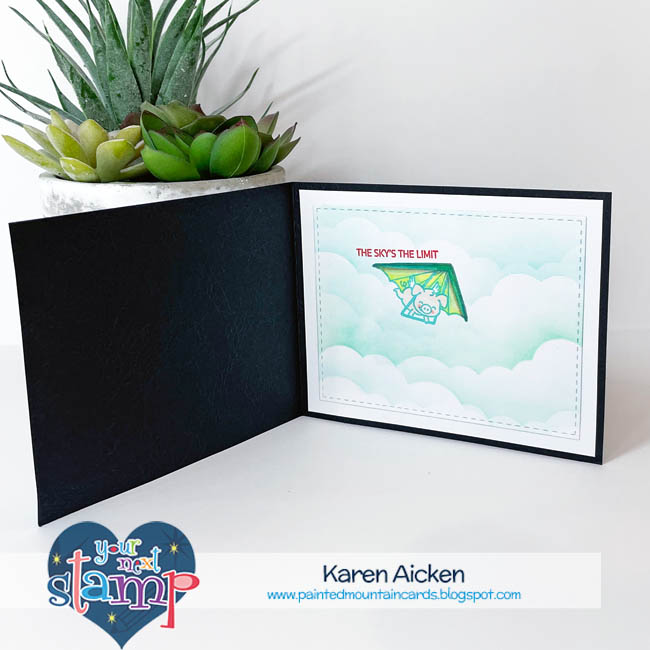
The photo above shows what the card looks like coming out of the envelope, and I used the pretty blooms from Beautiful Blossoms Paper/Die Duo Set 3. The sentiments were white heat embossed onto Double Pierced Vintage Labels and come from the Sweet Friend stamp set from the Blessings Box.

The beautiful papers in the Floral Favorites 6 x 9" paper pad are just stunning, and I love using fun fold card die sets like this that showcase all those pretty florals.


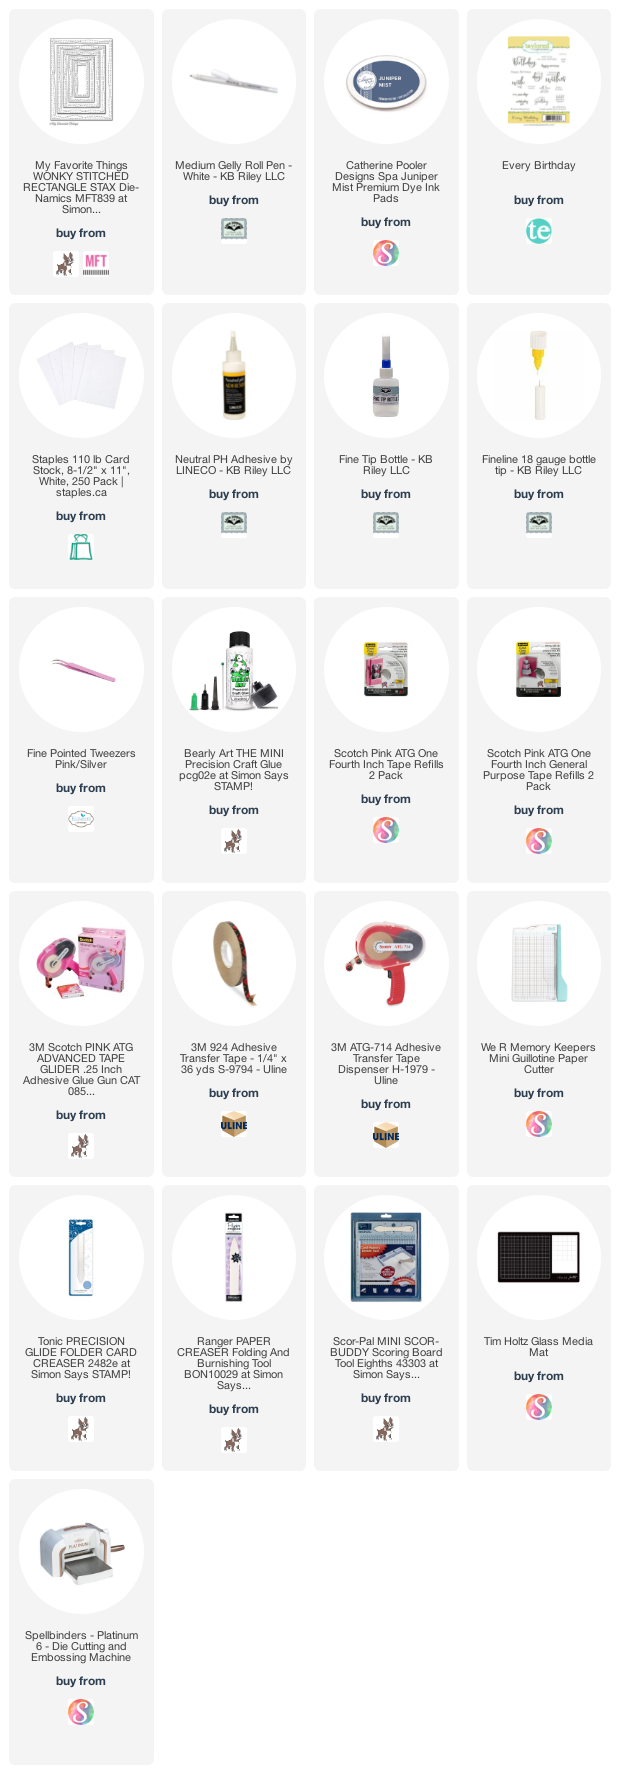
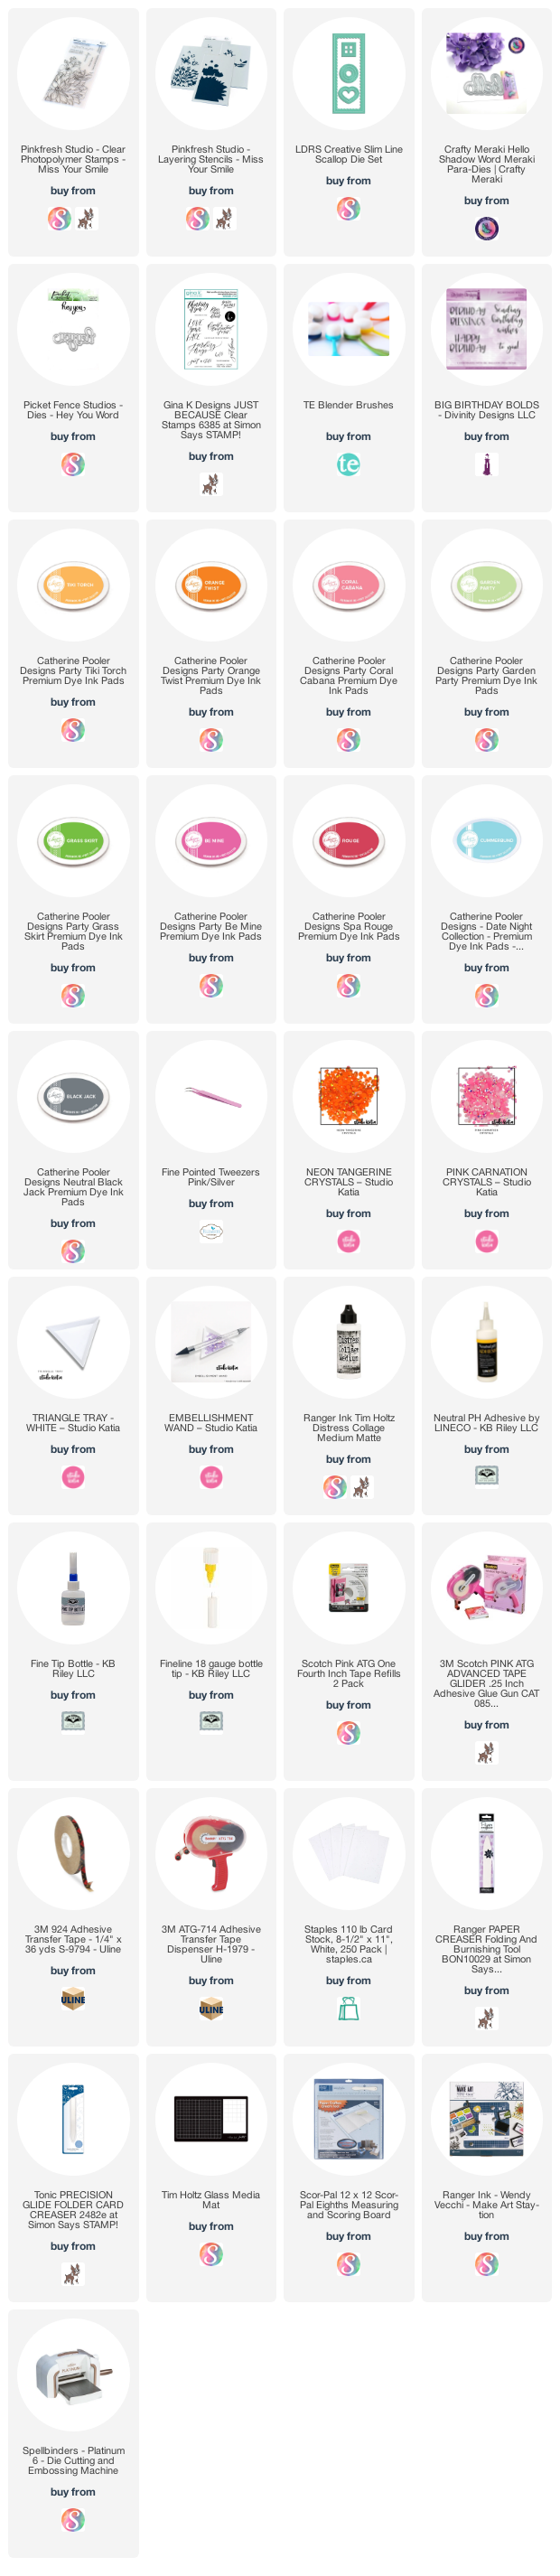
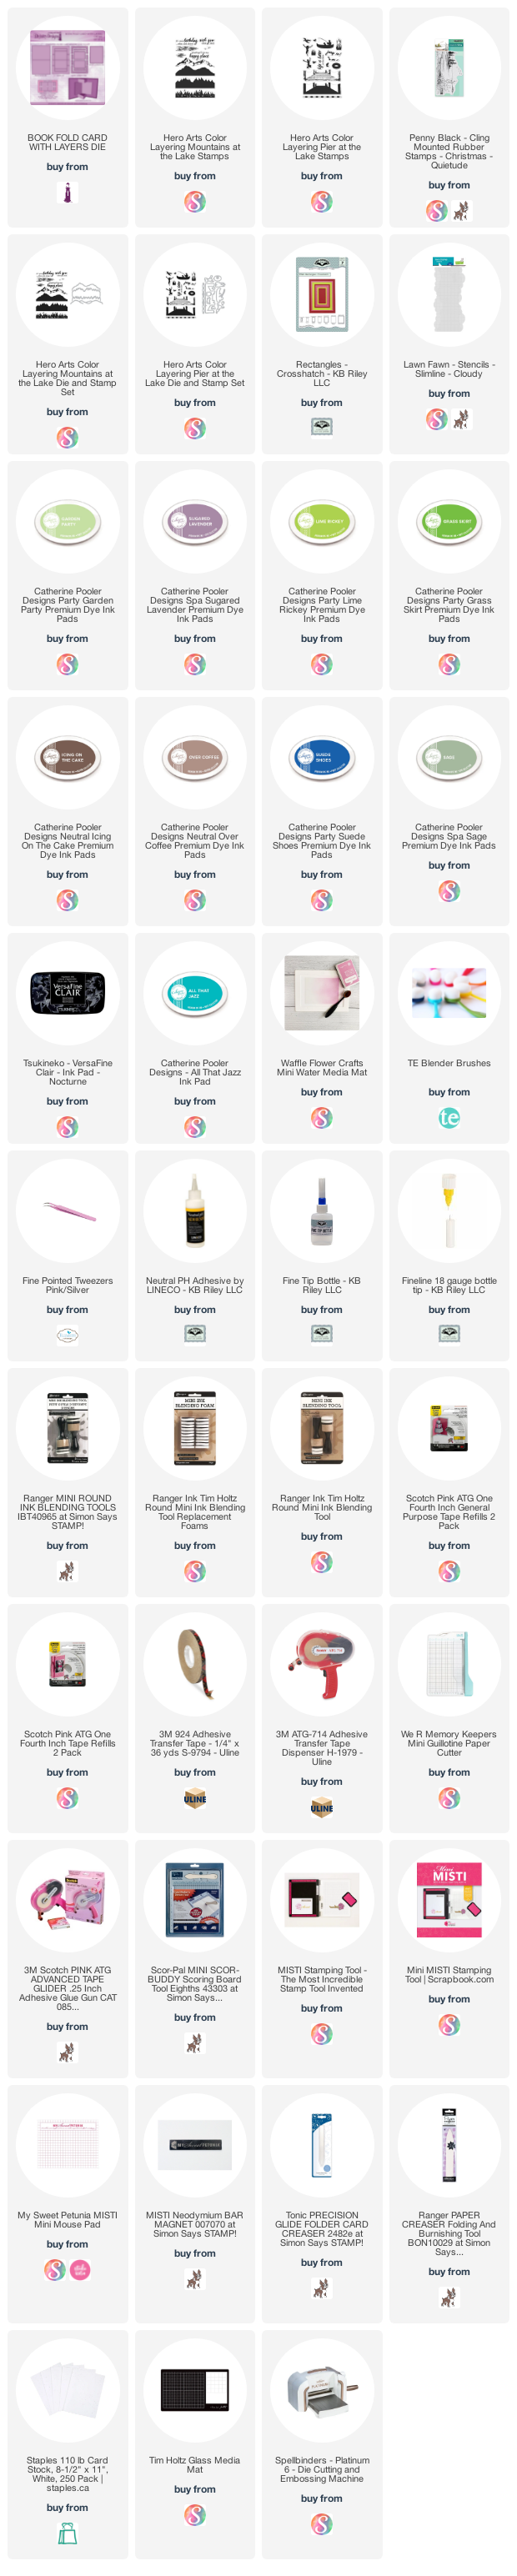
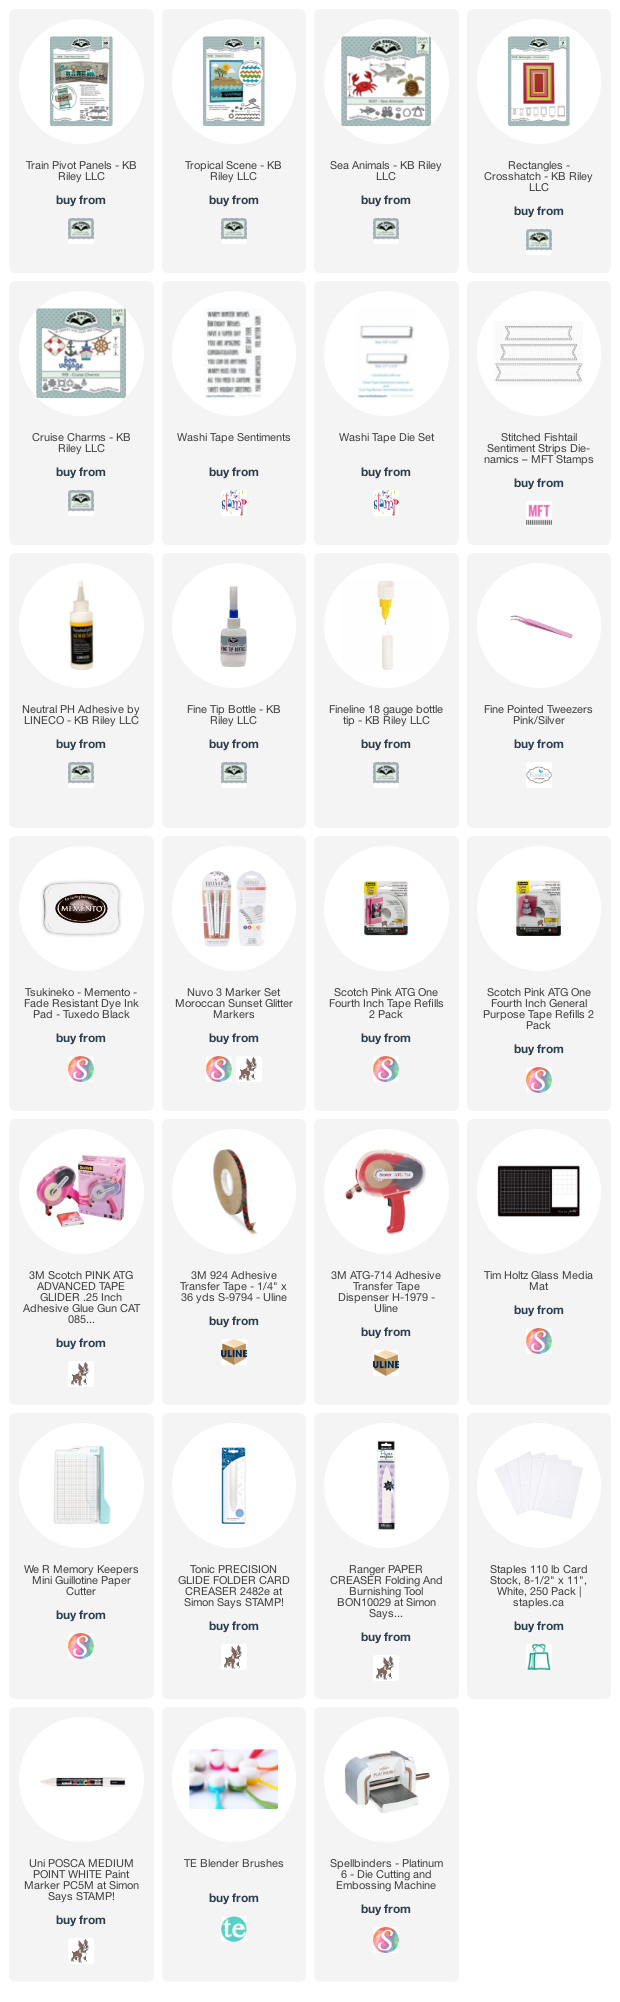
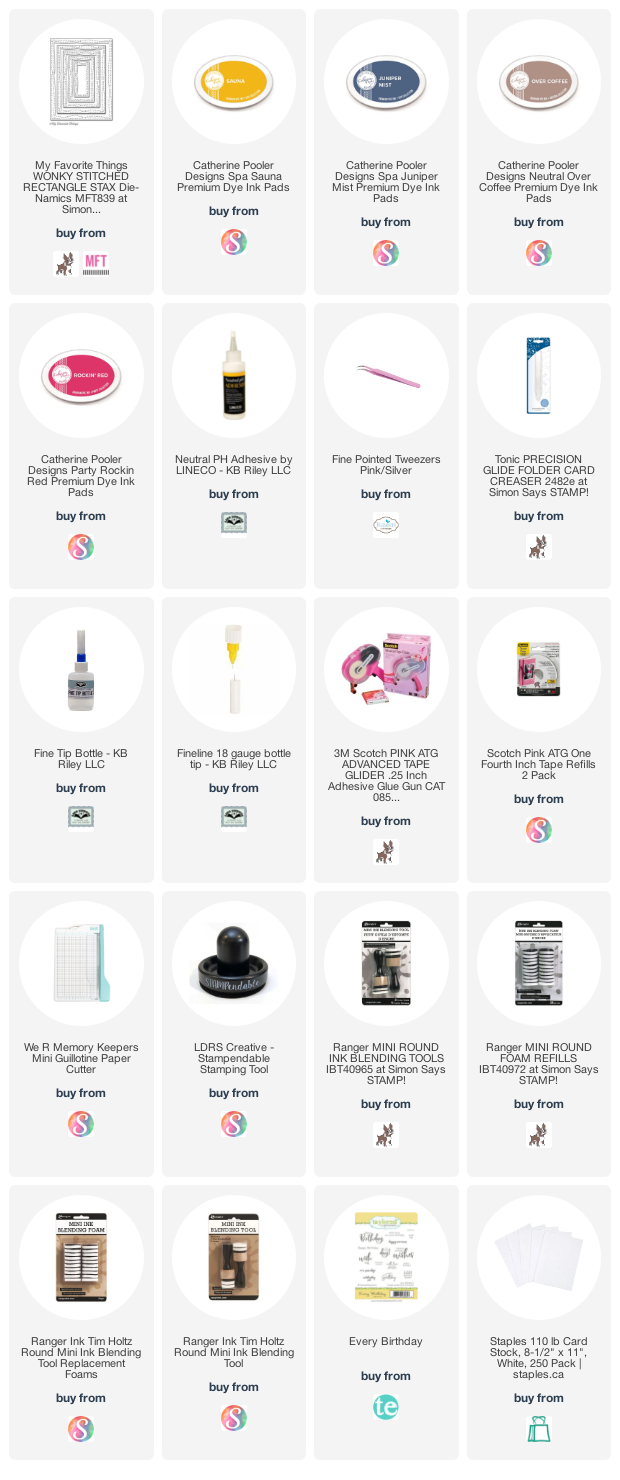
For your convenience I have linked many of the products used below. Some may be affiliate links which means if you use these links to purchase I may earn a small commission at NO extra cost to you.
Additional Supplies:
Green card stock
Card size - Standard A2, 4.25 x 5.5"
Green card stock
Card size - Standard A2, 4.25 x 5.5"
 Thanks for stopping by