Friday, 20 November 2020

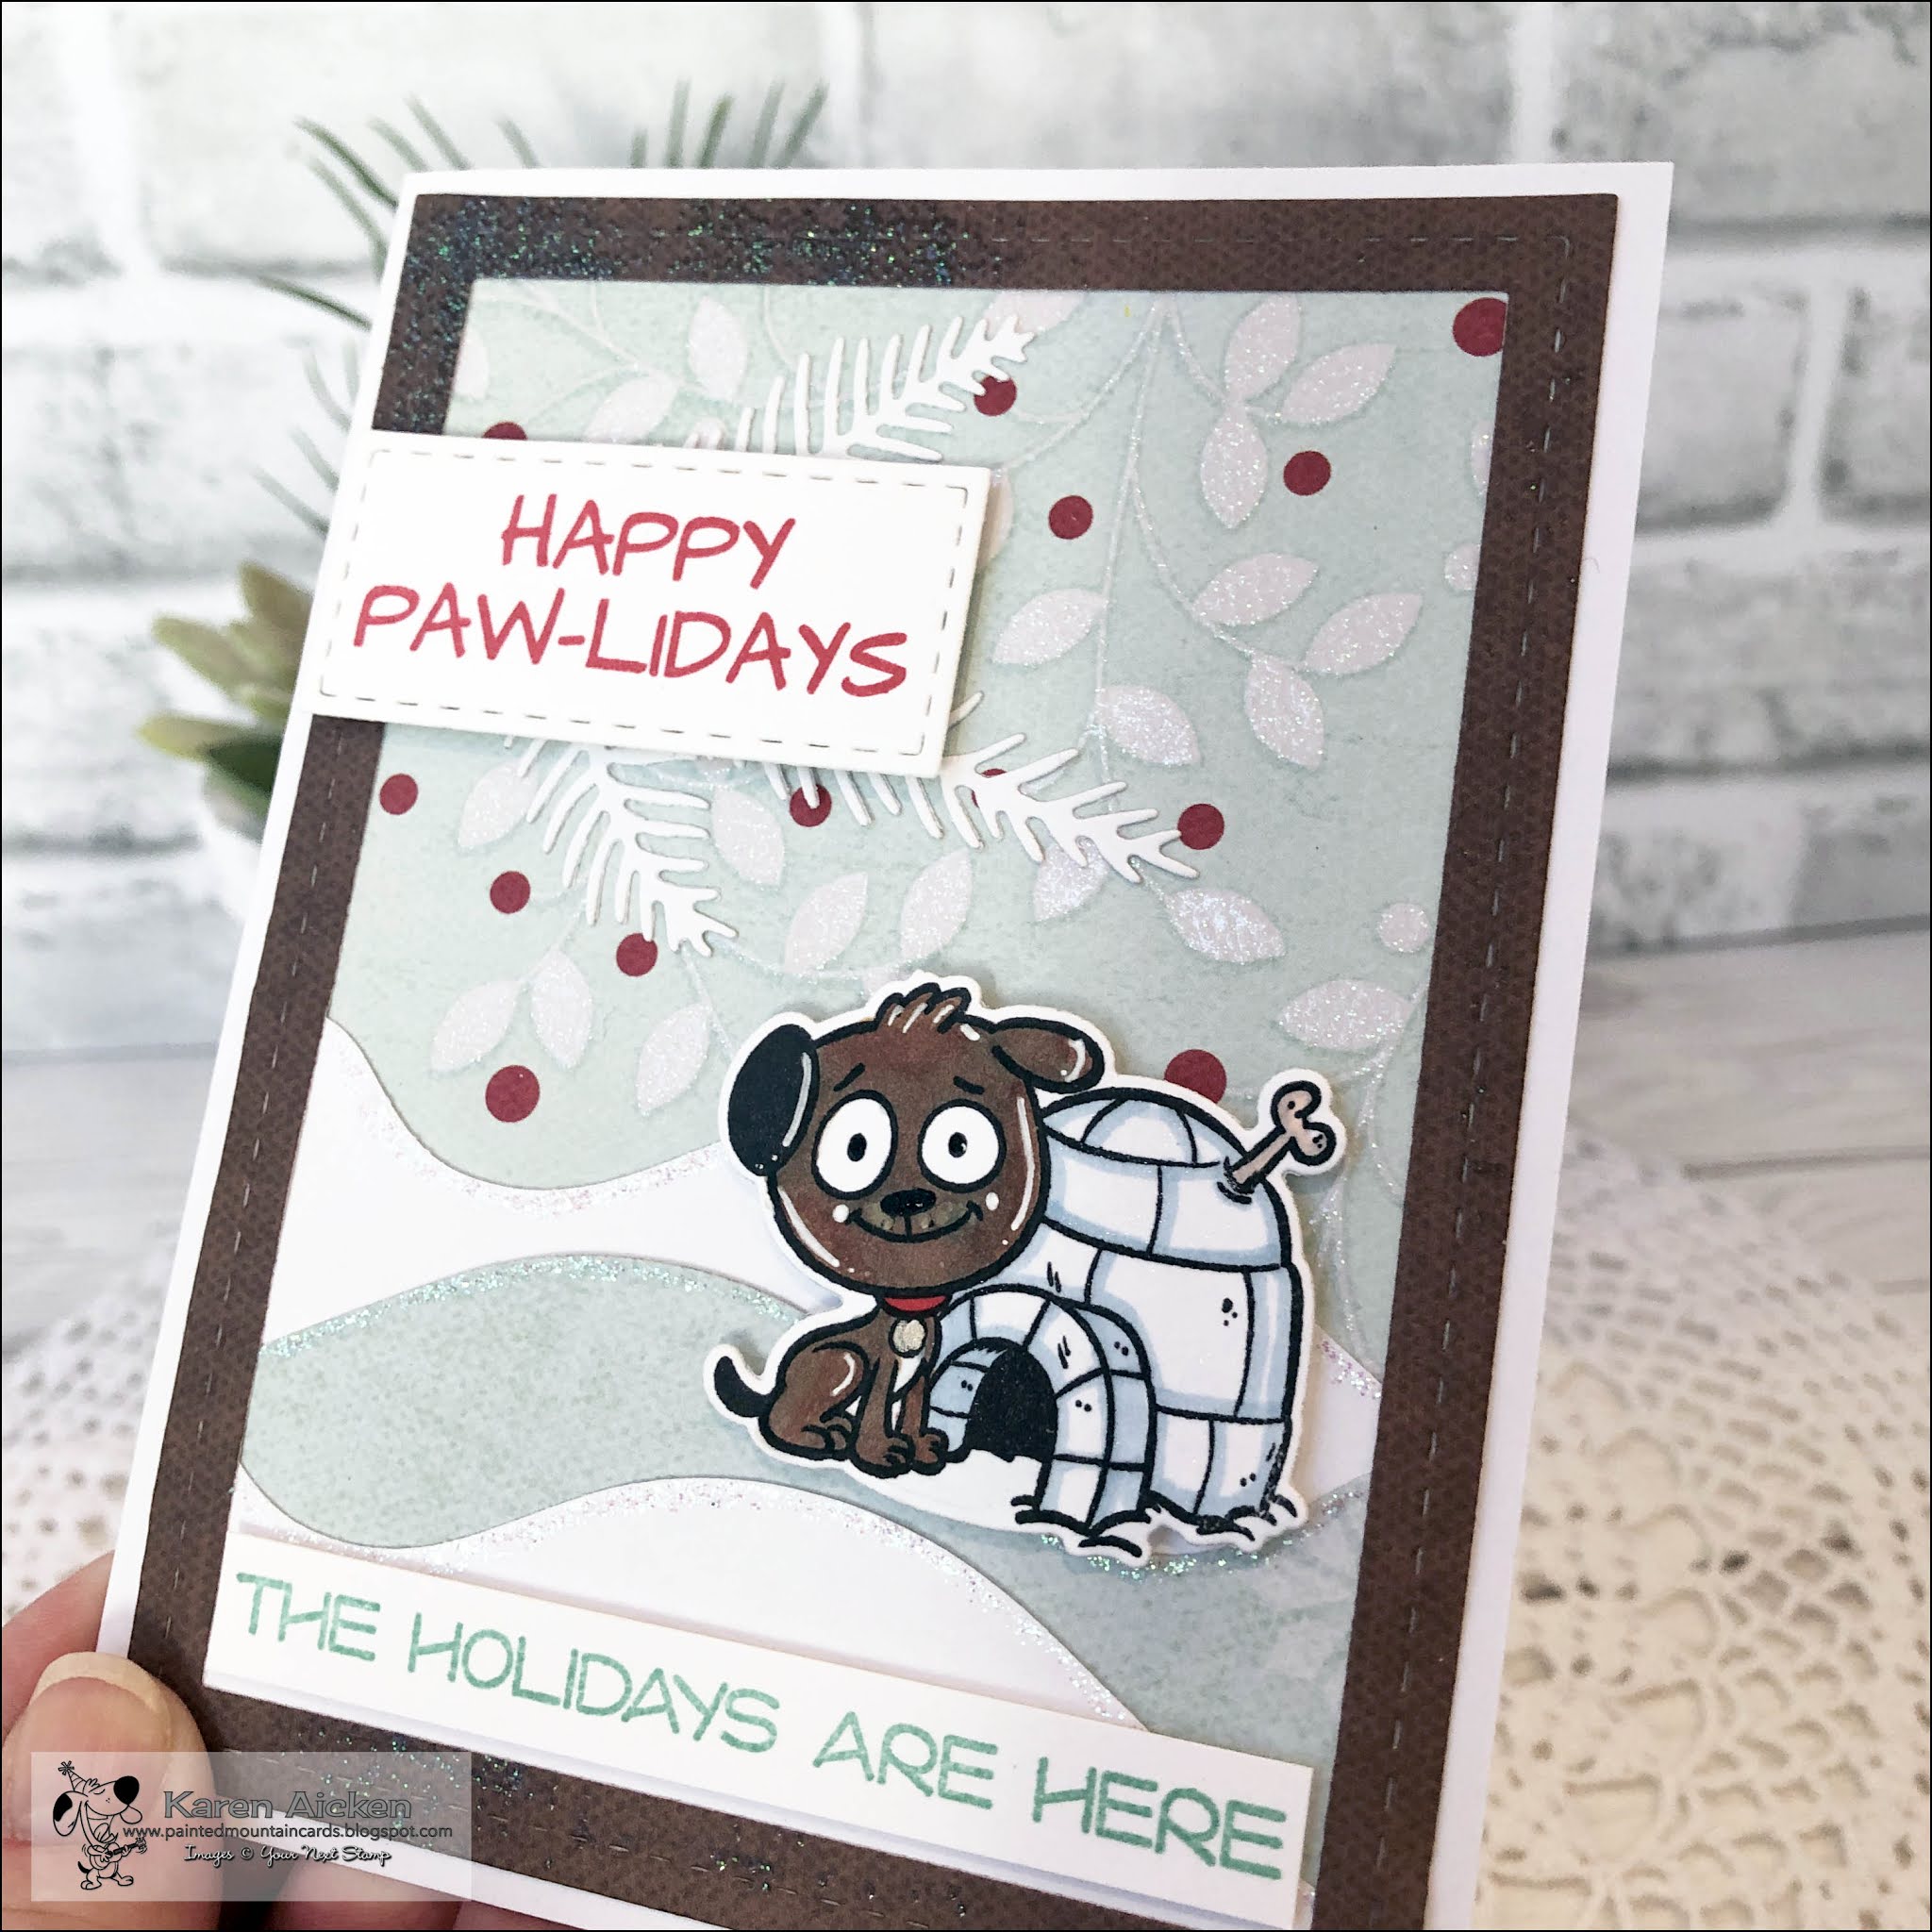
Happy Paw-lidays

Hello crafty friends ...

Today I'm sharing my card for Your Next Stamp's Christmas Series! The stamp sets being featured today are also on sale! 


I chose to work with this fun Paw-liday Pups set and made a Christmas card for our groomer. Jasper is needing to be groomed SOON - he is looking like quite a ratty Sheltie and I will likely be bringing her this card early.

I used the new Stitched Frame with Snow and Hills, but didn't use the snow part- instead, adding some sparkly patterned paper behind the frame. I cut the hills three times but cut the centre one from the back of the paper so it would be reversed.

The pine branch was snipped into pieces so I could add the sprigs behind the greeting where I wanted them.

Here is a peek at the inside, and you can see that I used the Pine Tree Branch as a stencil.


I die cut the little paw print from the white panel so the brown shows through. Also, I had just a terrible time with the lighting on these photos. The brown is a rich chocolate brown but everything looks faded in my photos. I finally had to give up trying to edit them. 


Be sure to check out the Your Next Stamp Blog because we will be running this Christmas Series for the next 5 days and there will be lots of fun inspiration for you!

Supplies:
Stitched Frame With Snow and Hills - Your Next Stamp
Paw-liday Pups - Your Next Stamp
Paw-liday Pups Die Set - Your Next Stamp
Black Olive Ink - Your Next Stamp
Stitched Rectangle Die Set - Your Next Stamp
Whatnot Sentiments 14 (Sending & Lots of) - Your Next Stamp
Pine Tree Branch  - Your Next Stamp
Patterned paper - I Believe, My Minds Eye
Various card stocks - my stash
Ohuhu Markers
Copics
Sakura Black Glaze pen, White Gel pen and Gold Gel pen
Wink of Stella
1054 Crosshatch Rectangles - Karen Burniston
Mini MISTI - My Sweet Petunia
Card size: Standard A2, 4.25 x 5.5"

Thanks for stopping by today

Thursday, 19 November 2020

Gnome Trio Slimline Card

Hello crafty friends ...

Today I'm sharing another card for the Fun Friday Challenge #151 - Trios. We are to include 3 of something in our creation. I have three gnomes on my card front, three Gumdrops and the inside of my card is divided into thirds. Trios? Gotcha covered!

The Fun Friday Challenge #151 runs through November 26th 2020 at midnight EST. One random participant will win a $15 gift certificate to the Your Next Stamp store.  If YNS stamps or dies are the focal point then the winner receives an additional $5 gift certificate for a total of $20!!  The winner will be announced on the YNS Blog the Sunday after the challenge closes. Check it all out on the Your Next Stamp blog HERE. 


Of course I made it a Slimline! I used a YNS Polaroid Frame with some acetate behind the opening. I just love the using acetate on my cards. Below you can see the acetate is over the stamped sentiment.


These YNS Gnomes are just too much fun - and I gave them all a glossy nose.


Finally, here is a peek at the inside ...


There is still time to play along with the challenge, I hope you will check it out!

Supplies:
Black Olive Ink- Your Next Stamp
Happy Gnomies- Your Next Stamp
Happy Gnomies Die Set- Your Next Stamp
Photo Booth Polaroid Frame With Piercing Marks- Your Next Stamp
Autumn Milk Cans- Your Next Stamp
Double Pierced Hills- Your Next Stamp
Blueberry Blitz Gumdrops- Your Next Stamp
Ohuhu Markers
Card stocks - stash
Acetate
Patterned paper - Sweet Cider Stack, DCWV
Sakura white gel pen
Black marker
Glossy Accents
Stickles
Card size - 3.5 x 8.5", fits in a #10 Business Envelope

Thanks for stopping by today

Fall Wreath Thanksgiving Card


Hello crafty friends ...

Today I'm sharing another Thanksgiving Card - with all of my Design Team obligations I didn't have room on the calendar to get them all posted before our Canadian Thanksgiving. But since the US Thanksgiving is still coming up, I figured I was ok to keep posting them. Soon though, I'll be all about sharing Christmas cards!


As I explained in the video with the wobbling skeleton card, every year when I am finished making my cards for that particular season, I gather up any embellishments I'd made but not used and put them in a baggie. Then I make new embellishments the next year instead of going through the old ones. This year I decided to go through that baggie and make good use out of some of those elements. The wreath & shadow and crow were in the baggie, likely Cricut cut many years ago. But since the wreath was too large for an A2 card it went into the baggie ... A2 cards were what I made for many years. 

I pulled out one of these larger card and envelope sets from Michaels, some fall themed patterned paper and some of the embellishments from the September Paper Pumpkin kit. There was a TON of leaves and flowers and vines in there so I enjoyed using up some of them to decorate my wreath.

Below is the card inside, with a stamped sentiment and a few more elements from the baggie. I did good using up a bunch of things from that baggie this year!


While it's hard to see in the photos, my decorated wreath did get a blast of shimmer spray for some subtle sparkle.


Supplies:
Wreath - Cricut cut years ago
Flowers, words, leaves and vines - September 2020 Paper Pumpkin, Stampin' Up
Glitter Dots - Elizabeth Craft Designs
Shimmer Mist
Card stocks - stash
Copper ribbon - Stampin' Up
Crow - Cricut cut years ago
Pumpkin - Elizabeth Craft Designs (done years ago)
Patterned paper and border - Harvest Delight, Recollections
Gold gel pen
Sentiment - Give Things, Echo Park
Sequins
Card and envelope set - Michaels

Card size - 5 x 6.5", fits in the included envelope

Thanks for stopping by today

Wednesday, 18 November 2020

Shimmery Snowflake Pop Up Card

 Hello crafty friends ...

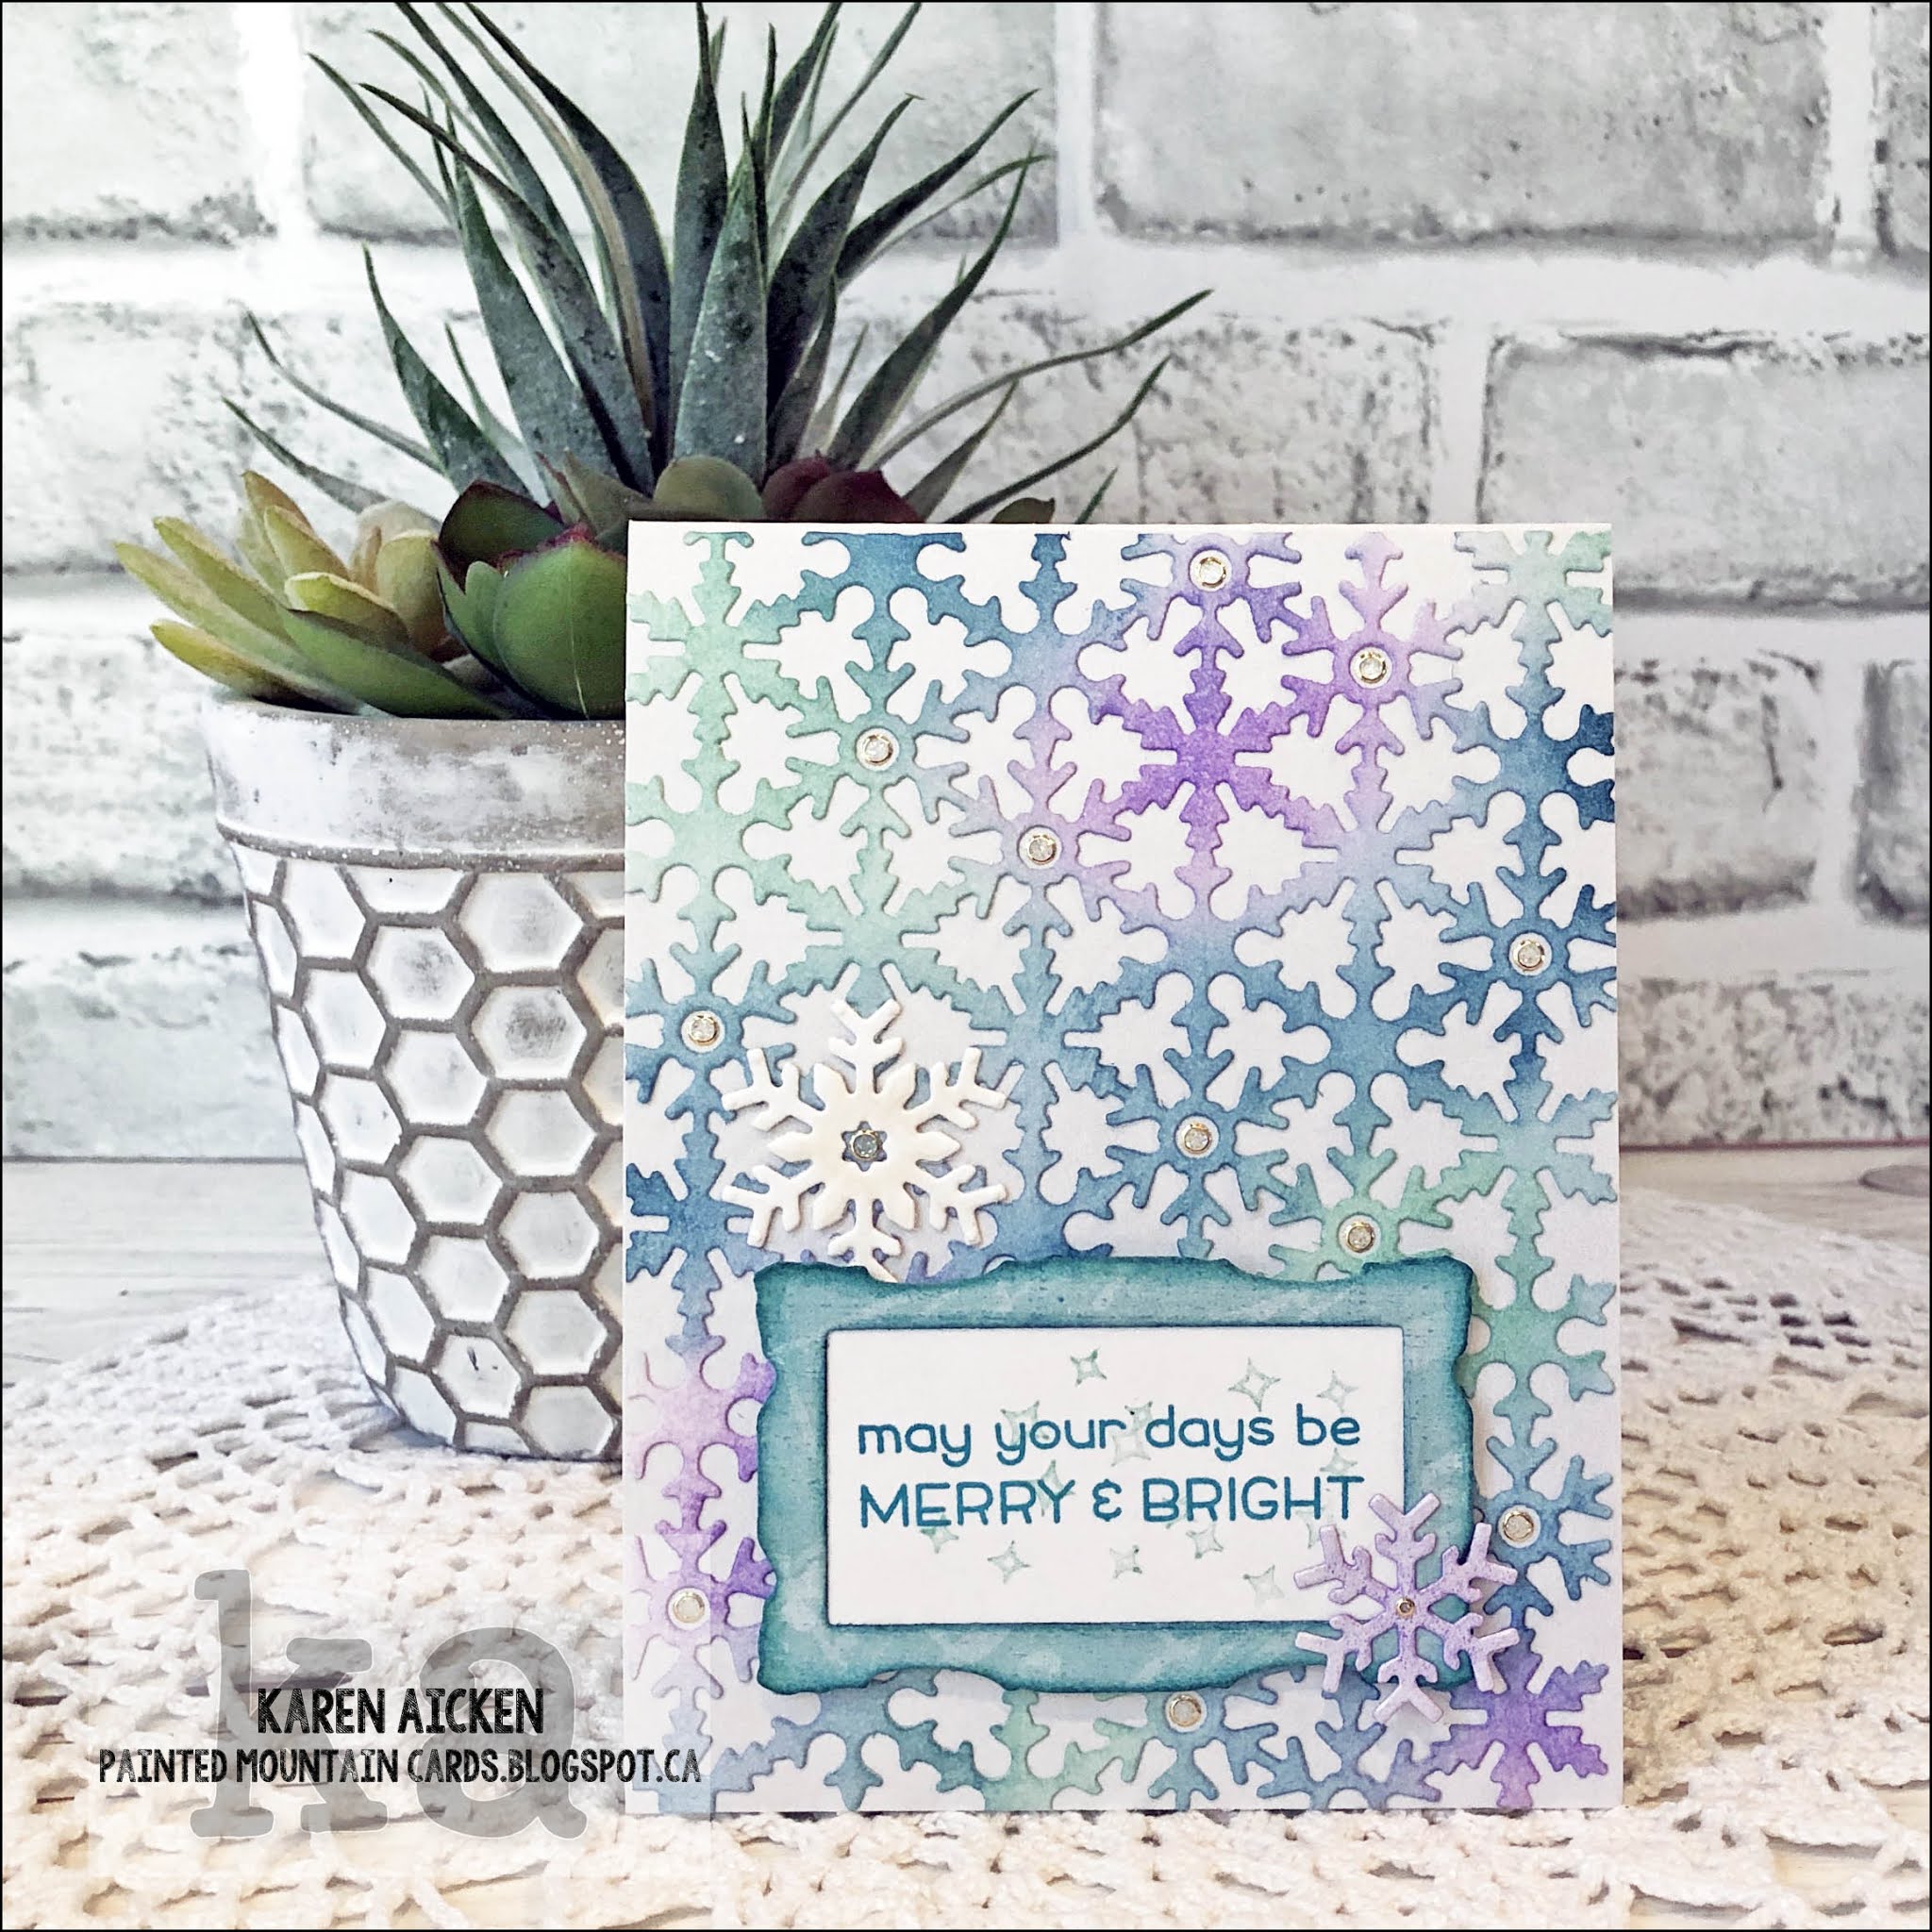
Today's card is another one featuring some new release items from Karen Burniston. I used the new Snowflake Pattern Plate on the front, inking it with dye inks and spritzing it with Shimmer Spray before adhering it to the pearlized white card base.  I have a YouTube video walk through for you so you can see the card in action!


I added a stamped sentiment to one of the new Slim Frames and a few extra snowflakes from the new Holiday Charms.


Inside is a Pop Up, using the new Mini Pops.


I love the bough that comes in the hew Holiday Charms, and here I cut it several times and snipped the pieces apart to build the spray. There is another Mini Frame and stamped sentiment with snowflakes on the pop up platforms


I added one more Mini Frame as a signing block, nestling it onto a Crosshatch Rectangle, then added a penguin wearing a winter hat for some additional colour.


There is so much shimmer on this card - that just makes me happy!


Supplies:
1148 Snowflake Pattern Plate - Karen Burniston
Matte coated card stock
Taylored Expressions Blending Brushes
Shimmer Spray
White pearl card stock
1054 Rectangles Crosshatch - Karen Burniston
1146 Mini Pops - Karen Burniston
Patterned paper scraps
Merry Messages - Lawn Fawn
1150 Slim Frames - Karen Burniston
1143 Holiday Charms - Karen Burniston
Glitter Dots
1021 Sleigh Pop Up (small snowflake) - Karen Burniston
1016 Winter Animals - Karen Burniston
Grey marker
1025 Tiny Accessories - Karen Burniston
Card size - Standard A2, 4.25 x 5.5"

Thanks for stopping by today

Tuesday, 17 November 2020

Thanksgiving Slimline Pop Up Card Duo


Hello crafty friends ...

Today I'm sharing a pair of Pop Up Slimline cards I made using a bunch of older items from my stash.


I used Karen Burniston's new Crosshatch Slimline dies to die cut the patterned paper for the card fronts, and I added some leaves that had been die cut a few years ago, a stamped sentiment and then gave the whole front panel a spritz with shimmer spray.


Here is a peek at the inside, where you see the large Pop Up Rectangle that was decorated with more items from my stash.


The layered Happy Thanksgiving was also in my stash! It had been Cricut Cut many years ago and I guess I didn't use it because it was too big for an A2 card. But when I opened the baggie of stashed embellishments I realized they would work perfectly on a Slimline card!


Here is another look at the pop up inside, that I created using the Katherine Label Pop Up!


While I didn't take a photo of the second card, it was done the same inside.

Supplies:
Happy Thanksgiving & Pinecones - Cricut cut?
Shimmer Spray
Various card stocks - stash
1151 Crosshatch Long Rectangles - Karen Burniston
1011 Katherine Label Pop Up - Karen Burniston
Stitched Leaf dies - Lawn Fawn
I-crafter Blending Brushes
Stamps - Thanksgiving Blessings, Taylored Expressions
Tattered Leaves - BigZ Die - Tim Holtz
Banners Pick a Punch - Stampin' Up
Small red leaves - unknown
Card sizes (both) 8.5 x 3.5", fit in a #10 Business Envelope

Thanks for stopping by today
Sunday, 15 November 2020

Gingerbread Treat Bag Trio

Hello crafty friends ...

I love making both treat holders and gift card holders for the holidays. Today I'm sharing three adorable treat holders using some Your Next Stamp goodies! I added the YNS Scalloped Top Treat Bag to my collection during the YNS Birthday Sale last month so had to make it up right away. It is easy to put together and is just so darned cute! These ones have Hershey's Kisses inside.


The Sweet Holiday Cookies stamp set (with coordinating dies) is from the new release and they work perfectly on a treat holder! 


I decided to create a little Belly Band to hold the Scalloped Treat Boxes closed - they simply slide off so you can lift the scalloped top up and get the chocolate inside. For my Belly Band, I cut a strip of patterned paper 5-1/4" x 3.4". I put the centre at the back of the treat box and folded the ends to the front. When I had the tightness I wanted (not too tight or it won't come off easily, and not too loose or it won't stay on) I secured the ends at the front with a Glue Dot. 

I adhered the stamped, die cut and coloured gingerbread cuties to hide the seam of the belly band and the back is nice and clean looking.


Supplies:
Scallop Topped Treat Bag - Your Next Stamp
Sweet Holiday Cookies - Your Next Stamp
Sweet Holiday Cookies Die Set - Your Next Stamp
Patterned paper - Nostalgic Christmas, Recollections
Sakura gold gel, white gel and black glaze pens
Copic markers
Ohuhu Markers
Wink of Stella

Thanks for stopping by today

Rainbow Leaves Slimline Birthday Card


Hello crafty friends ...

Today I'm sharing a stencilled Slimline Birthday card that will be donated to my Mom's old nursing home. As soon as I opened this pretty Slimline Stencil from Stamplorations, I knew I had to make it into a rainbow. 


I used the new Long Crosshatch dies from Karen Burniston - love those edges! The Happy Birthday is from the Oh Shiitake stamp set. Lots of their sets include a great size of sentiments.

One evening I went into my craft room and stamped a bunch of YNS birthday sentiments onto black card stock and heat embossed them with white embossing powder. The next evening I cut them into strips, with dies or a trimmer and added them into a plastic envelope. Now all I have to do is poke around in the envelope and grab an already trimmed and embossed sentiment for my card!


Here is a peek at the inside, where I added a strip cut from rainbow packing tape as well as a stamped sentiment.


This card will be donated to my Mom's old nursing home.

Supplies:
Leafy Row Stencil - Stamplorations
Taylored Expressions Blending Brushes
1151 Crosshatch Long Rectangles - Karen Burniston
Oh Shiitake (Happy Birthday) - Your Next Stamp 
Nuvo Drops
Card stocks - stash
White embossing powder
Rainbow tape - FCTRY
Inside stamp - Happiest of Birthdays, Stampin' Up
Card size - 8.5 x 3.5", fits in a #10 Business Envelope

Thanks for stopping by today 

Saturday, 14 November 2020

November Sheetload Pop Up Christmas Cards (and a Slimline Card too!)

 Hello crafty friends ...

Today I'm sharing my cards made with Alicia's November Sheetload of Cards. This is a sketch and cutting guide that Alicia provides each month to her YouTube subscribers and I'll add a link in the Supply list below. I've been using the Sheetload to make Birthday Cards to donate to my Mom's old nursing home, but for my first set of cards using the November one I decided to make Christmas cards for us to send out this year.

Since I normally do fun folds or Pop Ups for cards we send out personally, I made these six cards into Pop Up's! I do have a walk through of my cards here on YouTube

All the the decorative elements I used were fussy cut from the 6 x 6" paper pad, and I was able to use them all up on these cards! 


The Merry Christmas is a clear sticker that I adhered to a strip of pearlized gold card stock that I punched with the Banners Pick A Punch from Stampin' Up. I added a couple of glitter dots too!


Inside, I popped up matted journal cards from the paper pad, and used all of those up too! I have had this paper pad for a couple of years and I have really enjoyed it. I love the wintery colours and the copper foiling throughout.


I added border strips cut from another sheet of paper in the pad, and some punched snowflakes.


And now for the Slimline card! I actually made it at the same time, as I had the supplies out and when I was flipping through the 6 x 6" paper pad I saw this foiled sentiment panel and knew it would work perfectly for a Slimline. I used leftover scraps that were in with the paper pad, and some of the leftover pearlized gold strips from my Sheetload cards.


The large snowflake is a die from Elizabeth Craft Designs, and it was cut from more of the gold pearl paper.


Here is a peek at the inside:


I really enjoyed this Sheetload (I know - I say that for every one of them) and more than one of her collaborators said it was their favourite one ever. I expect after the holidays I will make this one again and make some Nursing Home donation cards.

#ShowUsYourSheetLoad #SUYSNov2020

Supplies:
Call Me Crafty Al's November Sheetload video:   https://youtu.be/IBthJXAJkho
Card stocks - stash
Gold pearl card stock
Snowflake dies - Elizabeth Craft Designs
Patterned paper (6 x 6") - A Winter's Night, Recollections
Snowflake Border Die - Your Next Stamp
Thin foam tape
Gold Merry Christmas stickers - Paper Studio
1057 Circles Crosshatch - Karen Burniston 
Wink of Stella
Cobalt Tapestry embossing powder - PSX (old, from my stash)
Mini MISTI - My Sweet Petunia
Sentiment inside - old, Hero Arts? Posh?
Snowflake/acetate stickers - Recollections
Snowflake punch - Martha Stewart
Glitter Dots - Elizabeth Craft Designs
Banners Pick A Punch - Stampin' Up
Sentiment inside Slimline card - another unknown from my stash
Card size - all the Pop Up Cards are A2 (4.25 x 5.5"), and the Slimline is 8.5 x 3.5" and fits in a #10 Business Envelope.

Thanks for stopping by today

Thursday, 12 November 2020

Latte Smiles Slimline Pop Up Card


Hello crafty friends ...

I'm back today with another card for the Coffee Lover's Blog Hop -- a Slimline that is also a Pop Up and I used some fun images from Your Next Stamp. Your Next Stamp is one of the amazing sponsors for the blog hop. 😁 It's also time for another Fun Friday Challenge at Your Next Stamp ...  #152 "TRIO'S. Include Three of something on your creation".  This card definitely qualifies with all the trio's I have on this card!

The Fun Friday Challenges come with two chances to win prizes!!
Comment on the YNS BlogInstagram or Facebook pages for a chance to win a free stamp set. Comment on all three to increase your chances, but comments must be left by November 4th 2020. The winner will be announced on November 18th on the YNS Blog.

More details about the prizes at the end of my post!


I have a walk through of my card on YouTube, as well as a quick tutorial on how to create a simple pop up card.


I used a Trinity Stamps Slimline die to create the stitched panel with stitched windows, and added those cute stamps from YNS's Brew-tiful Day.


Inside is the Pop Up with more coffee themed images!


I stamped a face from Brew-tiful Day to the cup on the cat image - those faces just make me grin. I die cut one of Karen Burniston's Crosshatch Ovals from teal card stock, then cut a notch in it so it would fit around the Pop Up Step.


Today is the last day of the Coffee Lover's Blog Hop, and I hope you had a chance to check out some of the fun inspiration that has been shared. I loved being a part of it, and having something to share for every day of the hop. 

The Fun Friday Challenge #151 runs through November 26th 2020 at midnight EST. One random participant will win a $15 gift certificate to the Your Next Stamp store.  If YNS stamps or dies are the focal point then the winner receives an additional $5 gift certificate for a total of $20!!  The winner will be announced on the YNS Blog the Sunday after the challenge closes. Check it all out on the Your Next Stamp blog HERE. 

Supplies:
Patterned paper - Flea Market Prairie Plaid, Doodlebug
Copic markers
Distress Stickles
Sakura white gel pen
Teal and white card stocks
Slimline Stitched dies - Trinity Stamps
Stitched Square dies - Elizabeth Craft Designs
i-crafter Blending Brushes
1055 Ovals Crosshatch - Karen Burniston
Simple Strips die - Taylored Expressions
Stencil - Hearts, Scrapbook.com

Coffee Slimline Trifold Card


Hello crafty friends ...

Today I'm sharing another card for the Coffee Lover's Blog Hop, and this one is a Slimline Trifold!


I had been working ahead, so this card was actually made in June and was the first Slimline Trifold card I'd made. I was so excited about the layout though, and wanted to share the idea with all of you long before November ... so I did create others to share right away. I'm glad I did, as lots of people have made them now and let me know how much they appreciate the idea.

I have a short walk through of today's card on YouTube as well:


The 'to go' cup is a retired set from Stampin' Up but I just love it and keep using it. Actually, pretty much everything on this card is from my stash! 


When you open the left flap, a sentiment is revealed ...


... and then you open the right flap for another sentiment!


Here are the measurements, if you would like to make one of my Slimline Trifold Cards:
  • Cut card stock 8.5 x 8.5"
  • Score on the left side at 2" and the right side at 3"
  • Decorate panels as desired
  • The decorative panel on the front is 3" wide, and can be as long as you would like. This one is 5" long. Note - this is for the card stock matting layer, the patterned paper is 1/4" smaller, at 2.75 x 4.75".
I hope you will check out the Coffee Lover's Blog Hop - there is always a ton of inspiration! I'll be back tomorrow with one more card for the hop. 

Supplies:
Burgundy, white and cream card stocks
Patterned paper - TC Fall, K & Company
Coffee Cafe - Stampin' Up (retired)
Coloured pencils - prismacolours
Stitched Rectangle Die Set - Your Next Stamp
Coffee Talk stamps - CAS-UAL Friday's
Fun foam
Stickles
Sakura white gel pen
Scalloped rectangle - Honey Bee
More Happy stamp - Riley & Company
Coffee die - Verve (retired)
Gold foil card stock - Stampin' Up

Card size:  3.5 x 8.5", fits in a #10 Business Envelope


Thanks for stopping by today