Friday, 19 June 2020

Karen Burniston and Dare 2B Artzy Collaboration Blog Hop!


Hello crafty friends! 

Welcome to the KB Riley - Karen Burniston Dies and Dare 2B Artzy Collaboration Blog Hop! Our Design Team members are excited to share their inspiring creations using some of the fabulous products from both these companies.


To celebrate our blog hop we have four great prizes to give away. You will have at the chance to win one of two $25 Gift Certificates to use on the KB Riley - Karen Burniston Dies website, or one of two $25 Gift Certificates to use on the Dare 2B Artzy website. Amazing, right? 
I did a rather long YouTube video for those of you who both like to see pop up cards in action while hearing the details, as well as those who prefer a video tutorial on how I created the extra wide Gift Pivot Panel. You can find the video HERE.


This is a larger than A2 card ... it's a card & envelope set from Michaels and it measures 5 x 6.5". I was so pleased with how well Karen Burniston's A2 sized Pattern Plate Tiles work on this size of card, leaving a nice even border all the way around.

I love the shine you get from acetate and use it frequently on my cards. After inking and stamping the centre circle, I added acetate over it before adhering it under the Crosshatch frame. Note, the frame was created by nesting two Crosshatch circles together and running it through my die cutting machine.


Inside, I used the Gift Pivot Panel and the adorable Alpaca Cake stamp and coordinating die set from Dare 2B Artzy. My teammate Kelly Booth chose the other Alpaca stamp set to use for her Blog Hop card and I'd like to point out that the die set works for BOTH stamp sets!!


Look how cute this Alpaca is! There are snippets of the Pattern Plate on the Gift Pivot Panel which helps disguise the extra fold. I have more information on how I did it at the end of my post.


A fun sentiment, stamped on another ink blended panel. I used one of the 'dangly bits' that will soon be available at karenburniston.com and hung the lips from the Love Charms on it.


The Cactus in my stamp set has this zig zag design, which makes it fun to colour.


The rainbow borders on either side of my card were created with Washi Tape wrapped around a strip of card stock. Adhering the ends under the strip then adding it to your card ensures that the washi tape doesn't lift off.


I took the photo below before I started to decorate the wider Gift Pivot Panel so you could see the double width a little clearer.


To create a wider panel with more real estate for decorating, cut a piece of card stock 5 x 8.5" and score it down the centre at 2.5". I would suggest using scrap card stock first, as the width will depend on what your goal is for the card and how much depth you want. 

You fold your strip in half and run it through your machine with only one long cutting edge of the die touching the folded piece. In the photo below you can see that the curvy parts (for the bows on the gift) do not cut the folded edge. The fold is on the right.

Now remember this is an adaptation of an existing die, so uneven bits are to be expected. Simply trip as desired. If you want more information, please check out my YouTube video.


Make sure you join the hop and comment on everyone's blog post for your chance to win one of these prizes. Winners will be randomly chosen from the comments left on ALL THE POSTS received by Friday 26th June 2020


Karen Aicken  ... that's me!!


Supplies:
Alpaca Cake stamp set - Dare2B Artzy
Alpaca dies - Dare 2B Artzy
1115 Gift Pivot Panels - Karen Burniston
1113 - Love Charms - Karen Burniston
1125 Pattern Plate Tiles - Karen Burniston
1057 Circles Crosshatch - Karen Burniston
1054 Crosshatch Rectangles - Karen Burniston
Chain & Jump Ring - Karen Burniston
Michaels card and envelope - 5 x 6.5"
Patterned paper - Mambi Sheets, Me & My Big Ideas
White card stock
Stamp on back - Riley & Company
Blending Brushes - Taylored Expressions
Sakura white gel pen
Acetate
Copic markers
Rainbow Washi Tape
Stickles

Card size:  5 x 6.5"

Thanks for stopping by today

Thursday, 18 June 2020

Wine Themed Shaker Pop Up Card


Hello crafty friends ...

It's Fun Fold Friday here on my blog and I have a fun interactive card to share today that I made for a friend.

On the front, I created a shaker with this SIP SIP HOORAY die, adding a sentiment and resin sticker.


Remember you can always see my interactive cards in action, HERE on my YouTube Channel


Inside I used the Katherine Label Pop Up by Karen Burniston as well as her Wine Charms. It was fun to pull out this patterned paper pad, which I've had for a very long time.


Supplies:
Stitched Rectangle Frame - Your Next Stamp
Sip Sip Hooray - MFT Stamps
Patterned paper - Momenta (old, from my stash)
Stickers - Crafters Square
White and black card stocks
White embossing powder
Simple Strips Birthday - Taylored Expressions
Simple Strips die - Taylored Expressions
1054 Crosshatch Rectangles - Karen Burniston
1073 Wine Charms - Karen Burniston
Stickles
Copic Marker
1011 Katherine Label Pop Up - Karen Burniston
Scalloped rectangle - HoneyBee Stamps

Card size - standard A2, 4.25 x 5.5"

Thanks for stopping by today

Wednesday, 17 June 2020

Hello Sunshine Slimline Wiper Card


Hello crafty friends ...

I'm on the i-crafter blog today with my final Inspiration Team post and this time I used the new Hello Sunshine Wiper Insert on my Slimline Card. I also stamped a greeting from the Scattered Thoughts stamp set and the cute mouse from the Perfect Birthday.

I talk about some of the details for this card in my YouTube vide HERE:  


Here is the card inside:


I really like the happy sun that is included with this set, and I pulled out my Distress Stickles to smear on the clouds and sun cheeks.


This card just makes me happy, and I'm looking forward to sending it to a friend for Happy Mail!

Supplies:
Hello Sunshine Wiper Insert - i-crafter
Blending Brushes - i-crafter
i-mend Self Mending Cutting Deck  - i-crafter
Scattered Thoughts - i-crafter
Perfect Birthday - i-crafter

Yellow, white, blue, pink and black card stocks
Slimline stitched die - Trinity Stamps
Patterned paper - Bug Discovery, Bella Boulevard
Circle dies - Hero Arts
Distress Stickles - Tim Holtz
Copic markers
Water brush
Sakura black glaze pen
Retro Gumdrops - Your Next Stamp

Card size - 8.5 x 3.5", fits in a #10 Business Envelope

Thanks for stopping by today

Tuesday, 16 June 2020

Trifold Slimline Sympathy Card


Hello crafty friends

I talk about the details on this card in my YouTube video here:  https://youtu.be/S0zqwrmz2Mc


I have been having fun coming up with different ways to create Slimline cards, and this is another one I'm happy to share with you. I created a trifold variation!


The pretty patterned paper is from an older paper pad by K & Company. I cut the card stock 8.5 x 8.5", then scored 2" from the right edge and 3" from the left edge. When folded, it is the Slimline size of 3.5 x 8.5". I cut the patterned paper so I could have an even white border around the edges, and added a long decorator panel on the left flap to add the stamping to. Again, you can choose your measurements, but the base of this one is 3 x 7",  with a 2.75 x 6.75" white stamped & embossed panel. You can add other shapes to this as well, but the first three of these I've made have all had the 3 x 7" rectangle. The others won't be shared for awhile.

The floral piece inside was a leftover piece from the 12 x 12" sheet of patterned paper - but this is another area you can add whatever shape you would like.


Inside I used gold to heat emboss the Sentiment, and added a few more gold sequins.


Even with the layers, this card fit perfectly into a #10 Business envelope and mailed for a single stamp.

Supplies:
Patterned paper - Celeste, K & Company
White card stock
Flower stamp - Remarkable You, Stampin' Up
Gold embossing powder
Sympathy4you stamp set - the Stamps of Life, Stephanie Barnard
Sakura gold gel pen
Water brush
i-crafter Blending Brushes
Border Peel Off Scrap - Elizabeth Craft Designs
Gold Sequins
Card size: 3.5 x 8.5", fits in a #10 Business Envelope

Thanks for stopping by today

Monday, 15 June 2020

Pop Up 'Thinking of You' Cactus Card.


Hello crafty friends ...

Remember you can always see my interactive cards in action, on my YouTube Channel HERE


I have had these puffy cactus stickers sitting on my stamping table for weeks and I finally broke them out for this card.


The patterned paper has random pearlized sections, and I used a SU Label die set for the inlaid label. That was the perfect spot for one of those puffy stickers and a die cut Thinking of You (from Karen Burniston).


Here is a peek at the inside, with the Paper Frames Pop Up die set by Karen Burniston.


A water coloured sticker is on the right side, and there is a signing block as well.


I added another puffy sticker inside on the left, and added the 'hello' to the left pop up frame. I've had the patterned paper for well over a year and there are still lots of sheets in the pad for me to enjoy using.


Supplies:
Green, white and black card stock
Patterned paper - Cute Cute Cacti, DCWV
Stitched rectangle die - Elizabeth Craft Designs
1122 Paper Frames Pop Up - Karen Burniston
3-D Cactus Sticker - Paper Studio
1052 Word Set 6 Summer (hello) - Karen Burniston
Clear Cactus Stickers - my stash
Stitched Nested Label Dies - Stampin' Up
1102 Word Set 10 Thinking of You - Karen Burniston

Card size - Wide A2 (5.5 x 4.25")

Thanks for stopping by today

Sunday, 14 June 2020

Botanical Birthday Card Group


Hello crafty friends ...

Today I'm sharing a group cards I made to donate to my Mom's old nursing home. I had picked up this box of botanical note cards that are actually printed on both the front and back. I cut each one in half to give me two printed panels for my white card fronts so while I only show 8 in the photos, I actually made two of each one!

On the following card, I die cut some leaves from green pearlized card stock and added them with a fishtail banner greeting. Black Nuvo Drops give the card a little pizazz.


This print is probably my favourite of the bunch.  The stamping was done on a stitched Fishtail Banner and I added clear sparkle Nuvo Drops.


I brightened up this circle pattern by trimming off a strip from the left edge and adding a striped strip from one of the other prints in the package. Then I added some black Glitter Dots to some random circles.


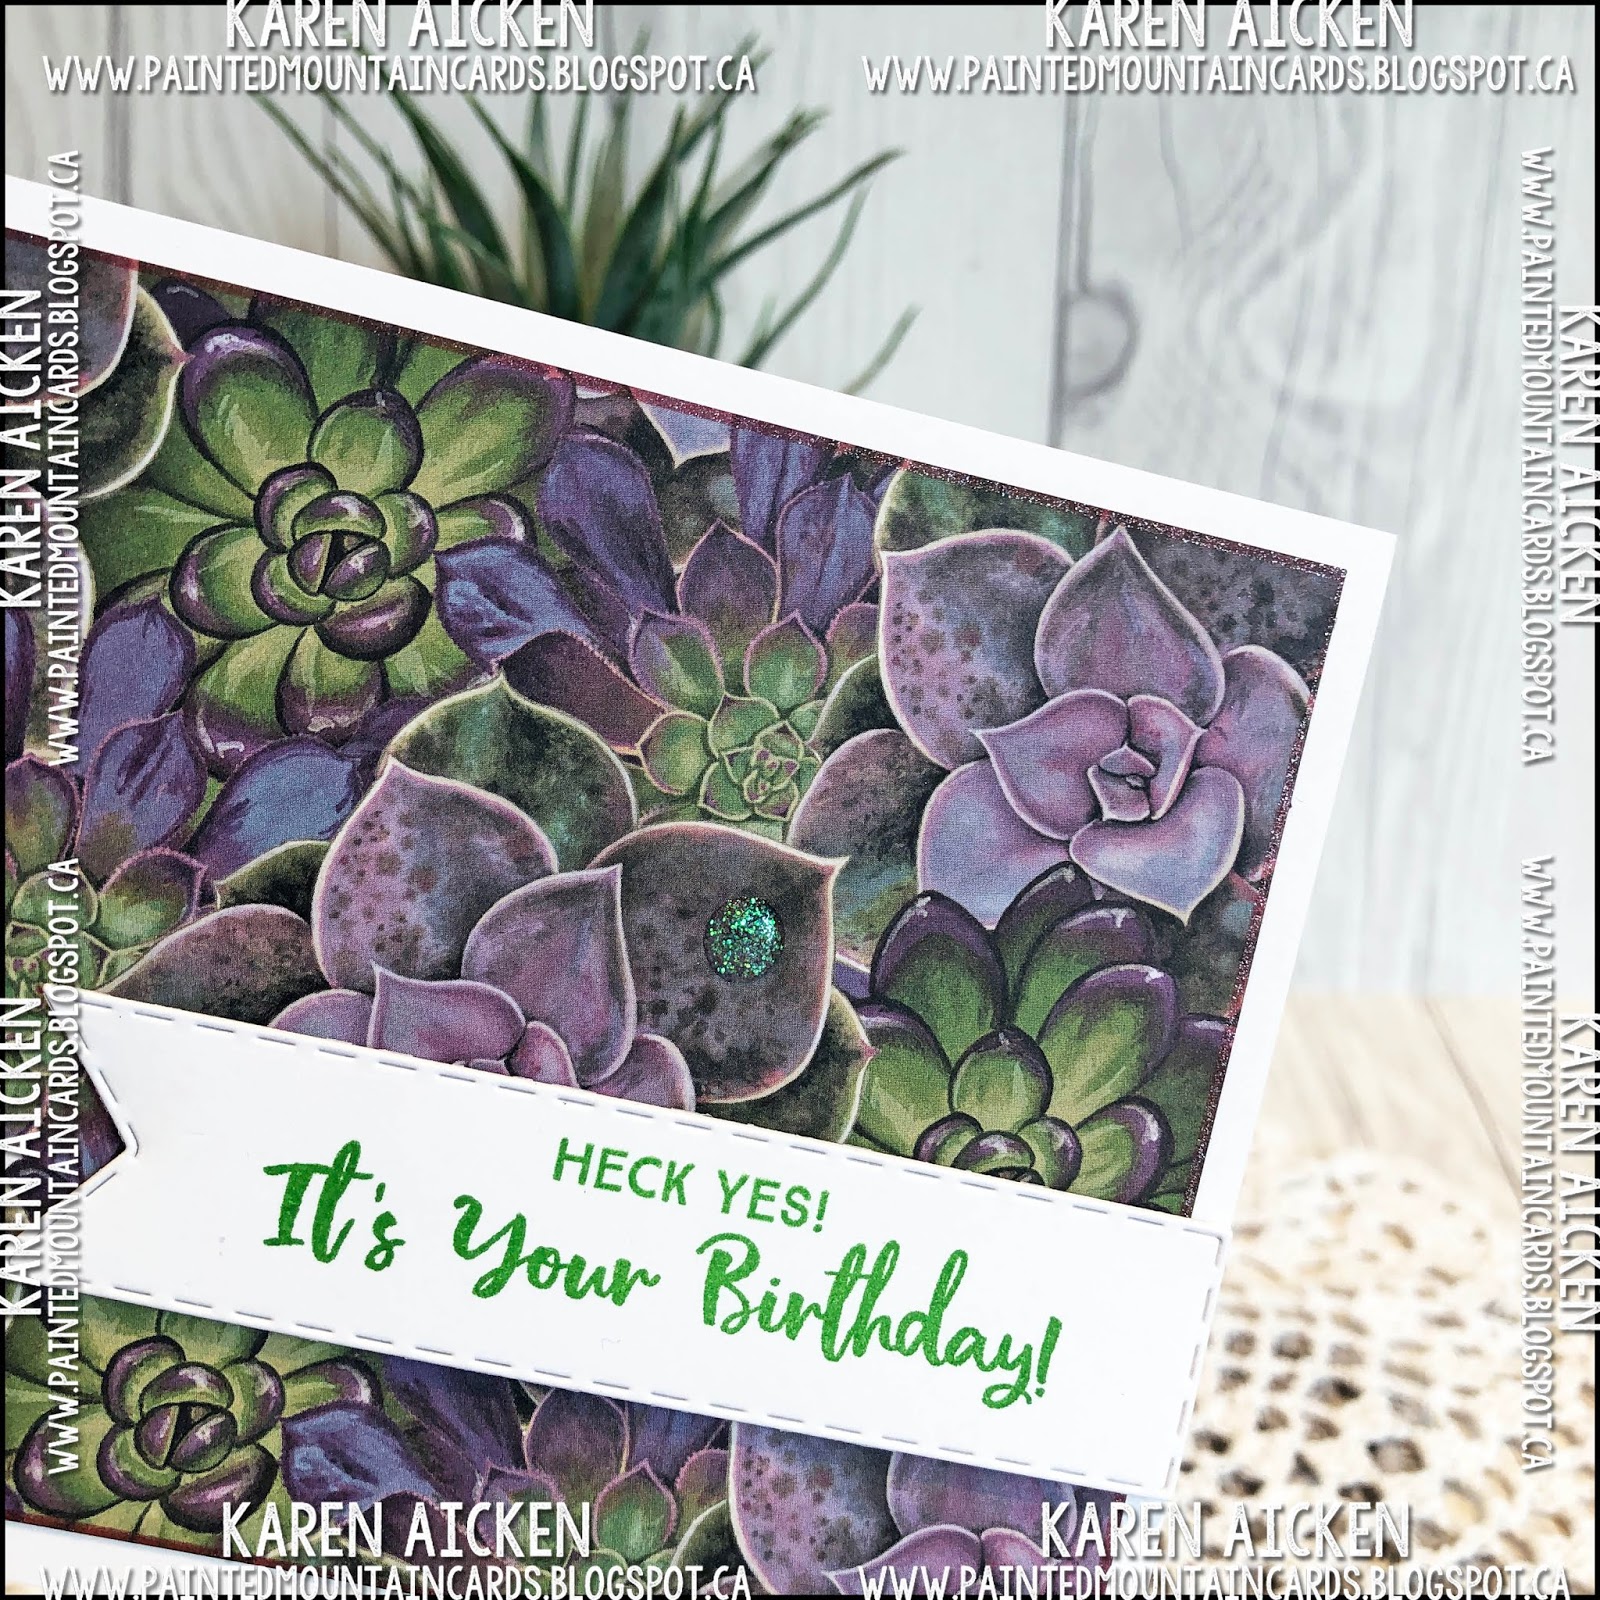
Another print that I really liked. I do like succulent cards!


I stamped the same greeting on the inside of each of the cards.


Supplies:
Boxed Cards & envelopes - Paper Studio
White card stock
Heck Yes - Anything But Basic Birthday Wishes, MFT Stamps
Sweet Wishes - Big Birthday Sentiments, MFT Stamps
Fishtail Banner Die Set - Your Next Stamp
Fishtail Banners - MFT Stamps
Happy Birthday - Pick Me Up, Your Next Stamp
Simple Strips die - Taylored Expressions
Green Pearl card stock
Leaf dies - MFT Stamps
Holographic Circle Stickers - Hot Off The Press
Happy Birthday To You - Cool Tag Banner Sentiments - Your Next Stamp
Inside Stamp - Drop a Note, Taylored Expressions
Nuvo Drops
Washi Tape Greetings - Your Next Stamp

Card sizes - Standard A2 (4.25 x 5.5")

Thanks for stopping by today

Saturday, 13 June 2020

Cactus Flip It Card


Hello crafty friends

I talk about some of the details and supplies for this card, in my YouTube Video HERE.


It's been awhile since I made a Flip-It Card, so while I had these stickers out I decided to go ahead and make one using some cactus printed papers from my stash. I added a Hello from Karen Burniston's Word Set 6 Summer, since I'm sending out a lot of Happy Mail these days.


There is room to write a short note on the flip side of the circle, and also on the back.


I still get a lot of use out of my (retired) Stampin' Up Banner Punch, so used it here punching little banners from scraps of patterned paper in the package. I also added a tiny clear cactus sticker onto the white stitched circle.


I think I have enough Happy Mail cards in my stash now, even though I keep sending cards out each week. 

Supplies:
Circle Flip-Its - Stephanie Barnard, the Stamps of Life
Green, black and white card stocks
Patterned paper - Cute Cute Cacti - DCWV
Scallop Stitched Nesting Circles - Tutti Designs
Cross Stitch Circle dies - Tutti Designs
Stitched Circle dies - MFT Stamps
Banner Punch - Stampin' Up
1052 Word Set 6 Summer (hello) - Karen Burniston
Sakura white gel pen
Tiny sticker - American Crafts
Nuvo Drops
Puffy Cactus Sticker - the Paper Studio

Card size - standard A2 (4.25 x 5.5")

Thanks for stopping by today

Thursday, 11 June 2020

Swan Shaker Card


Hello crafty friends ...

I talk about the details and supplies used in my shaker card HERE, on my YouTube Channel.


It's time for a new Challenge at Your Next Stamp - 
the Fun Friday Challenge #141 has a theme of Shake It!

The Fun Friday challenges come with two chances to win prizes!!
Comment on the YNS BlogInstagram or Facebook pages for a chance to win a free stamp set. Comment on all three to increase your chances, but comments must be left by June 3rd 2020. The winner will be announced on June 5th on the YNS Blog.

More details about the prizes at the end of my post.

I really wanted to play with the Swan-derful stamp set again, which is part of this month's new release. This time I added a crown to the splashing swan for a fun touch. I get so much use out of the YNS Sunburst Panel die and pulled it out again for this card.  Adding various filler from my stash in rainbow order, I like how it pulls the colour from the sparkly patterned paper.


Finally here is a peek at the inside, where I stamped a few more images from the Swan-derful set and will add a sentiment or greeting when I go to send the card!


The Fun Friday Challenge #141 runs through June 11 2020 at midnight. One random participant will win a $15 gift certificate to the Your Next Stamp store.  If YNS stamps or dies are the focal point then the winner receives an additional $5 gift certificate for a total of $20!!  The winner will be announced on the YNS Blog the Sunday after the challenge closes. Check it all out on the Your Next Stamp blog HERE. 

Supplies:
Swan-derful - Your Next Stamp
Various sequins and filler - stash
Black and white card stocks
Acetate
Patterned paper - Abrianna, K & Company
Card and Envelope - Michaels
Circle die - Hero Arts
MISTI - My Sweet Petunia
Copic markers
Cloud template - All Night Media
i-crafter Blending Brushes
Wink of Stella
Banner die - MFT Stamps

Card size - 6.5 x 5" (card & envelope set from Michaels)


Thanks for stopping by today

Swan-derful Slimline New Release Card


Hello crafty friends ...

Today is the day that the New Release is available in the Your Next Stamp online store (at 11am EST) !! It's a really fun release - and the team has been sharing lots of previews this week. For something different, we are having an Instagram Hop instead of a Blog Hop and if you are on Instagram, we'd love to have you join us! And be sure to check out the Your Next Stamp Blog for more information!


I used the sweet new stamp set called "Swan-derful" for my Slimline card today. While using an inked backdrop is out of my comfort zone, I do like the way the lovely swans take centre stage on it. Boy, do I ever love those swans and I can't wait to play with them some more. There is such a great variety and some good sentiments too. If I had to pick a favourite stamp set from this release, the Swan-derful set would be it! But please, don't make me choose.


I used Catherine Pooler inks and Taylored Expressions blending brushes to colour a white panel to give the impression of a sunset. When I was happy with the panel, I spritzed the panel with water then lifted the colour from the wet spots with a rag. I knew I wanted 'water' at the bottom as a place to add the two swimming swans.


Inside, I added another inked panel - this one slightly lighter, and a few more images from the Swan-derful stamp set. The inside sentiment is from the new Positive Affirmations set and I really like how well the two sets worked together.


Remember there is free shipping on all Canadian and USA orders!


Supplies:
Swan-derful - Your Next Stamp (New Release)
Swan-derful Die Set - Your Next Stamp (New Release)
Positive Affirmations - Your Next Stamp (New Release)
Bristol Smooth Card Stock
Catherine Pooler Dye Inks
Blending Brushes - Taylored Expressions
White card stock
MISTI - My Sweet Petunia
Copic markers
Posca White Paint Pen
Black marker
Sakura white gel pen

Card size:  8.25 x 3.5", fits in a #10 Business Envelope

Thanks for stopping by today

Wednesday, 10 June 2020

Shaker Tag with Succulents

Hello crafty friends ...

I'm on the i-crafter Blog today with my Inspiration Post for the June Release. I really like the sketchy, loose look of the stamps in the new Positively Plants stamp set, and used them along with the Zip Tag to create a shaker tag!


I gold embossed the terrarium so it would look like those glass ones with the brass beadlines, and then I stamped one of the plants inside. A little ink blending with the i-crafter blending brushes added some additional colour.


When you shake the tag, the sentiment is revealed ... I chose "I Dig You", since this tag is attached to the gift I'm giving hubby for Father's Day.


Supplies:
Zip Gift Tag - i-crafter
Positively Plants - i-crafter
i-mend self healing cutting pad - i-crafter
Blending Brushes - i-crafter
White card stock
Acetate
Gold embossing powder
Various sequins & filler from my stash
Square die - Elizabeth Craft Designs

Thanks for stopping by today