Monday, 17 February 2020

Birthday and Sympathy Cards

Hello crafty friends ...

Sadly, I went through my entire stash of sympathy cards in December, and wanted to make a couple to have on hand. This 12 x 12" patterned paper sheet was in my stash and it looked like it had a couple of printed areas that would work for cards. I pulled it out and got to work.


I was able to make three sympathy cards with parts of that printed sheet, adding additional colour with other papers from the paper pad and darker coloured card stocks.


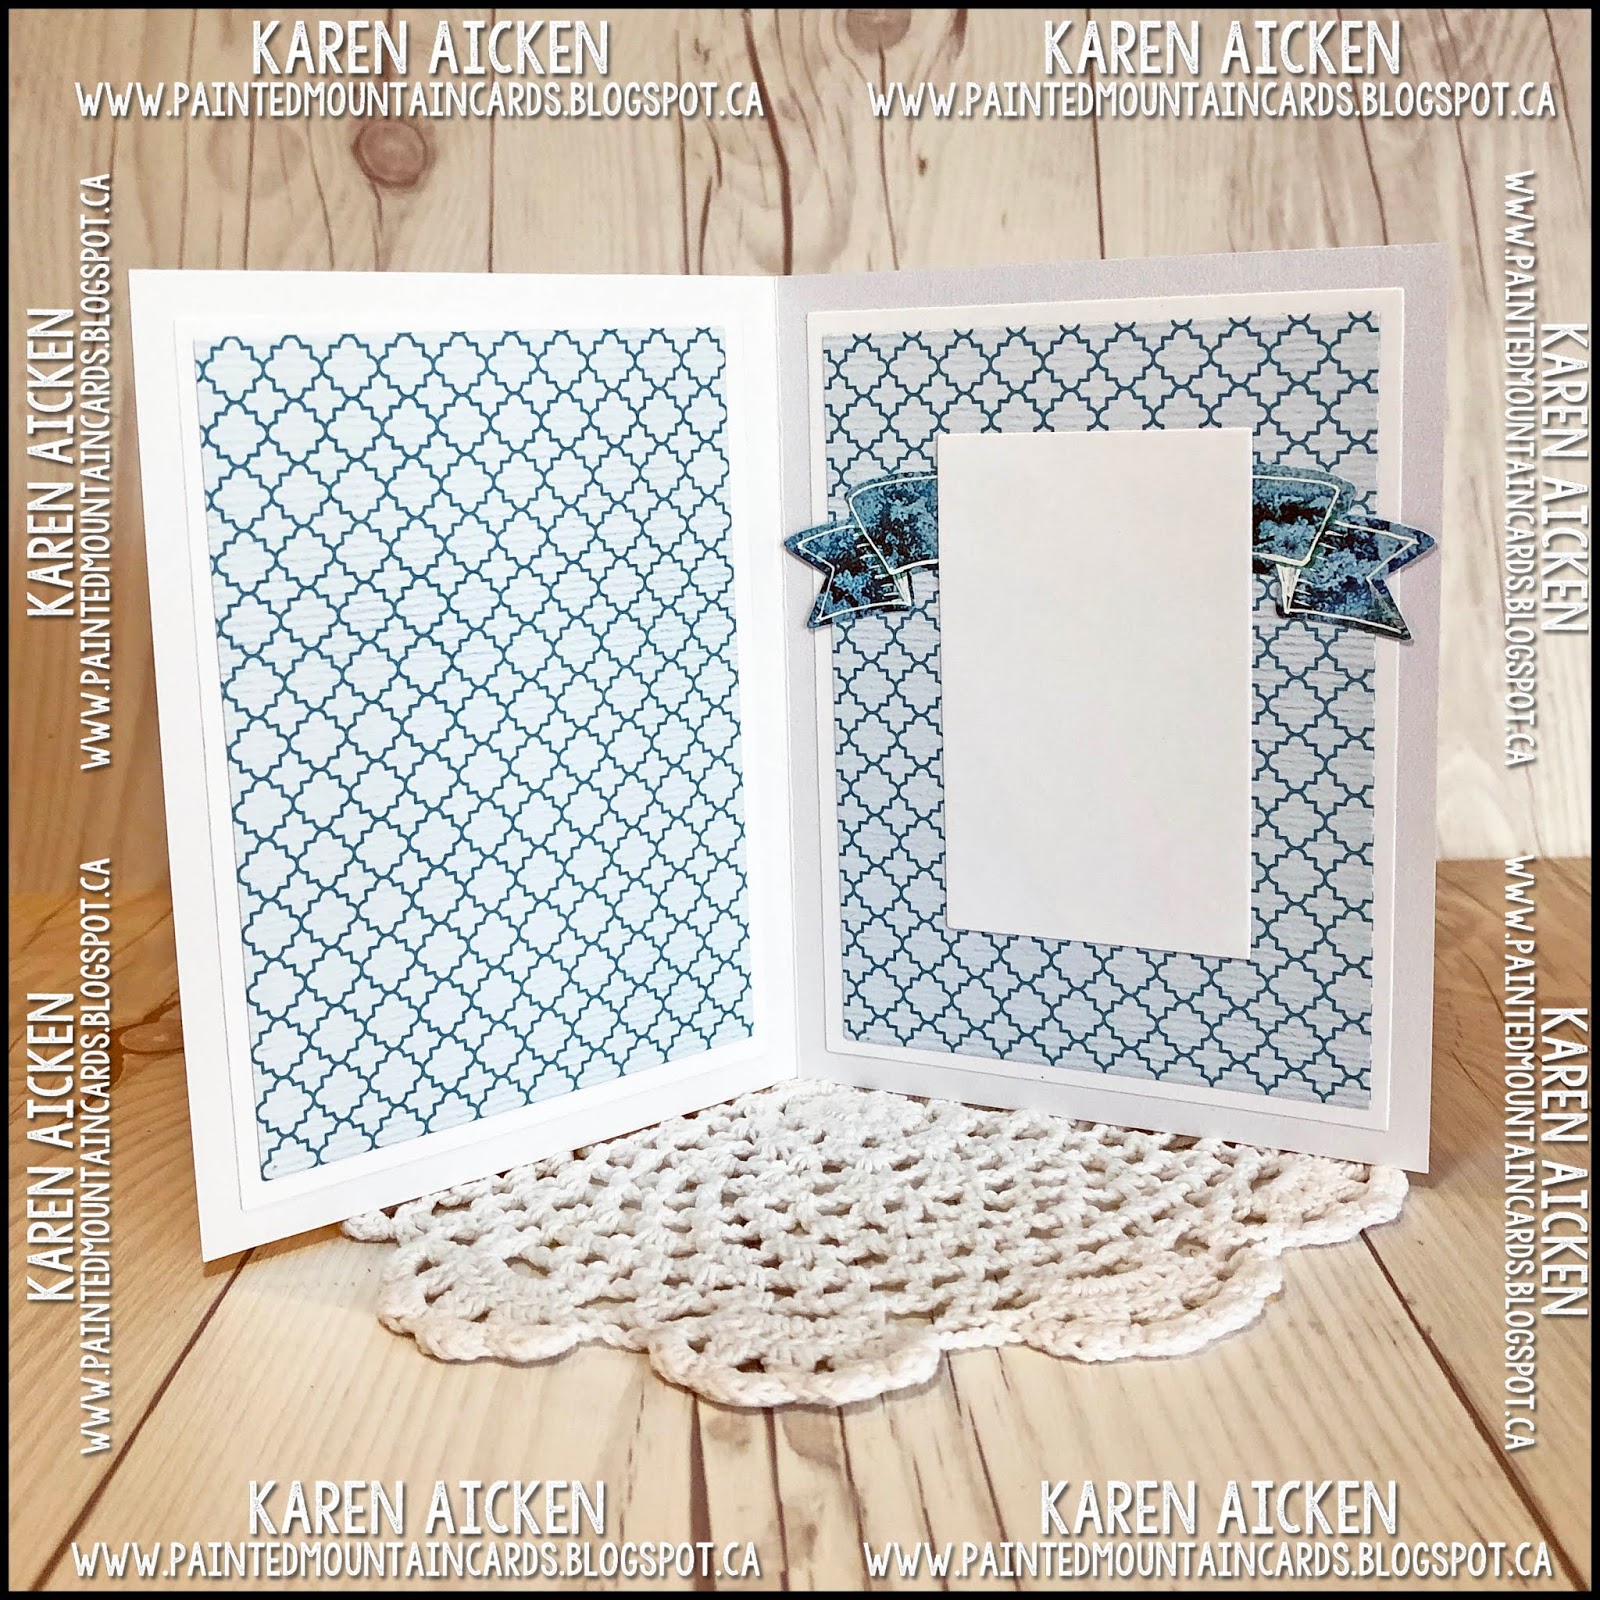
The cards were done the same inside with no oopses because I used the MISTI for perfect placement and stamping.


I was able to make three sympathy cards, then realized that the remaining piece of patterned paper would work for masculine birthday cards to donate to my Mom's old nursing home.


Supplies:
Stitched Scalloped Rectangle die set - Your Next Stamp
Stitched Rectangle die set - Your Next Stamp
Birthday Wishes - Washi Tape Sentiments and die set - Your Next Stamp
Stitched fishtail banner - MFT Stamps
Rose, kraft, green and white card stocks
Fishtail banner - MFT Stamps
Word stamps- With Sympathy, Avery Elle
MISTI - My Sweet Petunia
Stickles
Nuvo Drops
Birthday Words - the Inside Scoop-Birthday, Taylored Expressions

Card sizes - all, standard A2 (4.25 x 5.5")

Thanks for stopping by today

Sunday, 16 February 2020

Group of Ladies Birthday Cards

Hello crafty friends ...

These cards were made well over a year ago and have long since been donated to my Mom's old nursing home. I'm not sure why they never got shared here on my blog, and I no longer have the supply list.


I made them when I had first started donating cards there - I've been making about 25 birthday cards each month for them since Aug 2018. I generally have 4 - 5 large brown lunch bags on the go, and drop in the cards as I complete them. Once there are 20 - 25 cards in each bag, I close that off and deliver it, making sure they have the cards in time for their monthly Birthday Celebration. Since I want the residents to feel special, I don't add too many of a single design to any one bag - so these cards were divided up over 4 - 5 bags.

Using an older 6 x 6" paper stack with lots of scraps and partial sheets in it, I created the card backgrounds with dies then dug through my stash for the elements to decorate them. And I used up that entire pad, which always makes me happy.


A stamped greeting was added to the card fronts ...


... and the interiors were all done pretty much the same.


Thanks for stopping by today

Saturday, 15 February 2020

Unicorn Flip It Card

Hello crafty friends ...

Today I have a Flip-It card to share, decorated with some Animalope dies from i-crafter. I've actually had this card done since November, but couldn't share it until the Animalope die set was released in February.


There is gold foil card stock, and gold glitter as well as sparkly Gumdrops!


I stamped the greeting on the left side, and added a few more YNS Gumdrops for additional sparkle and shine.


This card will go to one of our daughters, for the grandkids to take to a birthday party.

Supplies:
Card, Gift Card Flip-Its - Stephanie Barnard
White, teal, green, aqua card stocks
Patterned paper - Basic Grey
Stitched Mini Scallop Rectangles - MFT Stamps
222051 Animalopes - i-crafter
Gold foil card stock
Gold flitter card stick
Chalks & Q tip
Simple Strips Birthday stamp and die - Taylored Expressions
Clear embossing powder
MISTI
Magical Birthday - Magical Day, Taylored Expressions
Magical Pastel Gumdrops - Your Next Stamp

Card size - Standard A2 (4.25 x 5.5")

Thanks for stopping by today

Friday, 14 February 2020

Oyster Shell Pop Up Valentine Card

Hello crafty friends ...

I really haven't purchased many craft supplies the past year, instead preferring to use what I have. My craft room is only so big and I'm running out of space to store new goodies. But every so often I see something that makes my heart go pitter patter and this Oyster Shell Card with Pop Up by Joset at Elizabeth Craft Designs was one of those 'oooooooooh' items. Right into my shopping cart, ha ha. Along with her new mermaid and sand crab and the parrot that had been on my Wish List for MONTHS.

I wanted to play with the seashell card base right away, so I made a Valentine card to put away for Olivia for next year.


The video's on Blogger are quite small so if you would like to see them larger, click HERE for my YouTube channel.


The lines on the shell deboss when you die cut the card base, but to make them stand out a little more I went over them with a clear glaze pen. Karen Burniston's Happy Valentine's Day was die cut from a pretty white pearl card stock and I added Nuvo Drops for additional shine.


I didn't use my new mermaid though, instead pulling out the fun Mermaid Tail die from Taylored Expressions.


I've had this patterned paper for several years and it's always fun to pull out and use again. I used a label maker for the words, since I didn't have that stamp and this is what I wanted the card to say.


Supplies:
Patterned paper - Prima
Oyster Shell Card with Pop Up - Elizabeth Craft Designs
Catherine Pooler Inks
Sakura white gel and clear glaze pens
White pearl card stock
Mermaid tail dies - Be A Mermaid, Taylored Expressions
Heart dies - Hero Arts
Seaweed die - Elizabeth Craft Designs
Brother labeller
Seashell dies  - Elizabeth Craft Designs
Stitched Fishtail Banner - MFT Stamps
1083 Word Set 9, Love - Karen Burniston
1114 Happy Valentine's Day - Karen Burniston
Spectrum Noir Glitter Pen
Nuvo Drops

Card size: 4.75 x 5.25"

Thanks for stopping by today

Thursday, 13 February 2020

Your Next Stamp February Release Blog Hop

Hello crafty friends ...

Today the February Release is available in the Your Next Stamp online store and we are having a Blog Hop to celebrate!! I hope you have been enjoying the previews the Design Team has been sharing this week - I loved every single item being released this month.

Not only is there a Blog Hop filled with inspiration, AND a Discount Code (scroll down to see) - by commenting along the hop you have a chance to win a $25 YNS Gift Certificate! The more blogs you comment on, the greater your chances are to win. Check out all the Blog Hop links on the Your Next Stamp Blog.  Note, the Blog Hop ends at 12 midnight EST on February 16th, and the winner will be announced on the YNS Blog on February 18th 2020. There is also a link to the Blog Hop at the end of my post.


Today I am sharing a card using the new PIGS CAN FLY set - these pigs are just too cute. I made a larger card to change things up from the standard A2 and pulled some older patterned paper from my stash. The dandelion puffs reminded me of clouds, and there are pretty pearl bits on the patterned paper as well.


Notice the clouds? They are the fallaway pieces from Monday's card where I used the new Pick Me Up stamp with the new Cloud Panel Die.  I still have lots to use on other projects as well.  The PIGS CAN FLY set has so many fun sentiments - and I chose 'Hoggy Birthday' for this one.

One of the YNS Stitched Scalloped dies was used to die cut a window in the bottom right corner of the card front, then I used the same die to cut a second Stitched Scalloped panel from a scrap of patterned paper in the package and mounted it inside the card. It shows perfectly through the card front when the card is closed.


Here is a peek at the inside, using the Congratulations as well as the Pig Time stamp from the PIGS CAN FLY set. The YNS Fishtail Banner die set is one I pull out again and again, and I used it here. Of course I also added some sparkly Gumdrops - I love how much they add to a card.


Seriously - these piggies just make me smile.


LOOK!  Your Next Stamp is offering a discount code as well!!


You can start the Blog Hop by clicking on the Inlinkz link below:
You are invited to the Inlinkz link party!
Click here to enter
Supplies:
Pigs Can Fly Stamp Set - Your Next Stamp  (February Release)
Pigs Can Fly Die Set - Your Next Stamp  (February Release)
Cloud Panel Die - Your Next Stamp  (February Release)
Black Olive Ink - Your Next Stamp
Stitched Scallop Rectangle Die Set - Your Next Stamp
Stitched Fishtail Banners - Your Next Stamp
Winter Wonderland Sparkly Gumdrops - Your Next Stamp
Bristol Smooth Card Stock
MISTI - My Sweet Petunia
Copic markers
Card and envelope - Michaels
Patterned paper - Heidi Grace (old, from my stash)
Sakura black glaze and white gel pens
Wink of Stella
Catherine Pooler Inks

Card size - 5 x 6.5"

Thanks for stopping by today

Wednesday, 12 February 2020

Animalope Gift Card Holder Duo

Hello crafty friends

Today is my first Inspiration Team project with the February release, and I chose the Animalope die set. OMGoodness, the team has done some super cute projects with this set!! I'm sharing both this project and also a second Animalope one so be sure to scroll all the way down.

The die makes this cute little envelope that you can make into many different animals with the included accessory dies - you lift up the decorated flap and insert the gift card. Of course I use it a little differently - just goes to show you how versatile dies can be! In the photo below, you can see the gift card peeking out from behind the mouses ears ...


The videos are quite small on Blogger, so if you'd like to see it larger, please check out my YouTube channel HERE.


I adhered the flap down, and used thin strips of foam tape to attach the mouse Animalope to the front of my card. This gave me room behind the envelope to pop in the gift card!


I decorated the inside too, using a leftover flower and the star from the Zip Tag die set.


I'm sharing a second Animalope Gift Card Holder - this one was actually made to display at the i-crafter Creativation booth!


On this one, the envelope was adhered to the card front (which is a lovely pearlized white card stock) with the flap open. Lynda had found a really pretty gift card that coordinated and in the photos she shared from the show, it looked so pretty inside the Unicorn Animalope.


Because you know I can't have a plain card interior, I added matted layers of patterned paper and the banners from the new Pop Up Wiper Insert behind the signing block.


Supplies:
222051 Animalopes - Lynda Kanase, i-crafter
222011 Pop Up Wiper Insert (Banners) - Lynda Kanase, i-crafter
222010 Zip Gift Tag - Lynda Kanase, i-crafter
White shimmer card stock
Patterned paper - Paper House (Unicorn)
Patterned paper - Little Bo Peep, Crate Paper (Mouse)
Cool Tag 3 die set (banner) - Your Next Stamp
Stitched Rectangle dies - Your Next Stamp
Black, White, Blue and pink card stocks
Gold foil card stock - scraps
Rectangle dies - Hero Arts
Sakura white and gold gel pens
Fun foam
Nuvo Drops
Copic Markers

Card sizes both - Standard A2 (4.25 x 5.5")

Thanks for stopping by today

Tuesday, 11 February 2020

Floral Bouquet Birthday Card Duo

Hello crafty friends ...

Today I'm sharing a pair of cards I made using up some bits and pieces from my craft room.


I picked up a box of Ombre cards & envelopes last year, but hoarded them for the longest time. And you know what happens when you hoard something? You forget you even have it. So! Time to get them out and use them.  


I had stamped this floral bouquet image twice two years ago and they were sitting in a bin. Time to use them.  The frosted heart bling was a 'thank you' gift from Queen & Company and the journal cards were another purchase from last year that I want to be sure to use more on my cards.


While I love the colours on the card bases, these are more lightweight than I like to use for my cards. I just don't like 'wussy' cards. Adding layers is a good way to beef up a card base and make it more sturdy. For these cards I used YNS's stitched scalloped rectangle with a stamped greeting.


Both cards will be donated to my Mom's old nursing home.

Supplies:
Ombre cards - Hobby Lobby
Floral bouquet stamp - Hero Arts
Journal cards - Becky Higgins, Project Life
Happy Birthday - Taylored Expressions
Stitched Fishtail and Scallop Rectangles - Queen & Company
White card stock
Corner Chomper - We R Memory Keepers
Heart bling - Queen & Company
Birthday words inside - Birthday Blowout, Poppy Stamps
MISTI - My Sweet Petunia
Card sizes - both, standard A2 (4.25 x 5.5")

Thanks for stopping by today

Sunday, 9 February 2020

'Pick Me Up' Card Duo

Hello crafty friends ...

Today we are sharing projects with the upcoming February release at Your Next Stamp!! There is a chance to win a prize as well, so be sure to scroll all the way to the end of my post to see those details.

The 'Pick Me Up' stamp set is a small set with a great price point that packs a LOT of punch. I can see so many uses for this set and to start off I created both a Thank You card and a Birthday Card.


The video's on Blogger are quite small so if you would like to see them larger, click HERE for my YouTube channel.


First up is the 'Thanks For All The Smiles card. There is also a coordinating die available for the Pick Me Up set and just look at how it cuts the inside of the balloon strings! There is a THANKS die included in the die set, and the stamp set also comes with a Thanks stamp for even more versatility. 


To create my backgrounds, I die cut two card panels with the largest Stitched Rectangle die from white pearlized paper. Then I dipped and dragged the panels through puddles of Distress Oxide inks and when they was nice and dry I die cut the panels using the new CLOUD PANEL Die, which is also part of the February release.

Something I often do with background dies, is back them with a lightweight acetate which gives the card some great shine. With the pearlized card panel, the acetate backing, the white pearlized card stock, the clear embossing of the image and the shimmer pen on the balloons and cat bellies ... these cards are nice and shiny!

Have another look at the THANKS die, and how the 'A' and the 'N' are already shaped to fit perfectly on the balloons. I always appreciate the thought that goes into the YNS dies.


I kept all of the fallaway clouds to use on the card interior and future projects, so I added three inside the Thank You Card.  The oval window inside was cut using the new ROUNDED PANEL SHAPES and I stamped the greeting on a piece of light blue card stock and put it behind the opening. There are lots of shapes included in that die set and it's going to be great to create fun windows in and on your cards with a fun stitch line around the window.


Below is a closer look at the window, and the 'FOR ALL THE SMILES' is one of the greetings included in the PICK ME UP stamp set.


For the second card, I used the second pearlized & smooshed background cut with the new CLOUD PANEL Die. The PICK ME UP cat with balloons was clear embossed and coloured with the same brush markers as the first card. I intended to add the cat to the card with a Mini Action Wobble, but it turns out I don't have anymore. I will have to remedy that soon.


In the photo below, you can see the shine you get from the acetate. Sorry the photos aren't the best and I had wanted to show the stamp set in the photos as well. But my DT package was delayed getting to me and I was on a time crunch to get the cards made and photographed at all!


Inside I added stamps from the Whatnot Sentiments Set 12.


Now for the prize information!

Your Next Stamp is giving away each of the sets being previewed!! Today, 2 random comments will be selected from the Your Next Stamp Blog or Instagram and each person will win 1 of the 2 sets.  All comments must be left by February 12th at midnight and the winners will be announced on 2/13. These are the two sets being previewed today:

Pick Me Up
Ewe Can Do It

Supplies:
Pick Me Up Stamp Set - Your Next Stamp (February Release)
Pick Me Up Dies - Your Next Stamp (February Release)
Cloud Panel Die - Your Next Stamp (February Release)
Rounded Panel Shapes - Your Next Stamp (February Release)
Black Olive Ink - Your Next Stamp
Cool Tag One (banner) - Your Next Stamp
Whatnot Sentiments Set 12 (Birthday words and balloon) - Your Next Stamp
Stitched Rectangle Die Set - Your Next Stamp
Blue and white card stocks
White shimmer card stock
Acetate
Arteza Real Brush markers
Water brush
MISTI - My Sweet Petunia
Clear embossing powder
White embossing powder
Chameleon Color Tone and Color Top Markers
Spectrum Noir Glitter Pen

Card sizes - Standard A2 (4.25 x 5.5")


Thanks for stopping by today

3D Animal Sticker Birthday Cards

Hello crafty friends ...

I picked up this oval grid die last year, and spent an afternoon creating card backgrounds. I love grid dies for using up paper scraps and those leftover bits and pieces you may have in your scrap bins.

These four cards were decorated with some 3-d stickers from my stash, as well as white embossed Your Next Stamp sentiments to create some fun Birthday Cards.


The insides were all done the same ...


Supplies:
Oval Grid Die - Stephanie Barnard, the Stamps of Life
White, black and blue card stocks
Patterned paper - Daydreamer, Dear Lizzy
Stickers - Krafts Kids (old, from my stash)
Birthday Wishes - Washi Tape Sentiments and die, Your Next Stamp
White embossing powder
Happy Birthday To You - Cool Tag Banner Sentiments, Your Next Stamp
Fishtail banner die - MFT Stamps
Words inside - Super Duper, Stampin' Up
Nuvo Drops
W1 Copic marker
Chameleon Color Tone markers

Card Size, all - A2 (4.25 x 5.5")

Thanks for stopping by today