Sunday, 17 September 2017

Katherine Label Pop-Up Card for the Coffee Lovers Blog Hop

Good morning friends

Today's share is another coffee themed card for the Coffee Loving Cardmakers Blog Hop.


I pulled out an older patterned paper stack and was inspired to use these fall colours and my new Stampin' Up coffee cup set "Merry Cafe". Karen Burniston's Katherine Label Pop-Up was the perfect choice to animate the coffee cup inside.

The patterned paper has lovely sparkly bits with gold foiling - I fussy cut the gold foiled labels etc to add as embellishments. I also pulled out a couple of punches for the leaves cut from scraps in the same pack.


Here is a look at the inside ...


Below you can see how far the cup raises up when you open the card. I love the Katherine Label Pop-Up - you can use it to animate so many things.

Be sure to check out the Blog Hop, there will be lots of cool projects to see.

Supplies:
1011 Katherine Label Pop-Up - Karen Burniston
Crumb cake card stock, white and off-white card stock
Copic markers
Merry Cafe stamp set - Stampin' Up
Punches - Marvy and Family Treasures

Card size 6 x 5"

Thanks for stopping by today

Saturday, 16 September 2017

C4C403 Sketch Pop-Up Card

Good morning friends

It's Saturday so that means a new challenge at the Crazy 4 Challenges Blog. Rebecca Ednie is our hostess this month. Our Guest Designer for September is Teresa Kline and you can see Teresa's blog HERE

Rebecca has a sketch for us this week, which I used for the front of my card.


Inside I used the Floating Floor die from Karen Burniston's House & Fence Pop-Up to make a pop-up platform for my embellishments. This floating floor die is so cool - easy peasy to cut and adhere inside your card and you can attach so many different things to the tabs and pop-up platform.


I added black grass to the front platform as well as a ghost from the Halloween Elements set. I am not sure where I found the spider web die cuts, but they came in a package and I knew they would be fun for Halloween cards. The spider from the Halloween Scene is perfect to use with the webs, this one is cut from orange card stock.


The eyes on the embellishments are raised and glossy (Nuvo Crystal Drops). I also added a small piece of black card stock to the ghost on the top, so his eyes have more contrast. The words were white heat embossed on the bottom of the printed rectangle.


Finally, a side view so you can see the Pop-Up a little better.


Check out the C4C blog to see how the Crazies have been inspired by the challenge. We'd  love to see your take on it, so be sure to stop by the Crazy 4 Challenges blog and link up your creations. If you are uploading to an online gallery, please use the keyword C4C403.

Supplies:
Grey, white and black card stocks
Patterned paper - Stampin' Up
Spider Web die cut - American Crafts
Embellishments - K & Company
Ghostly Greetings stamp - Simon Says Stamp
Happy Halloween - Darcies
Chalks - Stampin' Up
Wink of Stella
Sakura White Gel Pen
Nuvo Crystal Drops

Thanks for stopping by today
Friday, 15 September 2017

Coffee Cup Z-Fold Card

Good morning friends

One of the sets I received in my Stampin' Up order was this 'Merry Cafe'. Just in time for the Coffee Loving Cardmakers Blog Hop!

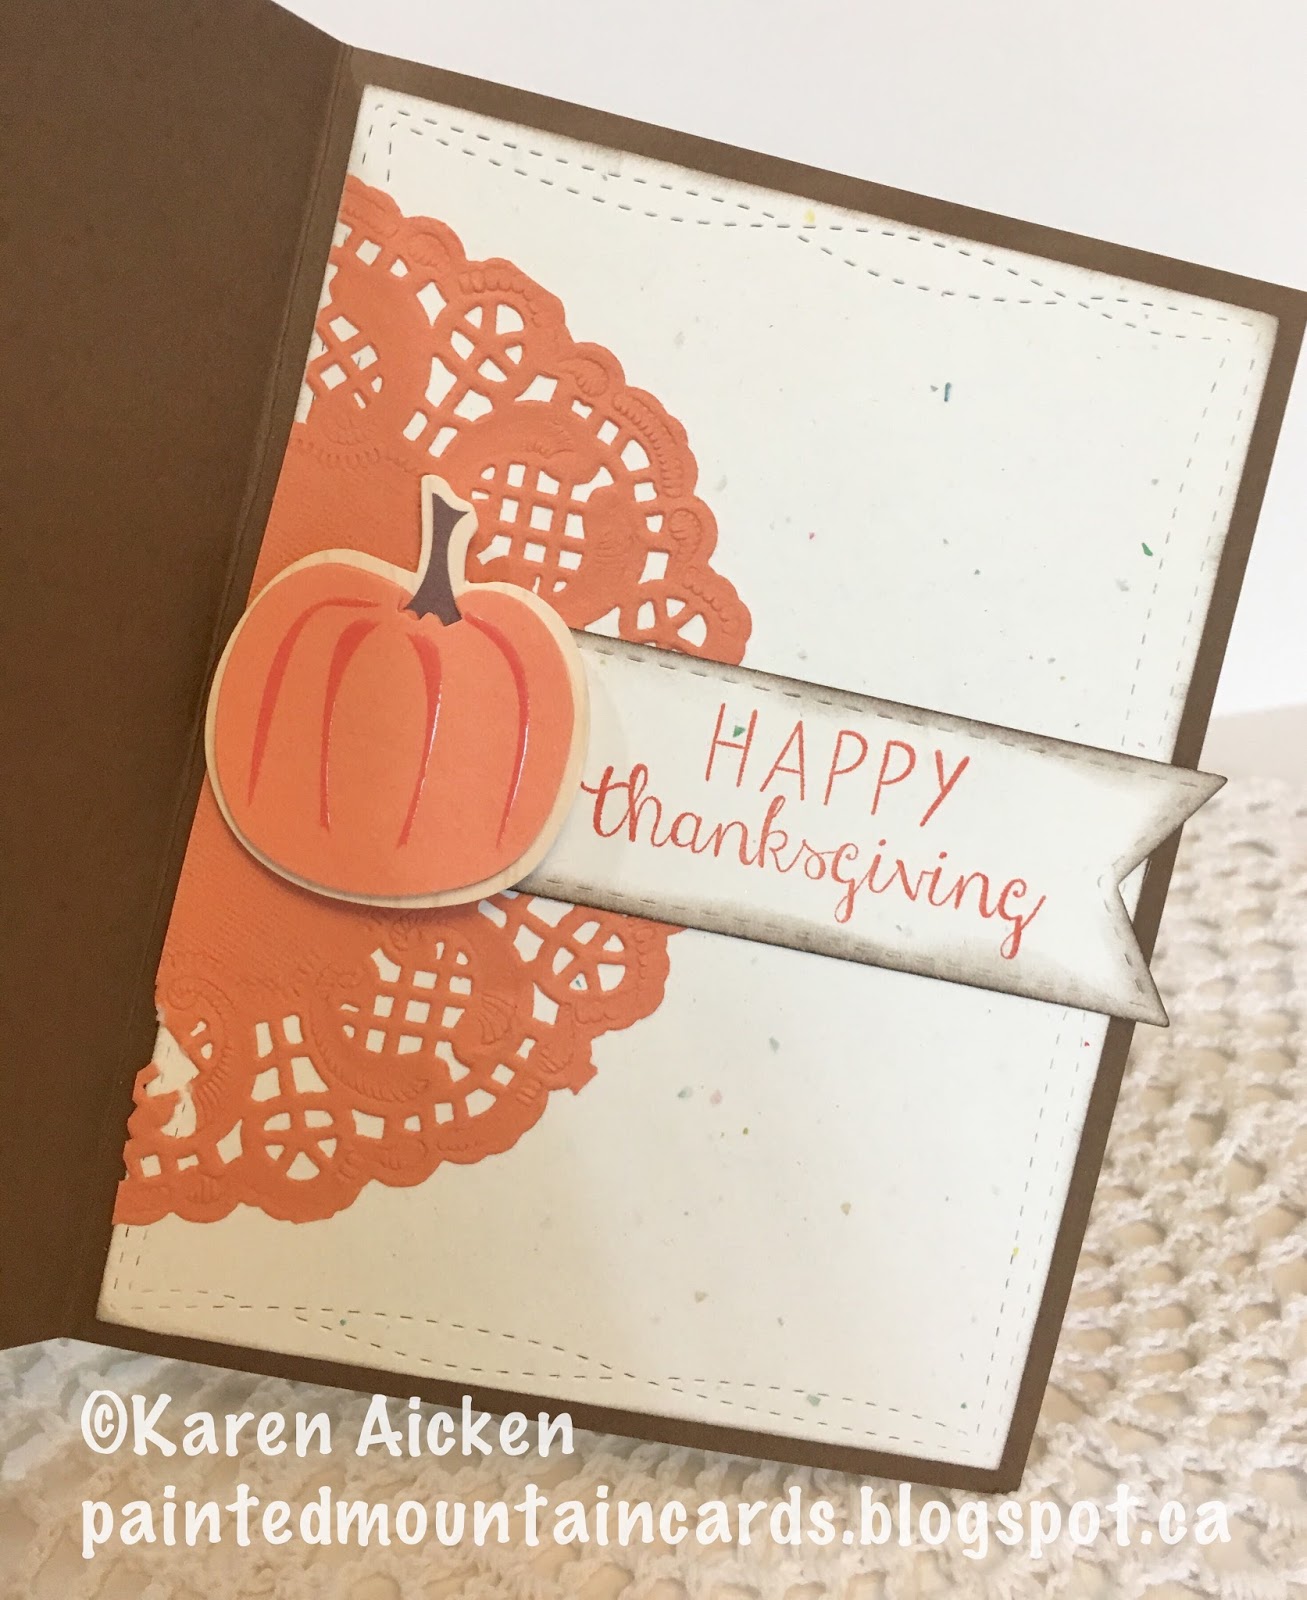
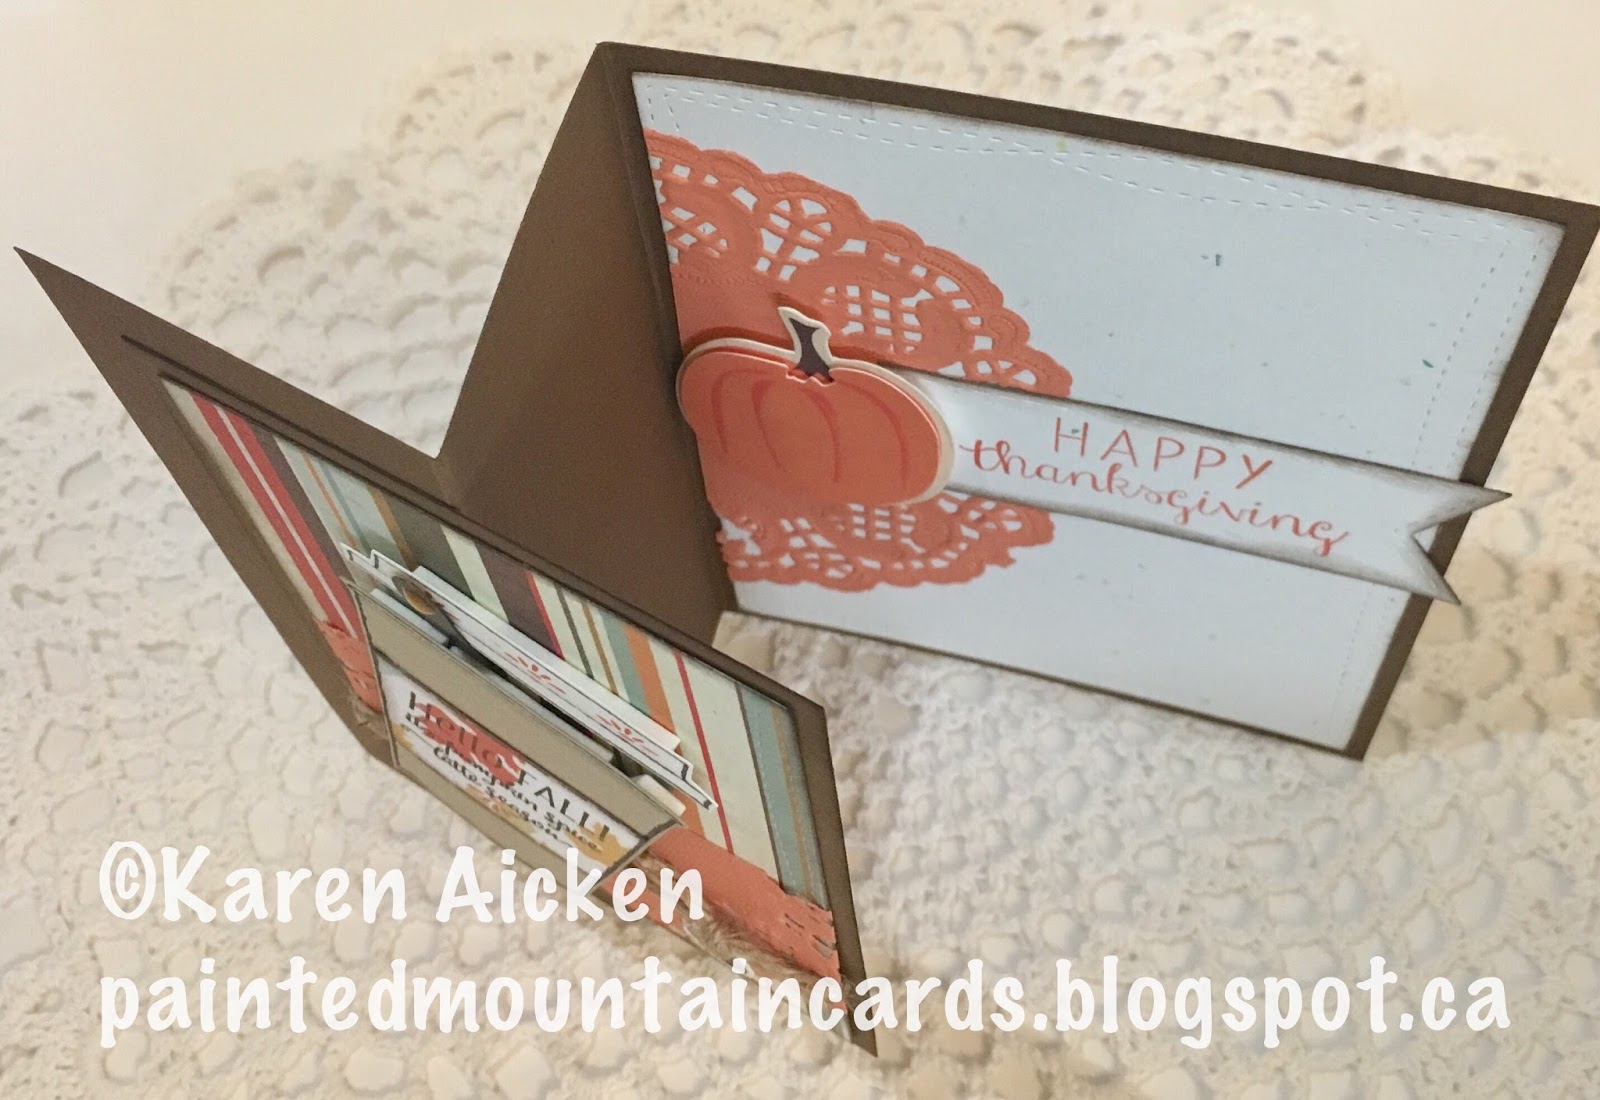
Since today is Flip-It Friday here on my blog, I decided to make a Z-fold card and use the new coffee stamps to participate in the Blog Hop as well. Our middle daughter LOVES Pumpkin Spice Latte's so this card will go to her.


The Stir Stick was fussy cut from wood grain paper and I added an orange Nuvo Crystal drop to the top.


Here is a peek at the inside ...


I made a second card using this stamp set and will post it here on Sunday. Meanwhile, be sure to check out all the fun and amazing coffee/tea/cocoa themed projects in the hop!

Supplies:
Stitched wonky rectangle dies - MFT Stamps
Patterned paper - Echo Park
Coffee stamps - Merry Cafe - Stampin' Up
Doily
Crumb cake, brown and off white card stocks
Fun foam
Twine
Copic markers
Pumpkin embellishment - stash
Stitched fishtail banner dies - Elizabeth Craft Designs
Acorn - unknown
Pencil Crayons
Inside word stamp - Reverse Confetti
Nuvo Crystal Drops

Thanks for stopping by today
Thursday, 14 September 2017

Kitty Pop-Up Thanksgiving Card

Good morning friends

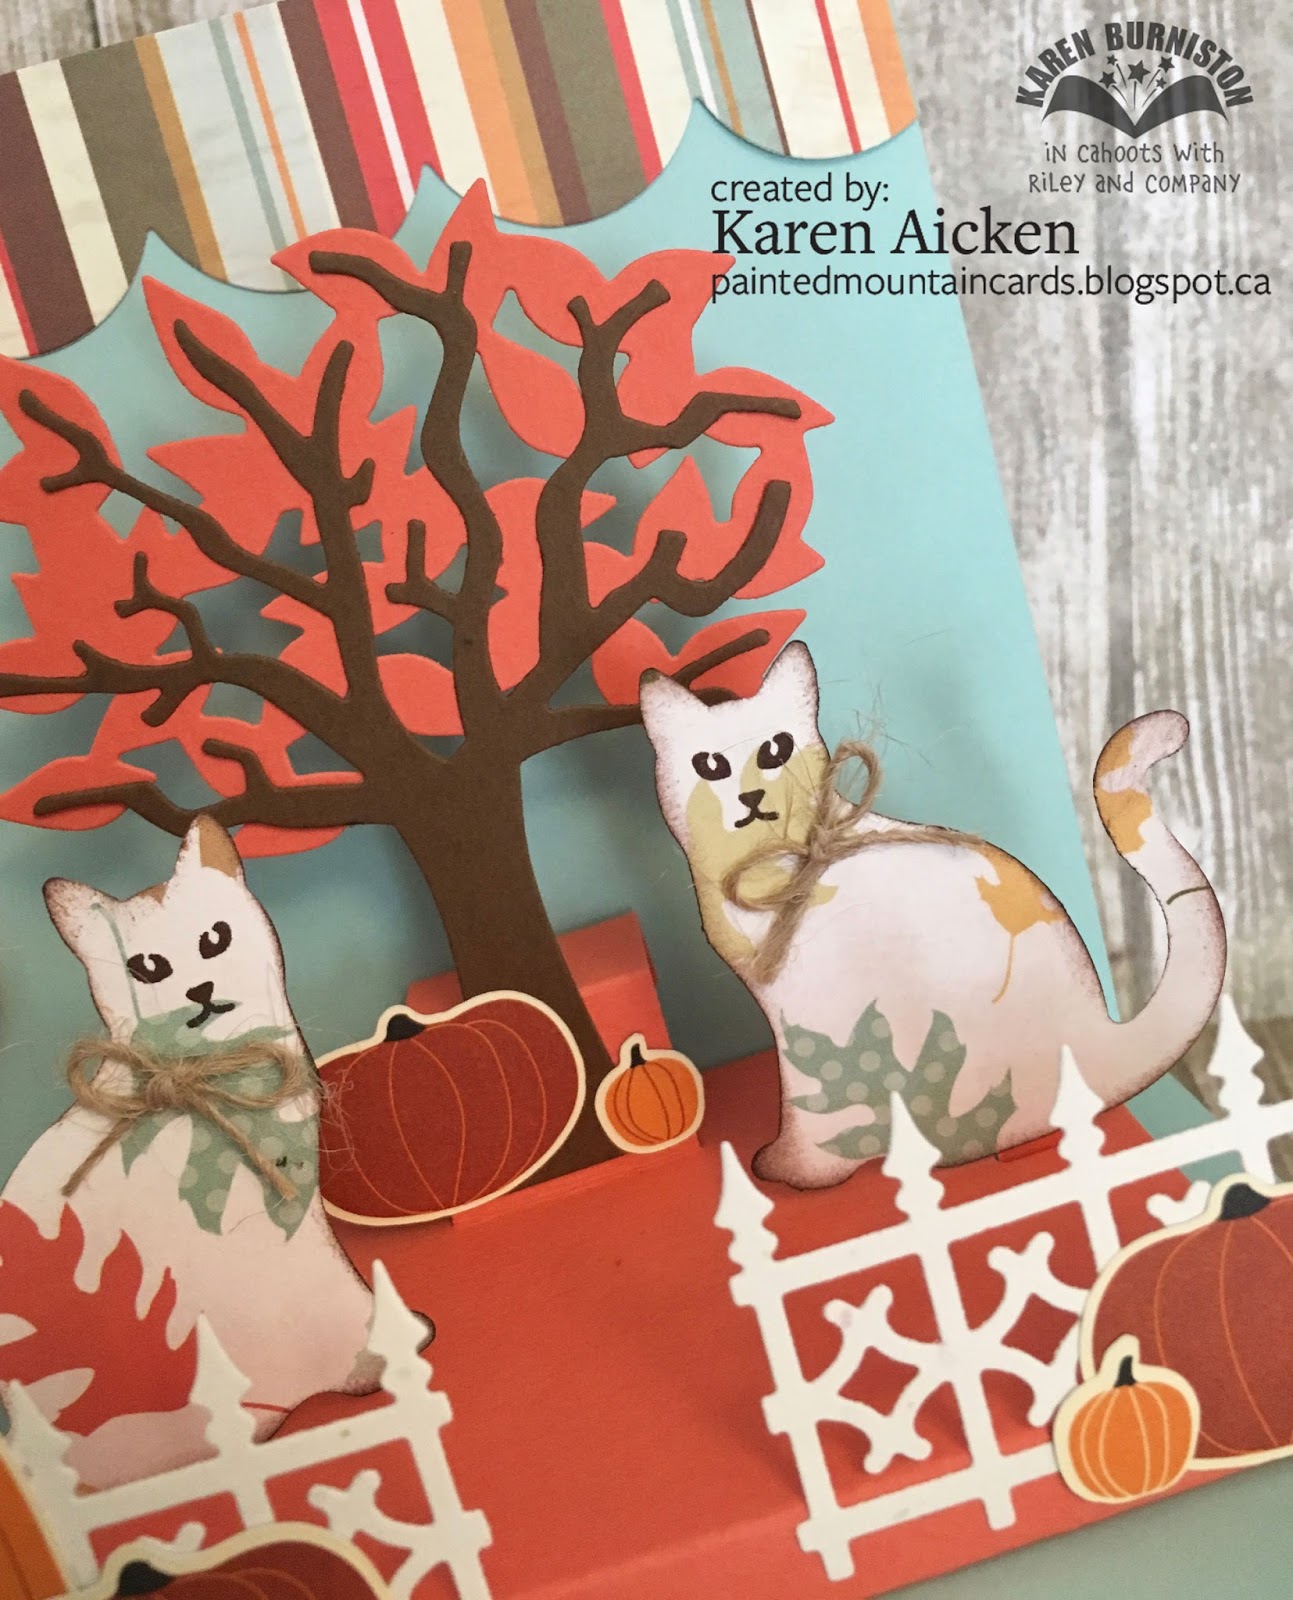
I have to tell you, I had a to-do list a mile long but when my new Stampin' Up order arrived I couldn't help myself and I had to play. After oohing and aaaahing at my new goodies, I fussy cut some pumpkins from the patterned paper and punched some black and orange cats from another sheet. OOOOOH. I decided I really needed to get to work on my list, so took everything into the craft room so it would be out of sight and out of mind, but when I put down the punch I spied a couple of scraps of patterned paper. Of course, I just had to punch a couple of cats. Then I wanted to stamp their faces. Then I added twine bows. Those leaf punched kitties were calling to me so I punched another facing the other direction and decided to go ahead and make a card.


 I kept the front of my card nice and simple ...


... because all the fun is on the inside!   I used the floating floor and fence from Karen Burniston's House & Fence Pop-Up, and the tree from the Tree Pop-Up as well.


Finally here is a side view so you can see the Pop-Up a little better.


Once I had this out of my system, I was able to put my new toys aside and start on my list. While I am a dog person, I think this cat punch is going to be a lot of fun. 

Supplies:
Cat punch and face stamp - Stampin' Up
Coral, blue and off white confetti card stocks
Patterned paper - Echo Park
Twine
Scallop border and leaf dies - Stampin' Up
Pumpkins - fussy cut from Stampin' Up patterned paper
Thanksgiving stamp inside - Hero Arts
Stitched square die - Elizabeth Craft Designs

Card size - 5" square

Thanks for stopping by today

Wednesday, 13 September 2017

Pop-Up Thanksgiving Cards

Good morning friends

I have mentioned my 'In Progress Bin' before, and I'm making an effort to pull things out of there and get them finished. These cards came from that bin - the stamped and die cut labels were done at least 5 years ago. I think I must have tried to finish them about 3 years ago because there were also Pop 'n Cut bases, patterned paper cut to size and scalloped borders included in the envelope. This time around though, I got them FINISHED and ready to send out for Thanksgiving this year.


I used my MISTI to stamp the labels for the cards, so there were no messed up circles with patchy stamping. This first card got one of Karen Burniston's little squirrels on the stamped circle and I added some die cut acorns as well.


The next three cards are very similar to the card above, with different colours of patterned paper etc.


I have had this stamp for many years - and I still just love it. I believe I had just received some Copic Markers when I coloured these ones. The three cards are identical.


The leaves were die cut from brown, then I added some veins with a Copic marker and additional colour with Distress Oxide inks.


That is 4 completed cards done in a very short time, thanks to that bin. I am doing much better about not adding to it so the pile doesn't keep getting bigger. It's quite full enough!

Supplies:
Cornucopia stamp - Stampendous
Copic markers
Spellbinders Label die
Scalloped border die - MFT Stamps
Patterned paper - ?
A2 Pop 'n Cut base with Wavy Label Insert - Karen Burniston (Sizzix)
Stitched circle - MFT Stamps
White, cream, brown, coral and kraft card stocks
MISTI - My Sweet Petunia
Stamp inside - Echo Park
1011 Katherine Label Pop-Up (labels) - Karen Burniston
Leaves - MFT Stamps
Distress Oxide Inks
1011 Woodland Animals - Karen Burniston
Sharpie Markers

Thanks for stopping by today

Tuesday, 12 September 2017

Iridescent Bat Pop-Up Card

Good morning friends

It's time once again for the Paper Pro's challenge - this month Karen Burniston issues the challenge - HALLOWEEN. 


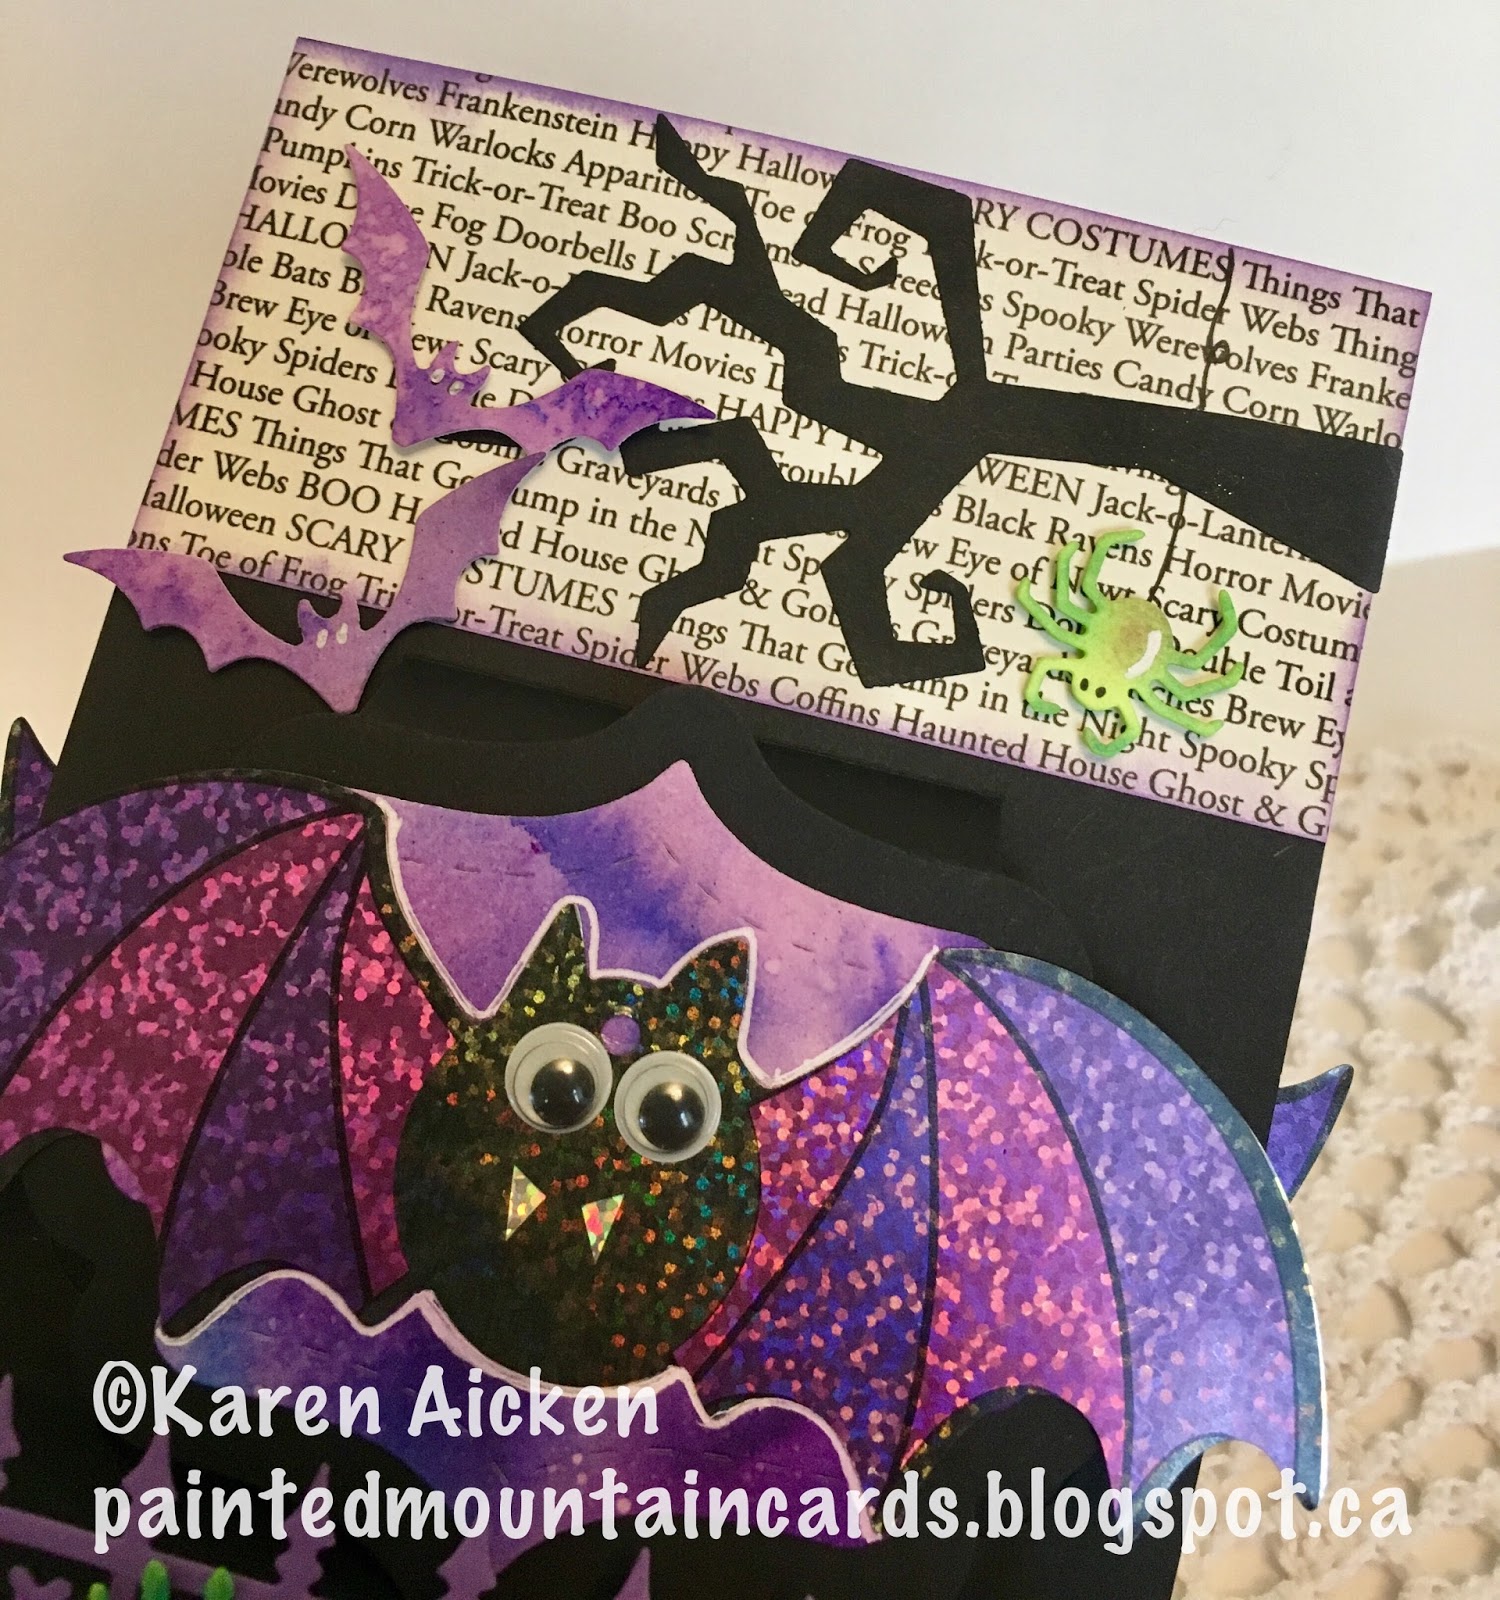
The bats are from old Halloween garland. It was falling apart but I knew I could recycle those mylar bats! I decided to create a coordinating background using Colorbursts and Magical Shakers. Then I spattered it with gold and white acrylic paints. The front has the fence from Karen Burniston's new House & Fence Pop-Up which is such a cute size. For the bat on the front, I added black Nuvo Crystal Drops and a Witches Hat from the Halloween Elements.


Inside I made a Pop-Up using a bunch of Karen Burniston dies. The pop-up is made with the (retired) Lorna Label Pop-Up, and I added another shimmery bat this time with wiggly eyes.


Check out those creepy hands (also in the Halloween Elements). They are so fun to use! They don't have a cut line at the 'wrists' so you could actually make the arms as long as you want. Here I cut them out of green card stock and added some chalks to up the creepy factor.


Yup - purple bats and a green spider. :-) Just because.


I absolutely love using the BOO! that comes with the Halloween Elements. It cuts in one piece so it's easy peasy to adhere. You will see it used lots on my Halloween cards this year.


Finally a side view so you can see the pop-up a little better.


This is a casual challenge, with a varying number of participants each month. This month we have:


Supplies:
Irridiscent bats - from an old Halloween garland
Printed patterned paper - Recollections
Color Burst - Ken Oliver
Magical Shakers - Lindy's Stamp Gang
Gold and white acrylic paints
Fun foam
Wonky Stitched Rectangle dies - MFT Stamps
Wiggly eyes
Lorna Label Pop-Up, Pop it Ups - Karen Burniston (Elizabeth Craft Designs)
90# water colour paper
Black and cream card stocks
Sakura Black Glaze Pen
Wink of Stella
Chalks - Stampin' Up
Nuvo Crystal Drops

Thanks for stopping by today

SaveSave

Monday, 11 September 2017

Laminated Travellers Journal

Good morning friends

I'm back today with another Travellers Journal made with Eileen Hull's Journal die. A couple of people have been making laminated covers, instead of the heavy chipboard or mat board ones, so I thought I'd give it a whirl. I had been poking around in the basement and came across the box with my laminator so the timing was perfect!

Before we moved, I had quite a large room with tons of storage and all my tools and supplies were in there and easy to get to. Even with all the STUFF, I knew where everything was. But that room was in the basement, and I could no longer do stairs with my RA. My new craft room is on the main level of our home so I can easily duck in and work on a project - but it is smaller and has only about a third of the storage. So I had to be really picky about what went into that room, and a laminator just doesn't get used enough.

I used Southwest themed papers for my journal and inserts - and use this one for jotting down card ideas, sketches, journal ideas and additions etc etc. Because it was for me to use, I didn't mind cutting onto these patterned papers that I would normally hoard. I get to enjoy them every time I use the journal, which is almost daily!


You can see below that there are four signatures in the journal. These inserts are easy to write on in the journal, but slide out if you want to take just one insert on the go with you. I am in love with the whole Travellers Journal idea - it's so flexible and customizable and you can use it for anything you want! Some people use it to record favourite recipes, other's for books and movies they want to read/see or notes about the same for clubs. People have made them for travelling notes, some for sketching and others fill the inserts with mixed media papers and use them to practice techniques.


Below is the inside front cover and the first signature. I made my own signatures (inserts/booklets) with a dot grid paper inside, done on my computer. It took awhile fiddling with the size and shade of grey (some pages are too dark, but I'm using them anyhow) but now the file is saved and it's easy enough to print more dot grid pages for additional inserts .


Here is the back of the 3rd insert and the front of the 4th. I also used a page protector to make a pocket page, which worked well. The pockets are held closed with Washi Tape - it did not photograph well but it turned out better than I hoped and I will use that idea again. Pockets in a journal are very handy!


For some of the inserts, I folded over the cover edge and trimmed the top at an angle. When the bottom edge is adhered it creates a nice tuck spot.


I do like how lightweight this journal is - it's sturdy enough because the inserts add strength - and I haul it back and forth camping and the inserts are taken in and out multiple times with no issues. However, unless I took it to Staples to see if they have a larger than letter sized laminator, I found the top and bottom edges don't stay sealed. It's fine for my use but I wouldn't use it as a gift for anyone.

The idea of a laminated cover started my brain going and I ended up making several more laminated journal covers in a smaller size. I didn't use the Journal Die for these, instead taking the idea of a scored spine and holes for elastic threading and customizing the size. Those covers worked like a charm! I still need to make coordinating inserts/signatures for those, but I have a couple of people in mind that I would like to gift one too.

Thanks for stopping by today
Sunday, 10 September 2017

Be Merry Pop-Up Christmas Card

Good morning friends

I'm back today with another holiday Pop-Up card, using a new paper pack from Stampin' Up. I can't remember if it was in the retired section or the Clearance Rack, but either way it was a good deal and I couldn't pass it up. It's so fresh and clean!


I used Karen Burniston's A2 Pop 'n Cut with the NOEL insert for the inside. The tree stamps & dies are also by Stampin' Up and I was really surprised that they ended up on the retired list! I love mine.


Into the holiday card stash with this one.

Supplies:
A2 Pop 'n Cut base with Noel insert - Karen Burniston (Sizzix)
Noel Sizzlet - Karen Burniston (Sizzix)
White and red card stocks
Patterned paper - Stampin' Up
Be merry die - Lawn Fawn
Peaceful Pines stamp and die - Stampin' Up
Scallop Rectangles - Elizabeth Craft Designs
Nuvo Crystal Drops
Word stamp inside - MFT Stamps

Thanks for stopping by today

Saturday, 9 September 2017

C4C402 Glittery Desert Card

Good morning friends

It's Saturday so that means a new challenge at the Crazy 4 Challenges Blog.  Rebecca Ednie is our hostess this month and our Guest Designer for September is Teresa Kline. You can see Teresa's blog HERE

This is Rebecca's challenge: "Summer water + sunshine always makes me think of glitter. Let's use lots of glitter on our projects this week. You get brownie points if you use more than one colour or use it in more than one way!"

Wow - as much as I like shimmer & shine on a card, one that featured glitter was stumping me. Then I remembered the beautiful glittered embossing powders I picked up at the Mesa Rubber Stamp Show a couple of years ago. And since I have access to my Southwest themed stamps now - it was like a lightbulb went off in my head and I the card practically made itself.


I did use a stitched square die to cut out the embossed panel, but then I decided I wanted to do a standard sized card. I put the panel back in the square die, with one of the side edges outside the edge of the die and re-cut it. I repeated that on the other side, which gave me a custom sized stitched rectangle!

I swiped a scrap of black card stock with Versamark then embossed it with the desert orange embossing powder. The 'Hello' and the heart inside were then die cut from this piece.


The 'BE HAPPY' dies come with the Blueprints #11 die set and I don't get to use it nearly often enough. 


The green and blue glitter paper was another purchase from the same show - I had gone with my friend B and we each bought one colour then split them so we each had both the blue and green.


Check out the C4C blog to see how the Crazies have been inspired by the challenge. We'd  love to see your take on it, so be sure to stop by the Crazy 4 Challenges blog and link up your creations. If you are uploading to an online gallery, please use the keyword C4C402.

Supplies:
Black card stock
Embossing powders - Stamp a mania
Cactus stamp - Ink Block
Glitter paper
Square die - Elizabeth Craft designs
Blueprints #1 (stitched strip) - MFT Stamps
Blueprints #11 (large rectangle and 'be happy' - MFT Stamps

Thanks for stopping by today