Today I'm sharing a trio of holiday tags made with the new Holiday Charms by Karen Burniston.
I love this scalloped rectangle from the Pop 'n Swap so used that to adhere the snowflake ornament charm & bough. I die cut it twice for each tag ... once from patterned paper and once from white card stock.
The white ones got the 'to & from' and a single red snowflake and I adhered the two scalloped rectangles together sandwiching red seam binding in between them.
There is lots of sparkle in the patterned paper, and the white bough was die cut from a pearlized card stock.
I hope you liked seeing how you can stretch your supplies to create something completely different than they are intended for!
Supplies: 1133 Pop 'n Swap (Scalloped Rectangle) - Karen Burniston Patterned paper - I Believe, My Minds Eye 1143 Holiday Charms - Karen Burniston Various card stocks - stash White pearl card stock Bakers Twine Seam Binding Black marker Glitter Dots - Elizabeth Craft Designs
Today I'm sharing another 5 x 7" Christmas Holiday Card, made with this beautiful paper and embellishment package by My Minds Eye called Sugar Plum. I have had this package for a couple of years, but don't use it very often simply because I love it SO much I tend to hoard it. So I was proud of myself for actually cutting into and using so much of it for this card. I have a video walkthrough on YouTube for you as well.
I added a label maker for the "Slide Off" to add on the back of the Belly Band so the recipient knows how to open the card. I know card makers know what to do with a Belly Band, but I've watched non card makers struggle so the label helps with that.
The JOY circle was one of the stickers in the package and has a lovely silver glitter ring around it that you only see when the shutters are completely open. 'To The World' is from the October Paper Pumpkin kit.
Once again, I added acetate under the shutters as the shine mimics the look of a real camera lens.
I look forward to making more of these 5 x 7" Shutter cards in the New Year! I used a tutorial by Sam Colcott, which is linked below.
Supplies: Sam Colcott's YouTube tutorial HERE Card stocks - stash Patterned paper, stickers & ephemera - Sugar Plum, My Minds Eye Circle dies - Hero Arts Stitched Circle Frame - Lawn Fawn To The World - October 2020 Paper Pumpkin Banners Pick a Punch - Stampin' Up Shimmer Spray Stickles Crinkled Seam Binding - Stampin' Up Label Maker - Brother Card size - 5 x 7", fits in an A7 envelope
How CUTE are these sparkly shaker tags? I am loving shaker cards and the November release at Your Next Stamp included these Cute Ornament stamps and dies and I couldn't wait to play with them.
The images are small and were quick and easy to colour ... I chose some fine point markers and then flicked a Copic marker into the sky for some definition.
I took this photo so you can see the petite size of those little shakers. I cut the top piece from white glitter paper so these are super sparkly - perfect for the holidays!.
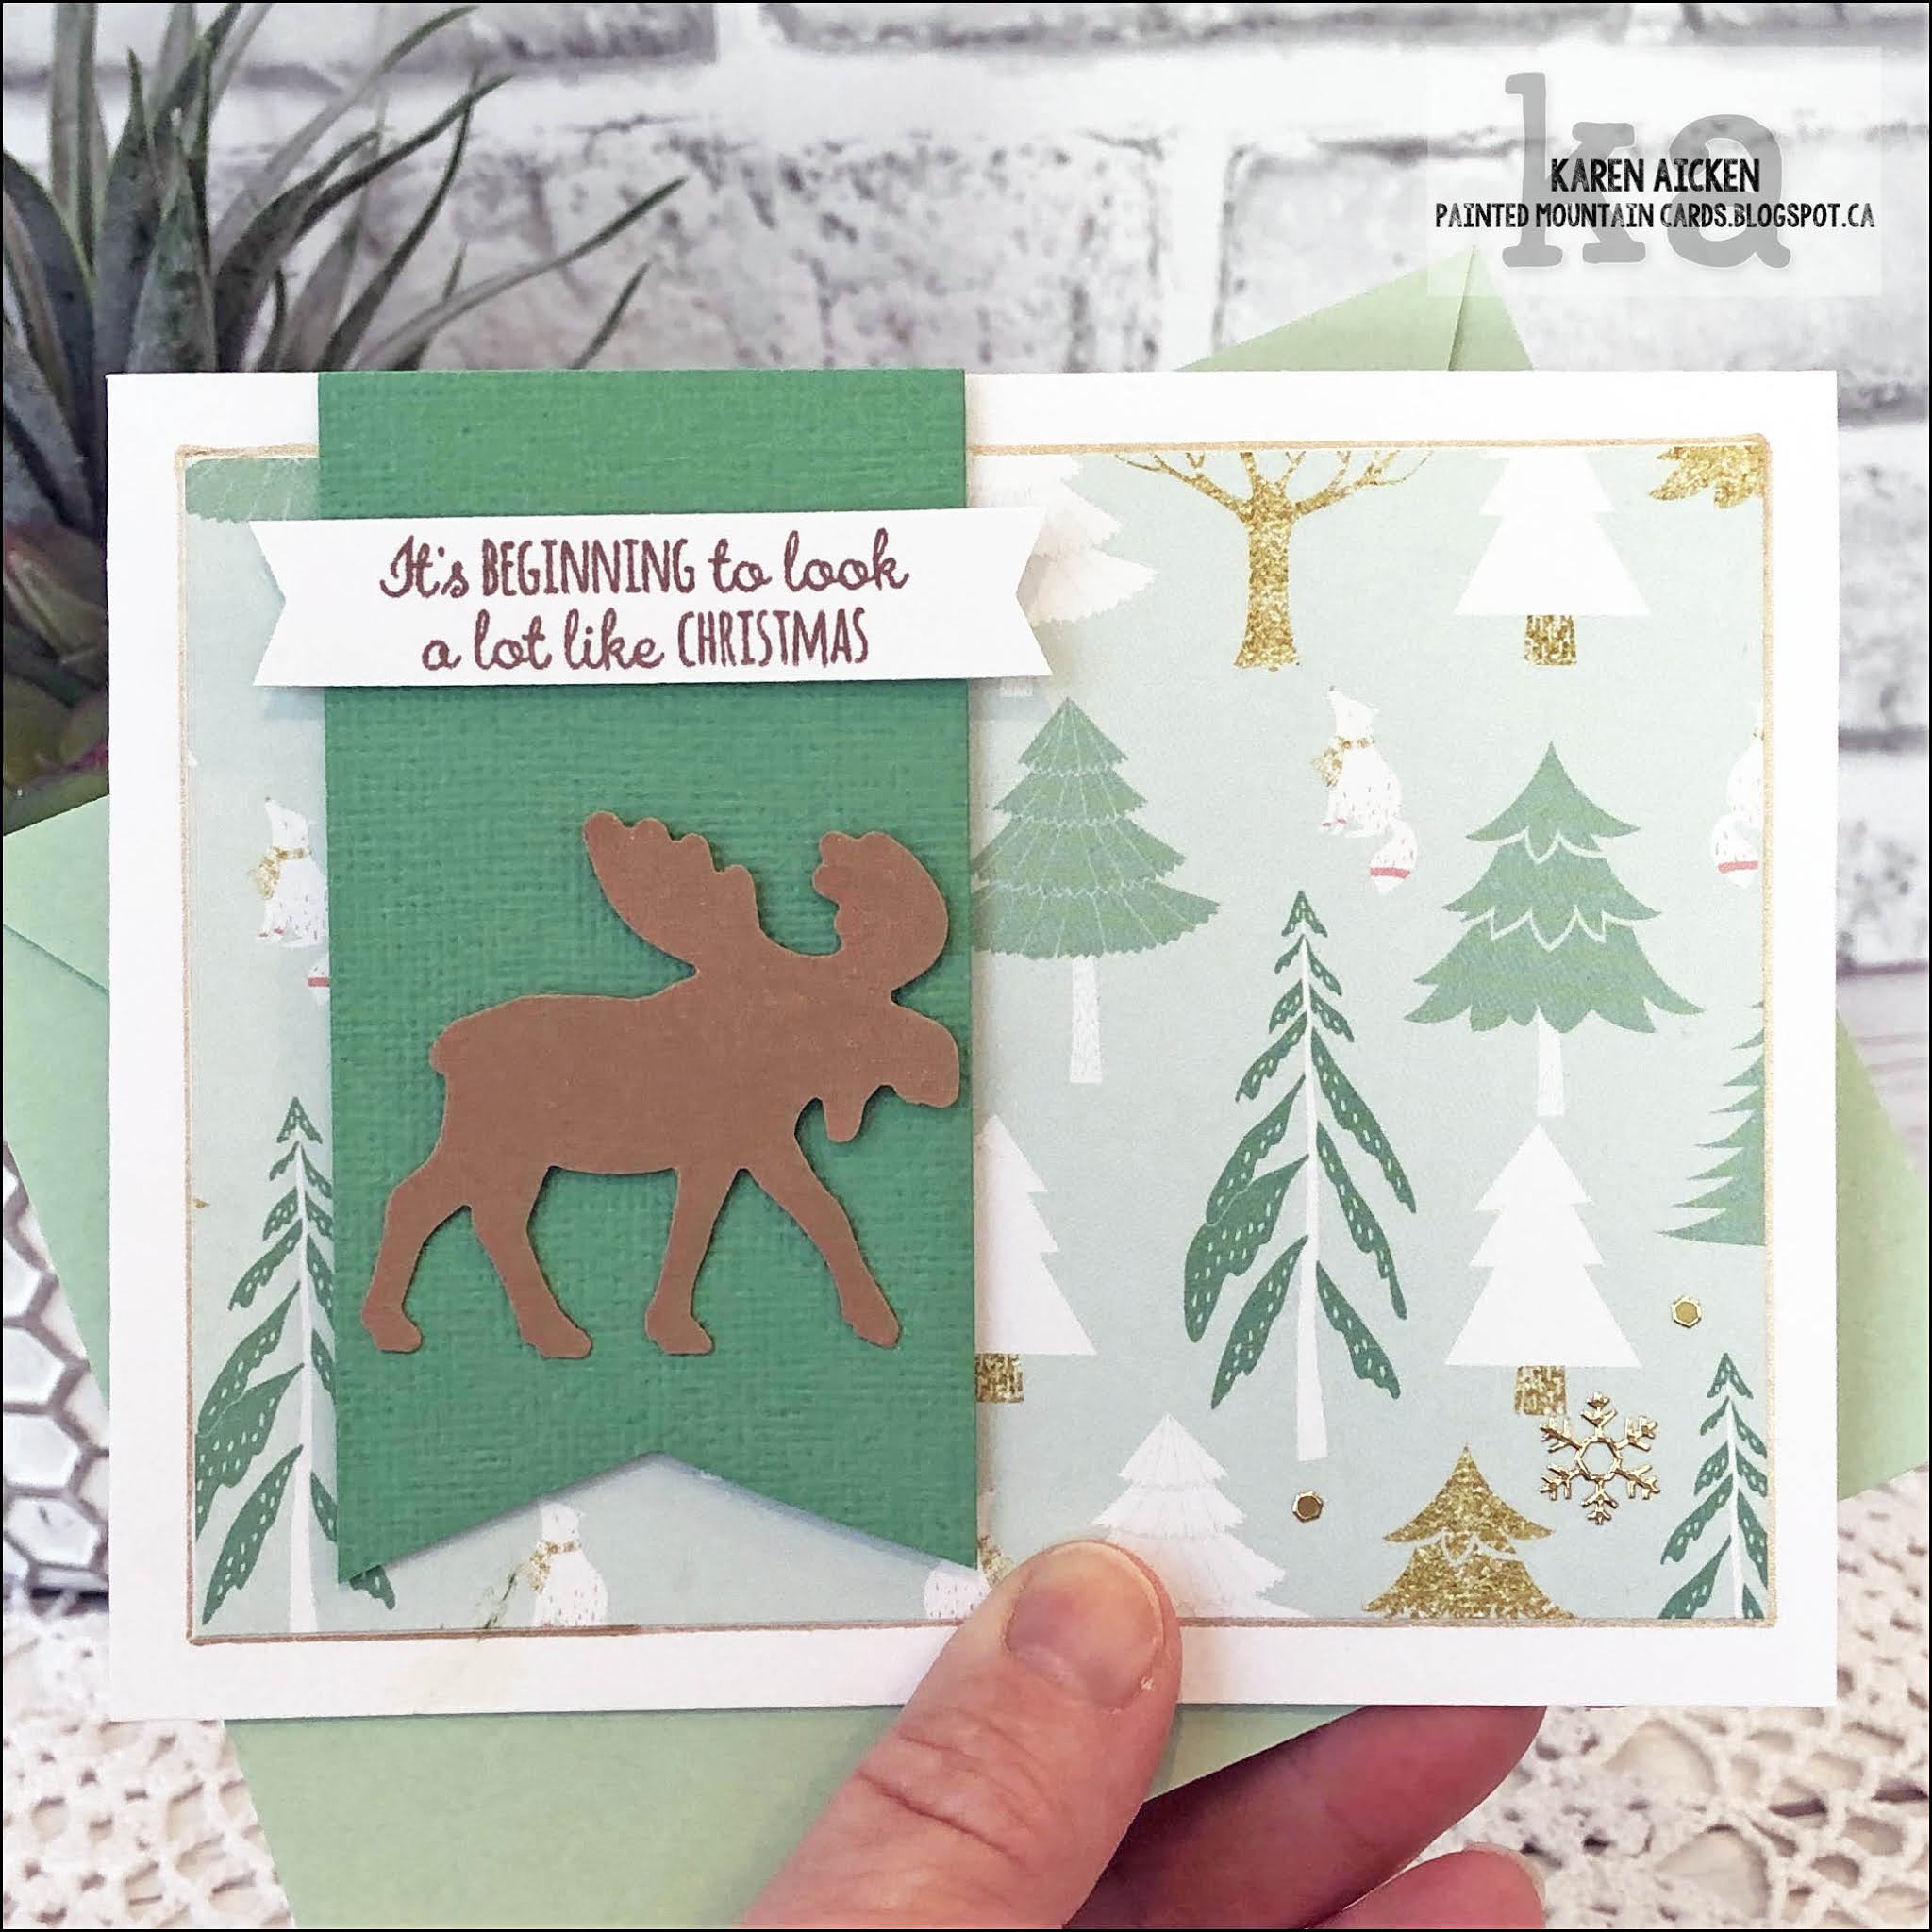
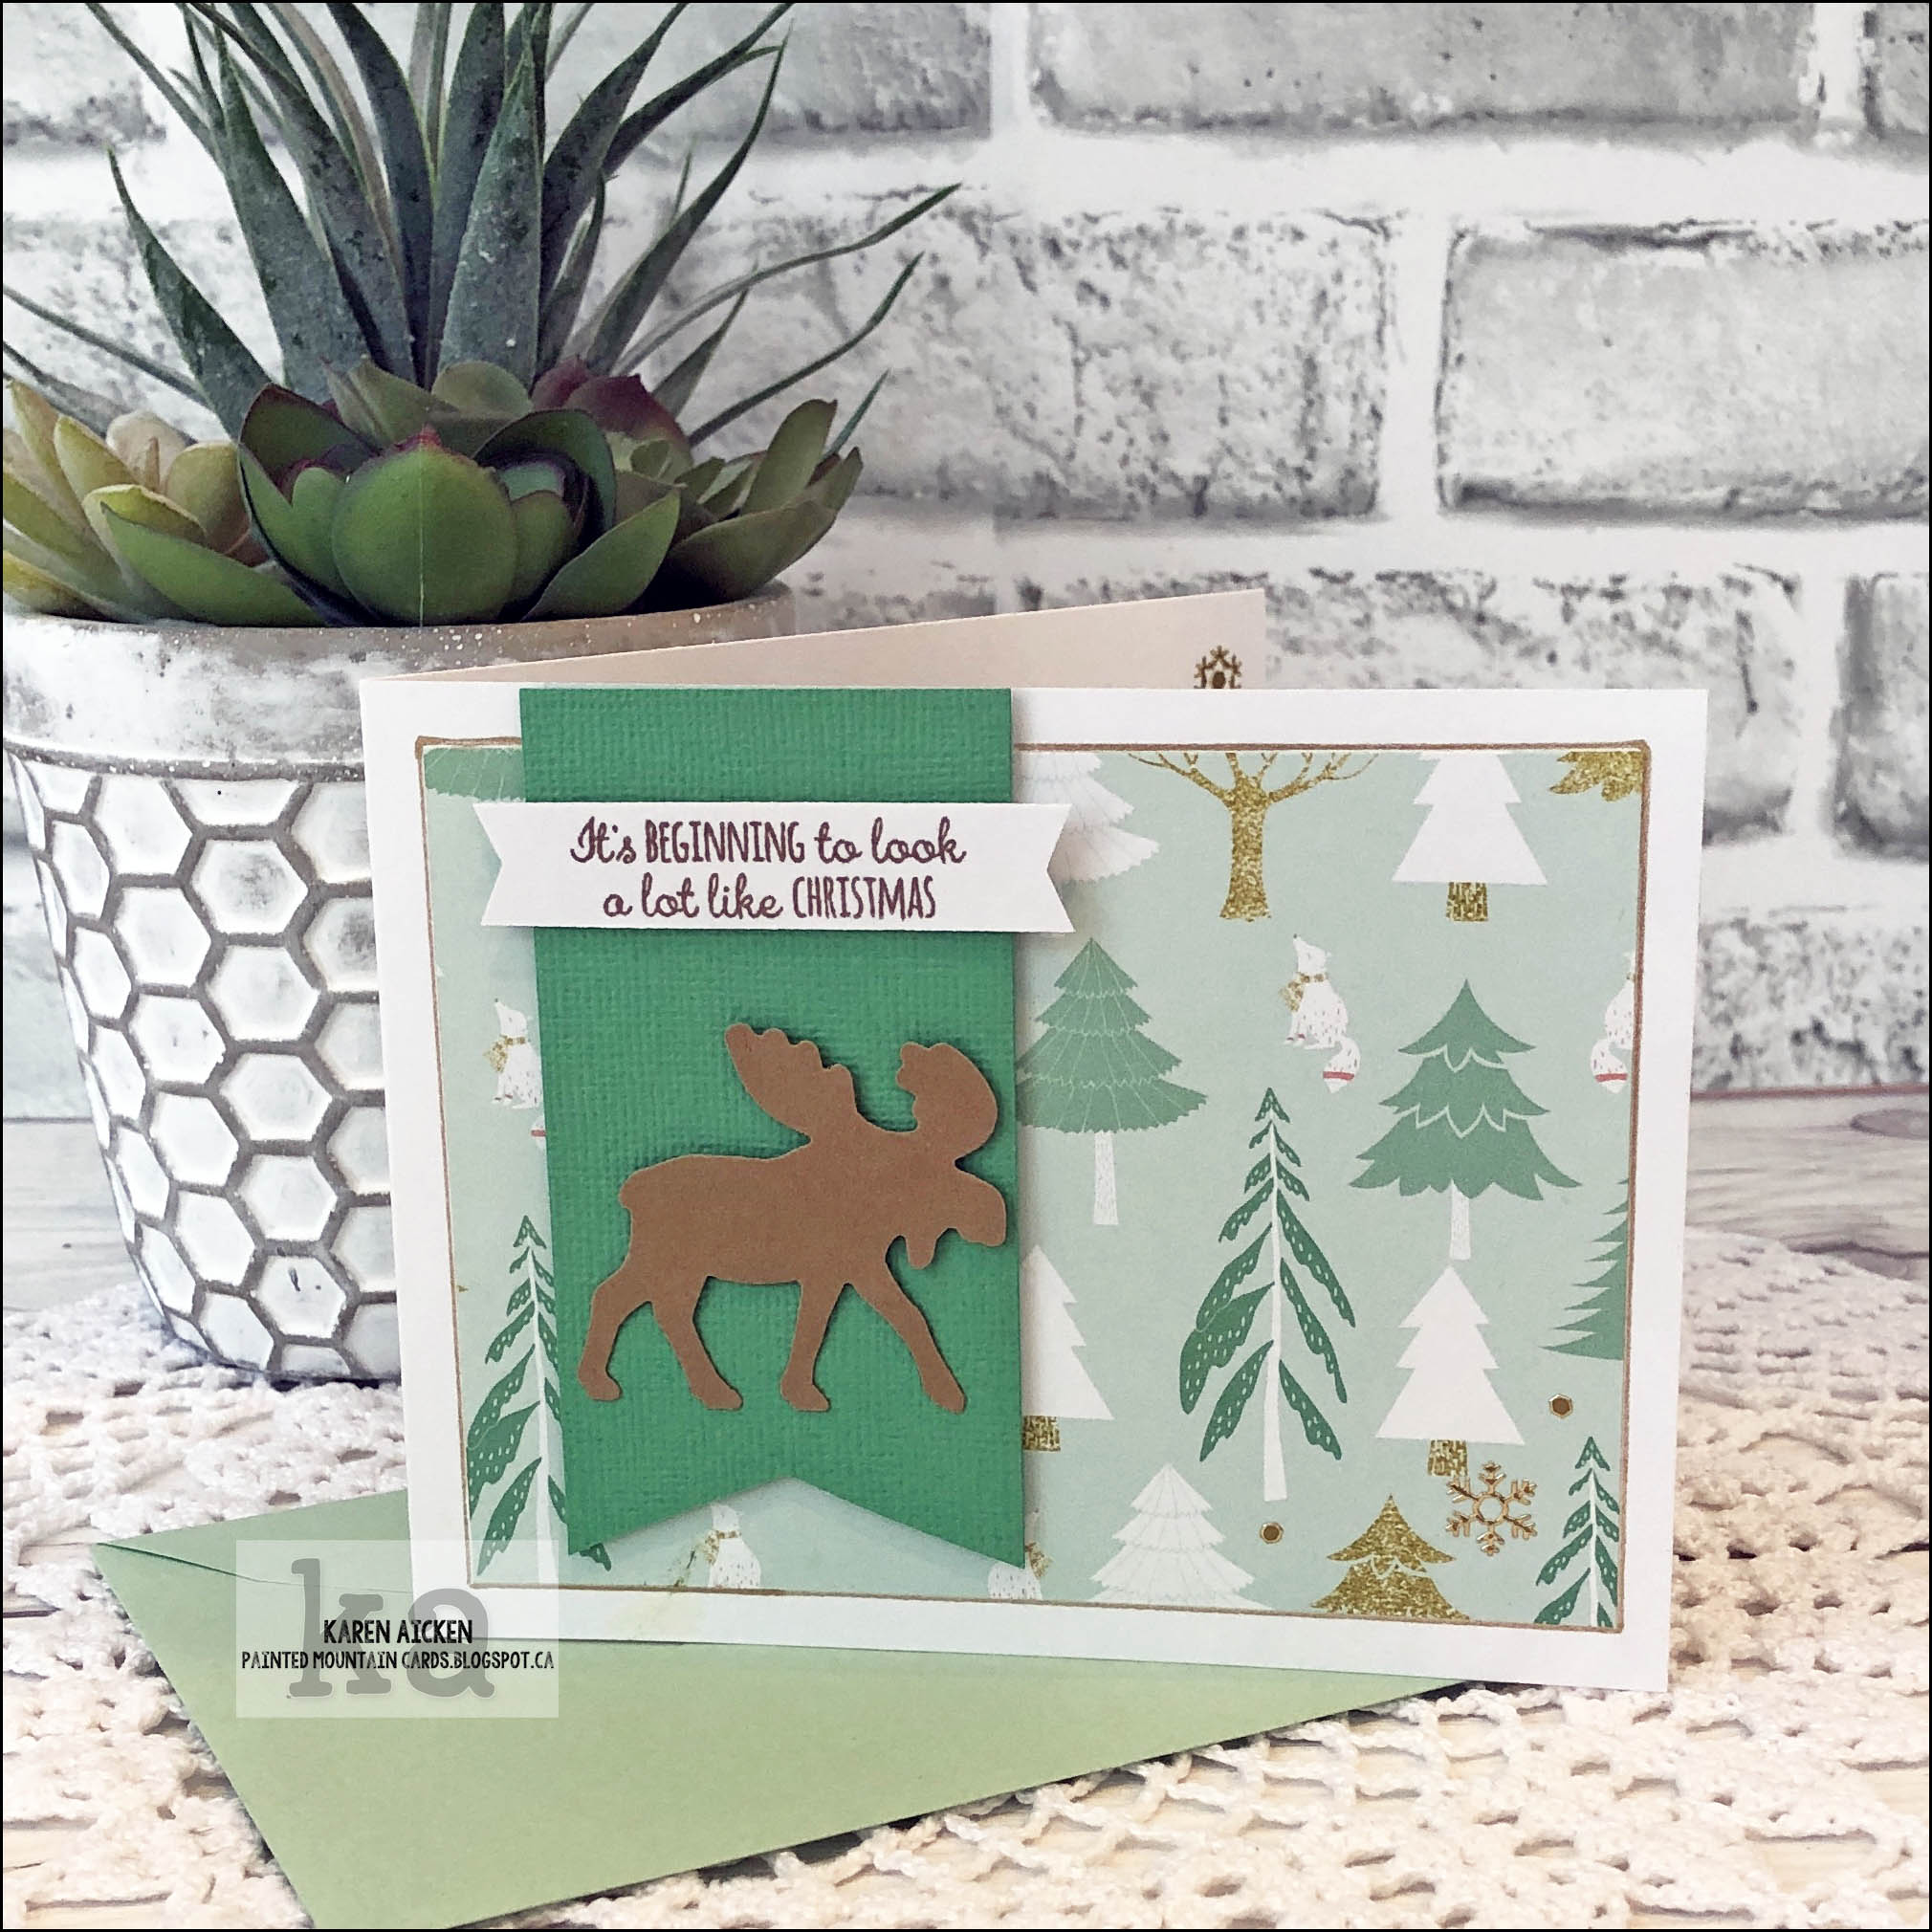
It's Masculine Card Monday here on my blog, and I have another holiday card today using the Merry Moose stamp set and coordinating punch. On Friday I shared a 5 x 7" Shutter Card using this set and said there was just enough patterned paper leftover to create one more card - and this is that card! You can see the shutter card HERE.
I have a walk through of my card on YouTube as well:
Between the two cards I was able to use up that entire 12 x 12" sheet of double sided patterned paper. Woo hoo - I love to use things up! The moose on the card front was punched from Kraft card stock and spritzed with a gold shimmer spray.
Inside I used the Evergreen Pivot Panels, a die set by Karen Burniston. Using a gold gel pen I added details to each tree and also to the stars above the trees.
Whenever I give someone a card made with one of the Pivot Panels, they turn it over to view it from the top. So ... here is a top view for you!
I'll be back tomorrow with another holiday project.
Supplies: 1062 Evergreen Pivot Panels - Karen Burniston Patterned paper - Websters pages Sakura gold gel pen Shimmer spray Merry Moose stamps and punch - Stampin' Up Banners Pick A Punch - Stampin' Up Circle dies - Hero Arts Snowflake Peel-Off's - Elizabeth Craft Designs Gold Nuvo Shimmer Pen Card stocks - stash Card size - wide A2 (5.5 x 4.25")
Today I'm sharing a wintery holiday fun fold card featuring this cute Snowman Family stamp set from Your Next Stamp. I have a walk through of my card and a quick Bridge Card Tutorial on my YouTube video here:
I fussy cut the snowman images after colouring them with my Ohuhu alcohol markers, sprayed them with shimmer spray and added the Snowman Family to the inside panel of the Bridge Card with thin foam tape. The snowflakes were punched from white pearl card stock and I added a sparkly YNS Gumdrop inside of each one.
The bridge portion was created with Karen Burniston's new Long Nature Edge dies and the snowbank on the inner section is the YNS Double Pierced Hills. Both dies have a decorative feature (stitching or piercing) on either side of the cut line, which is a cool feature that allows you to use both sides of your die cut.
The back of the card is where we will sign our name and I added one of the cut apart from the patterned paper package as an additional decoration.
Below you can see how the card folds flat and is ready to fit into an A7 envelope.
I think the Snowman Family stamp set might be out of stock, but you can click to be notified when it comes back in!
When I was finished making my Slimline Gnome Christmas Card (see HERE for that one), there was a single die cut tree leftover. That is what inspired my card today! That, and the fact that I had been working on using up this patterned paper package that has been in my craft room for too many years and had lots of smaller pieces in it. :-)
There is lots of sparkle in the paper, I added Stickles in dots to the tree and also added white glittered card stock. I do love sparkle and shine on a holiday card!
Inside the card, I stamped a sentiment and flourishes, then added a few leftover strips of sparkly patterned paper with the ends fishtailed.
Supplies: Patterned paper - I Believe, My Minds Eye Circle Dies - Hero Arts Stitched Circle dies - MFT Stamps Glimmer Paper - Stampin' Up 1/4" Quick Strips die - Stamp Market 1062 Evergreen Pivot Panel - Karen Burniston Stickles Fun foam Simple Strips Christmas - Taylored Expressions Simple Strips Die - Taylored Expressions Banners Pick A Punch - Stampin' Up Greeting inside - More Merry Messages, Stampin' Up Flourishes - Merry Christmas To All, Stampin' Up Card size - 3.5 x 8.5", fits in a #10 Business Envelope
It's Fun Fold Friday here on my blog and today I'm sharing a holiday Shutter card. I have a walk through for you on YouTube as well:
I picked up this Merry Moose stamp set with coordinating punch last year at Stampin' Up and while I have enjoyed using it all year long it's perfect for a holiday card.
The card is held closed with a Belly Band, and I added a label to the back as I have seen non-card makers struggle to open gatefold cards with Belly Bands before and they usually turn the card over to see if there is a flap or something they need to lift. 😁
Once you slide off the belly band, the sides open to reveal the shutter mechanism. The shutter opens as the card opens since the pieces are adhered to the card sides - and this one opens to reveal another moose as well as some stamped trees.
I love using acetate on my cards - and especially on shutter cards as it really mimics the glass of a camera lens then.
I added a few die cut snowflakes and gold peel off snowflake stickers, and stamped a sentiment onto a label die.
Since I went over all the details in the video, I'll keep my comments here at a minimum. While I used a lot of the 12 x 12" patterned paper sheet on this card, there was enough left to make another holiday card and I will share that one in a few days.
Supplies:
Sam Colcott's YouTube tutorial HERE Patterned paper - Websters Pages Stitched circle frame die - Lawn Fawn Circle die - Hero Arts Various card stocks - stash Acetate Merry. Moose stamp and punch - Stampin' Up Water Brush Wink of Stella Banners Pick A Punch - Stampin' Up Greeting (and sprig stamped on envelope) - Rustic Retreat, Stampin' Up Tasteful Labels - Stampin' Up Gold gel pen Stitched Snowflakes - Lawn Fawn Peel Off Snowflakes - Elizabeth Craft Designs White Pearl Card stock
I'm back today with another holiday Slimline card and this one features one of the cute Gnomes from Riley & Company.
I have a walk through of my card on YouTube and I show my hand made snowflake stencil.
The Gnome was coloured with Ohuhu alcohol markers and his hat was die cut from a coordinating patterned paper in the pad. I have had this card done for a few months, but was saving it to post in December. At the time, the markers were new to me and I have to say I am still really enjoying them. They were a screaming deal and since I was having trouble getting Copic refills here in Canada I thought I'd try them out. They have a bullet nip and a chisel tip rather than a brush tip so it does take a little more work to blend. But I'm not great at Copic colouring anyhow, so these markers fit the bill for me.
When I went to add a little Wink of Stella to his beard though, I had a 'Wink of Stella Explosion.' That was totally my fault as I had overfilled my Wink of Stella pen. When it gets low, you can add a little water to rejuvenate it and get a little more use from your Wink of Stella ... but if you overfill it -- be ready for some sparkly BLOBS. Ha.
Rather than waste all that shimmer by blotting it up with a tissue - I spread it around with a paintbrush and in the end I liked the effect.
No stamped sentiment inside this card, but that gave me lots of room to write a personal message inside since I made this for someone specific. The trees are the decorator dies from Karen Burniston's Evergreen Pivot Panel die set!
The little snowflake from the Sleigh Pop Up worked perfectly as a stencil and I was able to place my snowflakes where I wanted them as well as vary the depth of colour. It helped make those white panels a little less stark.
Supplies: Various card stocks Patterned paper - I Believe, My Minds Eye (old, from my stash) 1057 Circles Crosshatch - Karen Burniston 1062 Evergreen Pivot Panel - Karen Burniston Stickles Sakura White Gel Pen Large Gnome stamp - Riley & Company Large Gnome dies - Riley & Company Ohuho Alcohol Markers Wink of Stella Taylored Expressions Blending Brushes 1021 Sleigh Pop Up (snowflake) - Karen Burniston Banners Pick A Punch - Stampin' Up 1022 Word Set 3 - Holiday - Karen Burniston 1018 Winter Charms - Large Snowflake, Karen Burniston Glimmer paper - Stampin' Up Card size - 4 x 8.5", fits in a #10 Business Envelope
Today I'm sharing a pair of Slimline Christmas cards using the September Sheetload of Cards sketch and cutting guide by Alicia of Call Me Crafty Al. This one was a lot of fun, and I have used it several times since it was released at the beginning of September.
I've actually had these cards finished for a couple of months. I pulled out this pad of patterned paper that I've had for several years and decided that I try to use it up with my holiday cards this year. I don't make a lot of New Years Resolutions, but two years ago (or maybe it was three?) I decided to stop buying patterned paper. Not completely, but I LOVE patterned paper and seemed to be drawn to the constant new releases. Which is fine, but no way I could go through a whole paper pad before I purchased another new 12 x 12" pad. Or two. SO ... I have been VERY selective on what patterned papers I buy now and have really enjoyed poking around in my big pile of them for creating cards. And finally ... I am starting to actually use UP some of those 12 x 12" pads!
While these are not pop up or fun fold cards, I do have a walk through on YouTube here:
My first card is a horizontal Slimline, and I used some REALLY old embellishments from my stash. The poinsettia is SOOO pretty, and obviously didn't get used before now since it was too large for an A2 card. It was probably intended for people to use on a scrapbook page.
The patterned paper has lots of glitter embedded in it as well - I love sparkle on a holiday card!
Here is a peek at the inside:
The second card uses the sketch in the same orientation as on the guide, but I used the same patterned paper for the decorative panel as on the background. Since I have had the paper pad for a long time there are lots of smaller bits and pieces inside, and I was able to use one of those up too.
Another couple of the K & Co 3-d Stickers that have been in my stash for YEARS, some Glitter Dots and seam binding and my card front was done.
Inside, I wrapped the seam binding around the corners of the white panel and added a stamped sentiment.
I'll be back tomorrow with another Christmas card!
It's time for Karen Burniston's December 2020 Designer Challenge where she challenged the Design Team to use the new Mini Pop dies in a card of any theme. Since today is December 1st and December 1st is the start of Christmas for our family ... I made a Christmas card.
This is not the card I started out making, and I have all the details onYouTube:
This is one of those cards that just shimmers but it's very hard to capture in photos. The Fancy Winter Frames were die cut from white pearl card stock, and the patterned paper has lovely foiled bits. I outlined the decorator label (which is included with the Fancy Frame Accordion) with a gold gel pen as well - something I do quite often.
Small magnets hold the flap closed, and when you lift it up this little snow scene is revealed!
The penguin is holding the little teddybear that comes with the new Winter Charms, and I added a snowflake from the Sleigh Pop Up as well.
Inside the card is more of the foiled patterned paper, the Merry Christmas and a couple more snowflakes.
I hope you will check out what the rest of the design team came up with for this challenge - their blogs are linked on the right. Karen Burniston will have her post tomorrow (Wednesday) on her blog.
Supplies: Card stocks - stash 1043 Fancy Label Accordion - Karen Burniston Shimmer Spray 1145 Fancy Winter Frames- Karen Burniston Patterned paper - Stampin' Up, retired Magnets - KG Magnetics Sakura gold gel and white gel pens 1021 Sleigh Pop Up (snowflake)- Karen Burniston Gold foil card stock - Stampin' Up Banners Pick A Punch - Stampin' Up 1065 Merry Christmas- Karen Burniston 1143 Holiday Charms- Karen Burniston 1146 Mini Pops- Karen Burniston Copic Markers 1016 Winter Animals- Karen Burniston White pearl card stock 1115 Gift Pivot Panels (tiny tag)- Karen Burniston Majestic Confetti - Studio Katia
Card size - 5 x 5" square, fits in a 5" square envelope (which costs more to mail) or a 5 x 7" envelope which does not cost any more to mail. I sent this one in a 5 x 7" envelope.