For the second instalment in my Monthly Series with Shaped Cards, I am sharing a cupcake shaped card duo today. One is a Birthday card that will be donated to my Mom's old nursing home.


I have been asked how many cards I make but I didn't have a clear number. Since many of my posts include more than a single card or project, I thought it would be fun to keep track this year.
Card Tally for 2023
January - 53 cards
February so far - 26 cards
January - 53 cards
February so far - 26 cards
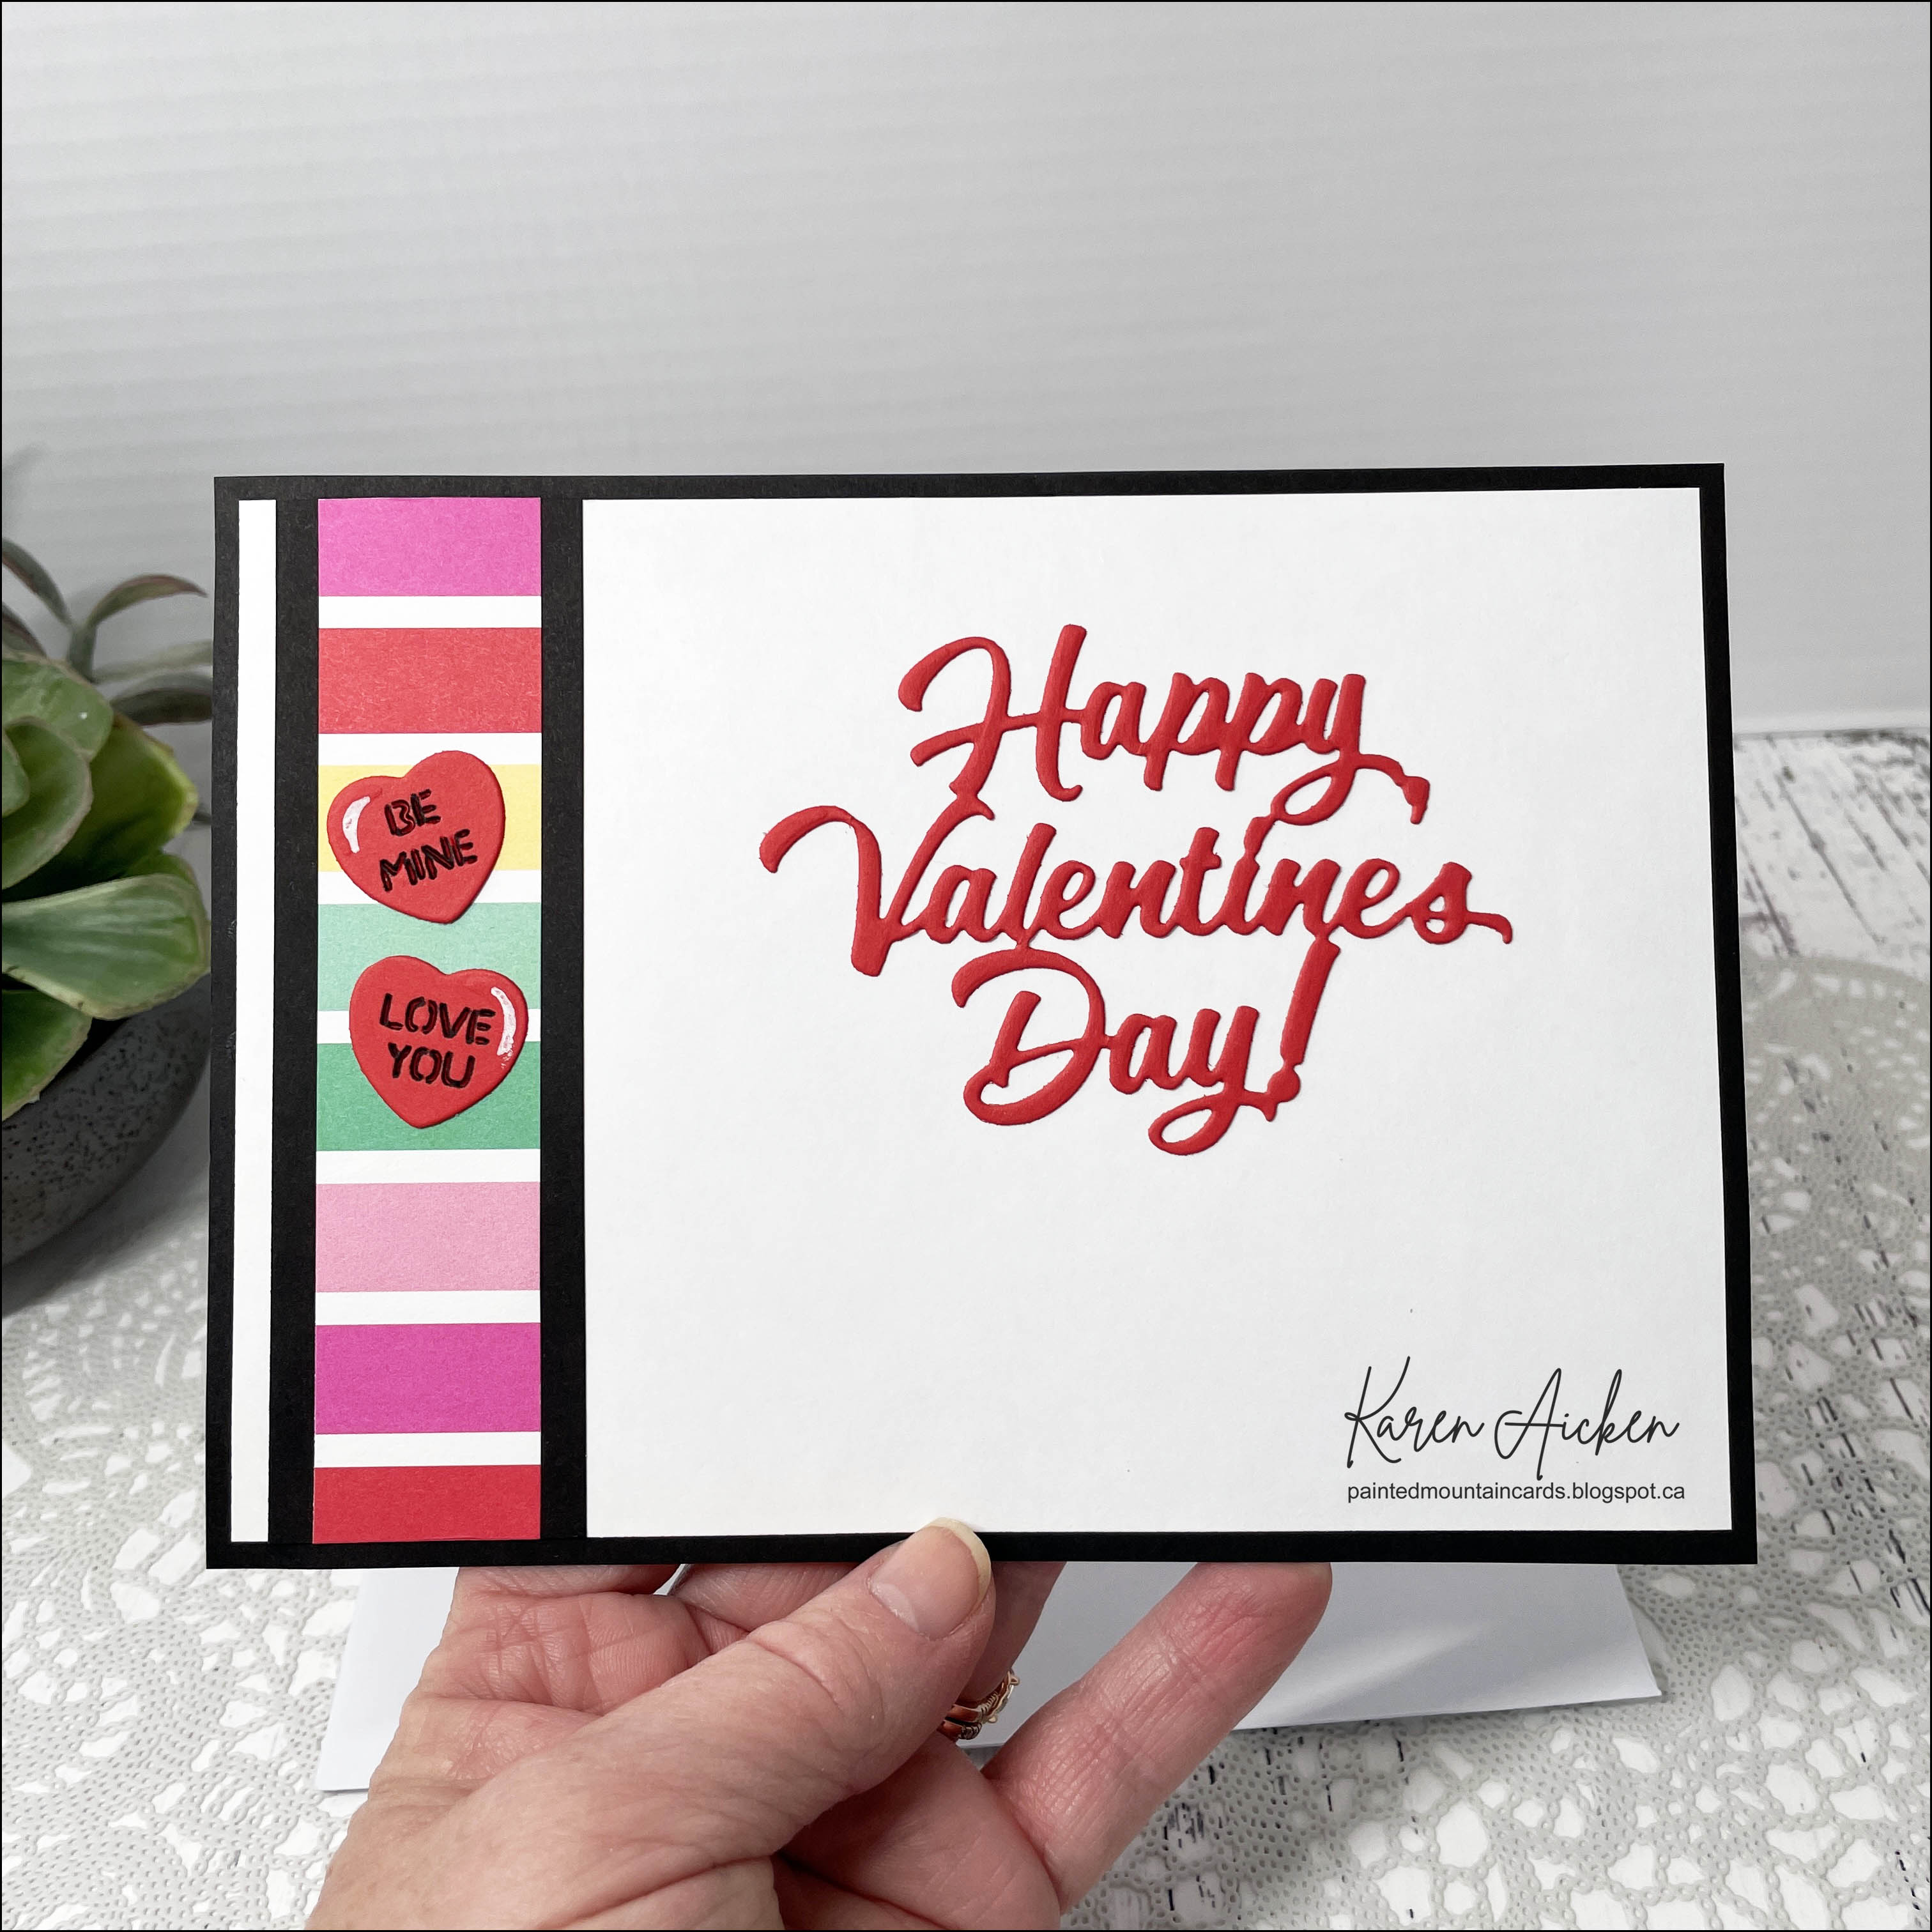
Additional Supplies:
Cupcake Fold Its - the Stamps of Life
Birthday sentiment inside- Lots of Birthday2Stamp (the Stamps of Life)
White cardstock
Green alcohol marker
Sentiment - MFT Stamps
Nuvo Drops - Carnation pink
This blog uses affiliate links whenever possible. This means, if you make a purchase through one of my affiliate links that you pay the same amount but I may receive a small commission from your purchase. I only link products that I own, love and use for my card making and not every link below is an affiliate one! 😊