Hello! Simon Says Stamp is celebrating their 12th year of STAMPtember, and today is the day that they collaborate with Riley & Company. Each day of September, SSS collaborates with a different company with a special product that is only available while supplies last. Last year the Riley & Company collaboration set sold out, so if you like this set as much as I do - you will want to head right over to Simon Says Stamp to snag it. I have everything that's available, linked below for you. I also have a walkthrough of my card on YouTube:
Here is the front of my card ...
My card is 4 x 6" and the dies I added are from Karen Burniston. The Crosshatch Ovals and the Flip Frame Pop Up. For the front, I fussy cut the Riley face and popped it up below the fun sentiment.
Inside is the Flip Frame Pop Up. I added some white gel pen Zentangle to the frame. I love how Riley the Moose is pulling Simon the dog in this set.
On the left side of my card, is another one of the sentiments included in the stamp set.
I coloured Riley with dye inks and a water brush. After the first layer of colour dried I added a second layer and let that dry. Finally I added some shading with a pencil and glossy accents to the sunglasses, and Simon's eyes & nose.
Remember these stamps are available at Simon Says Stamp only as long as supplies last!
Additional Supplies: Grey Copic markers Patterned Paper - Over The Rainbow, Recollections
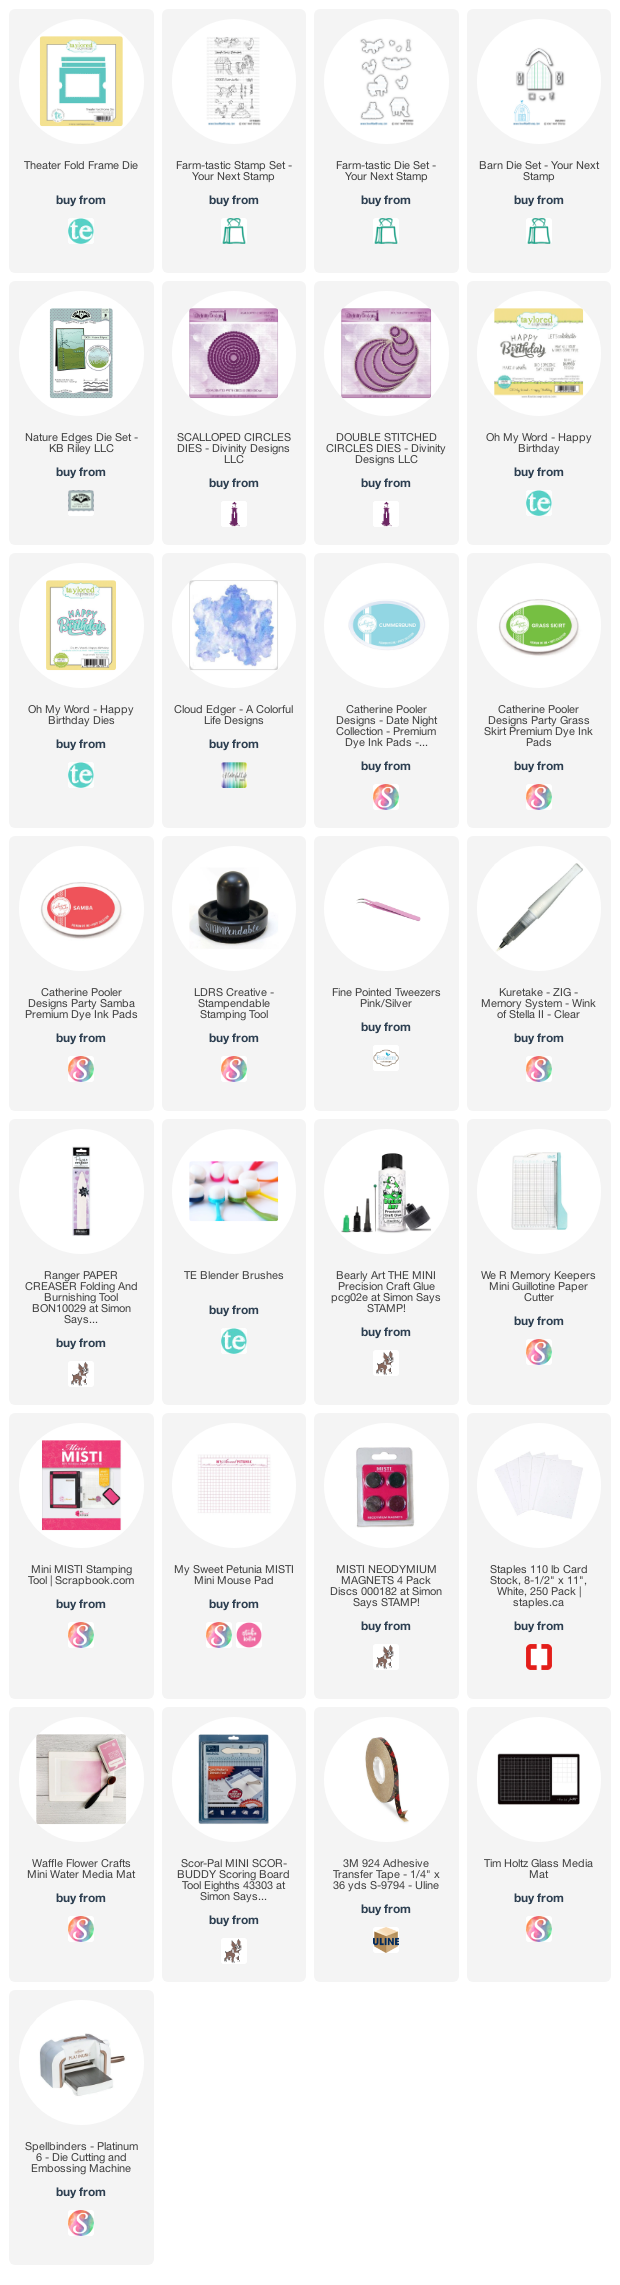
Hello! Today’s card is the Birthday card I made for our eldest daughter. It’s actually been done for awhile, but I rarely post things in the same order I make them. 😊. I pulled out the farm themed stamps & dies from Your Next Stamp, some older farm themed patterned paper and the Theatre Fold die set from Taylored Expressions. I have all the details on YouTube:
In the video, I made reference to my 'hack' or fix for the Theatre Fold as I was very disappointed in my first one. It was unstable and fell apart in my hands whenever I tried to pick it up. I will link that video below, as well as all the supplies that are still available!
Below is what the card looks like coming out of the envelope:
... and here is is when you pull on the sides to open it:
... the view from above:
... and finally, the back of the card. Since there isn't room to write a personal greeting on the front of the card, I added decorative panels to the back side. The stamps and dies are from Taylored Expressions.
Click HERE to see my video to my Theatre Fold hack.
This blog uses affiliate links whenever possible. This means, that at no cost to you, if you make a purchase through one of my affiliate links that I may receive a small commission from your purchase. I only link products that I own, love and use for my card making!
Additional Supplies: Patterned paper - Herbs & Honey, Basic Grey (old, from my stash) Copic markers Ohuhu alcohol markers
Hello! Today I'm sharing another Tower Pinwheel card - this one was made for a friend. Once again I made it in the 5 x 7" size and I had so much fun making it I started another one in a Halloween Theme. 😊.
I am so impressed with how flat these cards fold down for mailing! Below is a collage photo showing all the different 'flaps'.
If you are interested in making a Pinwheel Tower Card, the video tutorial that I used is HERE
This blog uses affiliate links whenever possible. This means, that at no cost to you, if you make a purchase through one of my affiliate links that I may receive a small commission from your purchase. I only link products that I own, love and use for my card making!
Additional Supplies: Shimmer spray Austrian Collection, Salzburg Oval - Creative Expressions Summer Posy die and Autumn Posy die - Creative Expressions Glitter Dots - Elizabeth Craft Designs (out of stock) White border Peel Off stickers - Dazzles
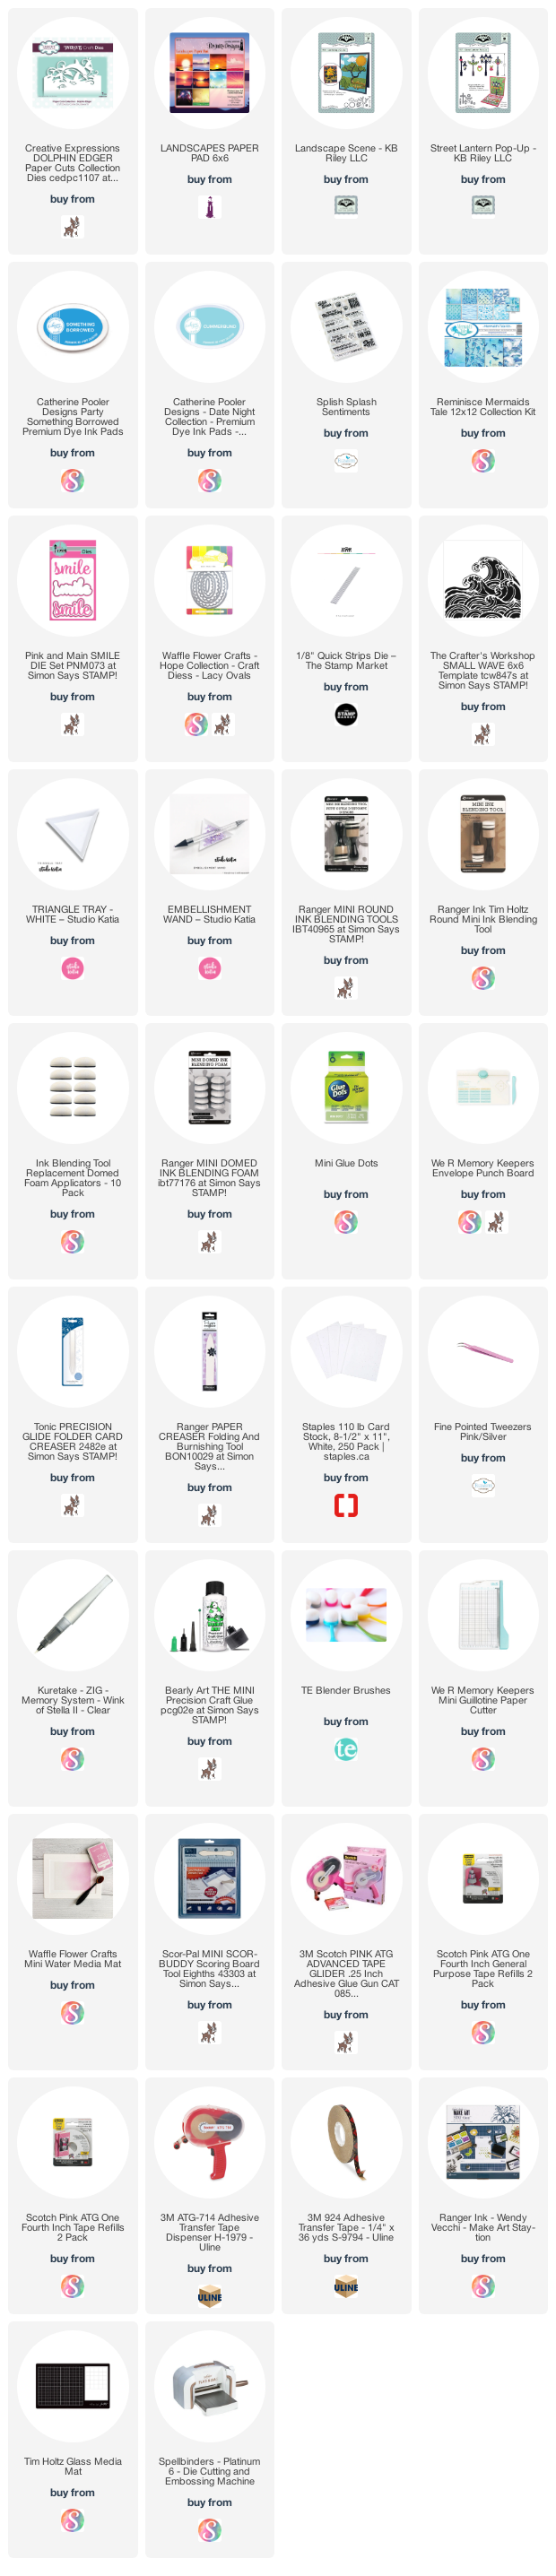
Hello! Today I'm sharing a Mini Slimline card that is also a Pop Up. For the front of my card, I used one of my new edger dies from Creative Expressions. These were on a Flash Sale at R&R Scrapbooking and I had ordered several of them. 😊 Even though they are not my usual style, these dies work SO well for Slimline and Mini Slimline cards, I just knew I'd get a lot of use out of them. I have a walkthrough of my card on YouTube:
The Dolphins were cut from a metallic card stock, and after cutting it again from white I added in a few of the white fallaway pieces back into the blue metallic one. I explained that better in the video, ha ha.
Inside I created the Pop Up by using one of the dies included with Karen Burniston's Street Lantern Pop Up. I cut it twice to give my large smile embellishment lots of support. The clouds on the front are from KB's Landscape Scene.
... one more look ...
This blog uses affiliate links whenever possible. This means, that at no cost to you, if you make a purchase through one of my affiliate links that I may receive a small commission from your purchase. I only link products that I own, love and use for my card making!
Additional to what is linked below: Mirri Card - Glitter Ombre, Hunky-dory Seashell sequins White printer paper
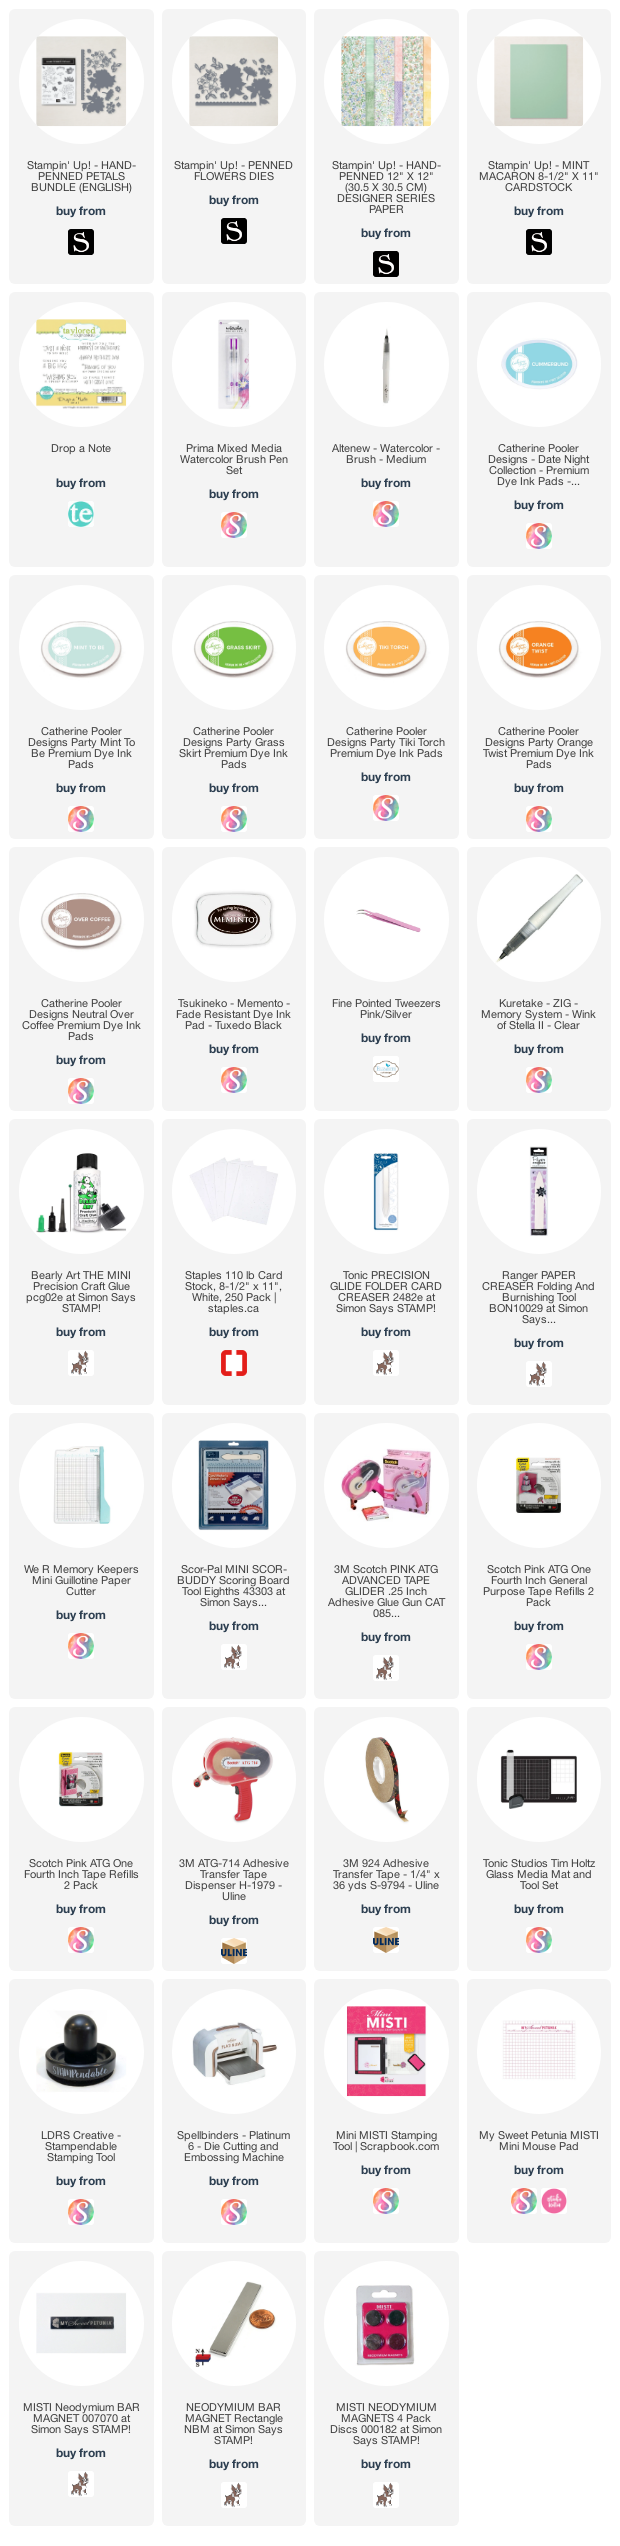
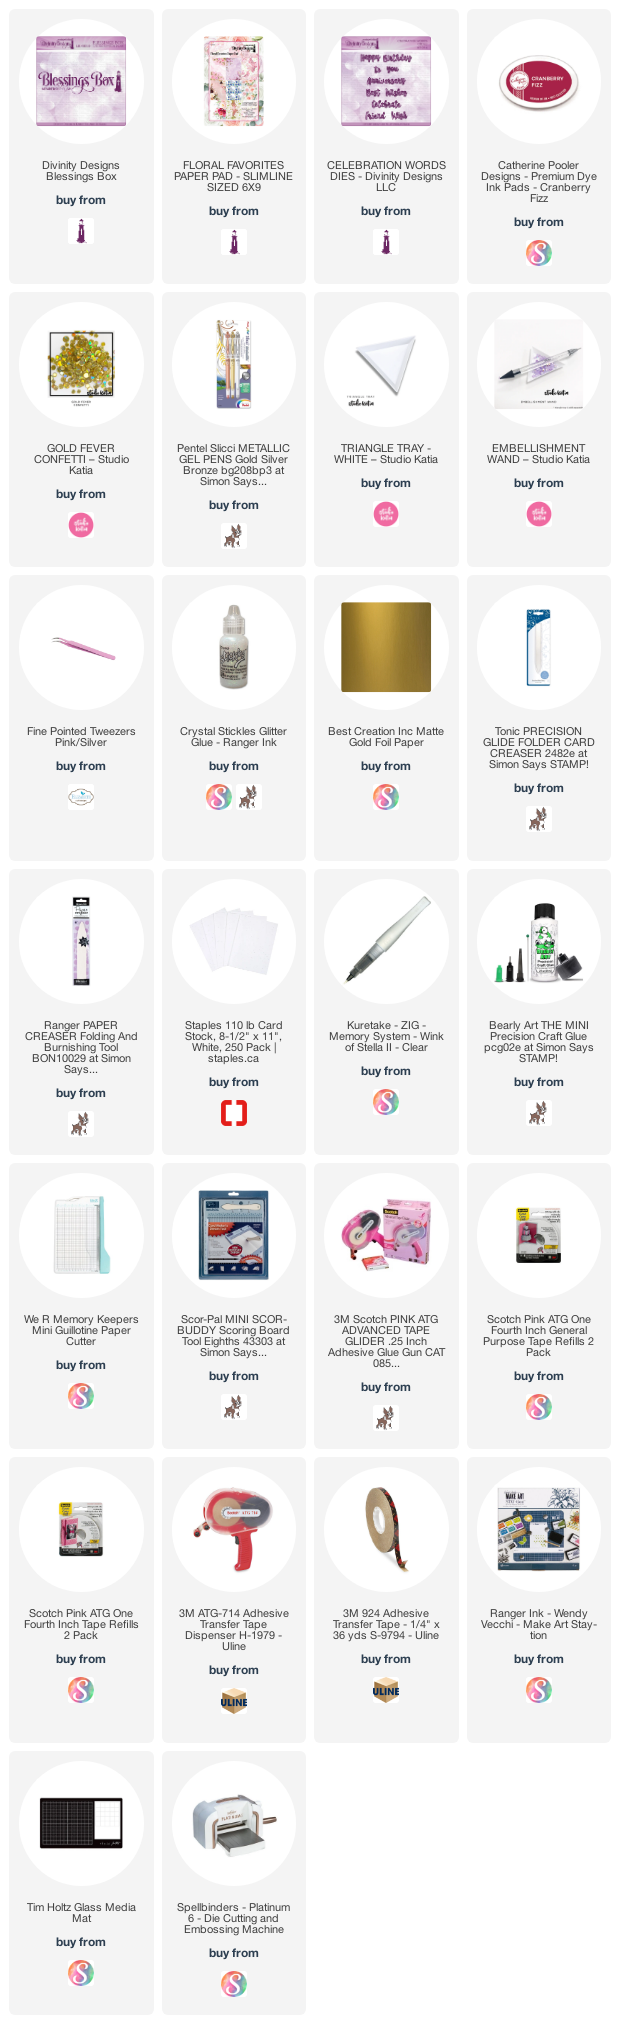
Hello! Today I'm sharing another card using the printed florals from the April Blessings Box at Divinity Designs. I paired them with a lacy die cut from a 12 x 12" package that was on the clearance rack at Stampin' Up. I have a walkthrough of my card on YouTube:
The Best Wishes is also from Divinity Designs and everything that is available is linked below.
Inside I created a simple Box Pop Up and I will link a tutorial below for you. The square lacy frame is from the same sheet as the front, and the patterned paper square was a leftover piece in the package of papers from Divinity Designs. The Happy Birthday (and the Best Wishes on the front) were cut from gold foil card stock. I hope the shimmer and shine shows up better in the video than in the photos!
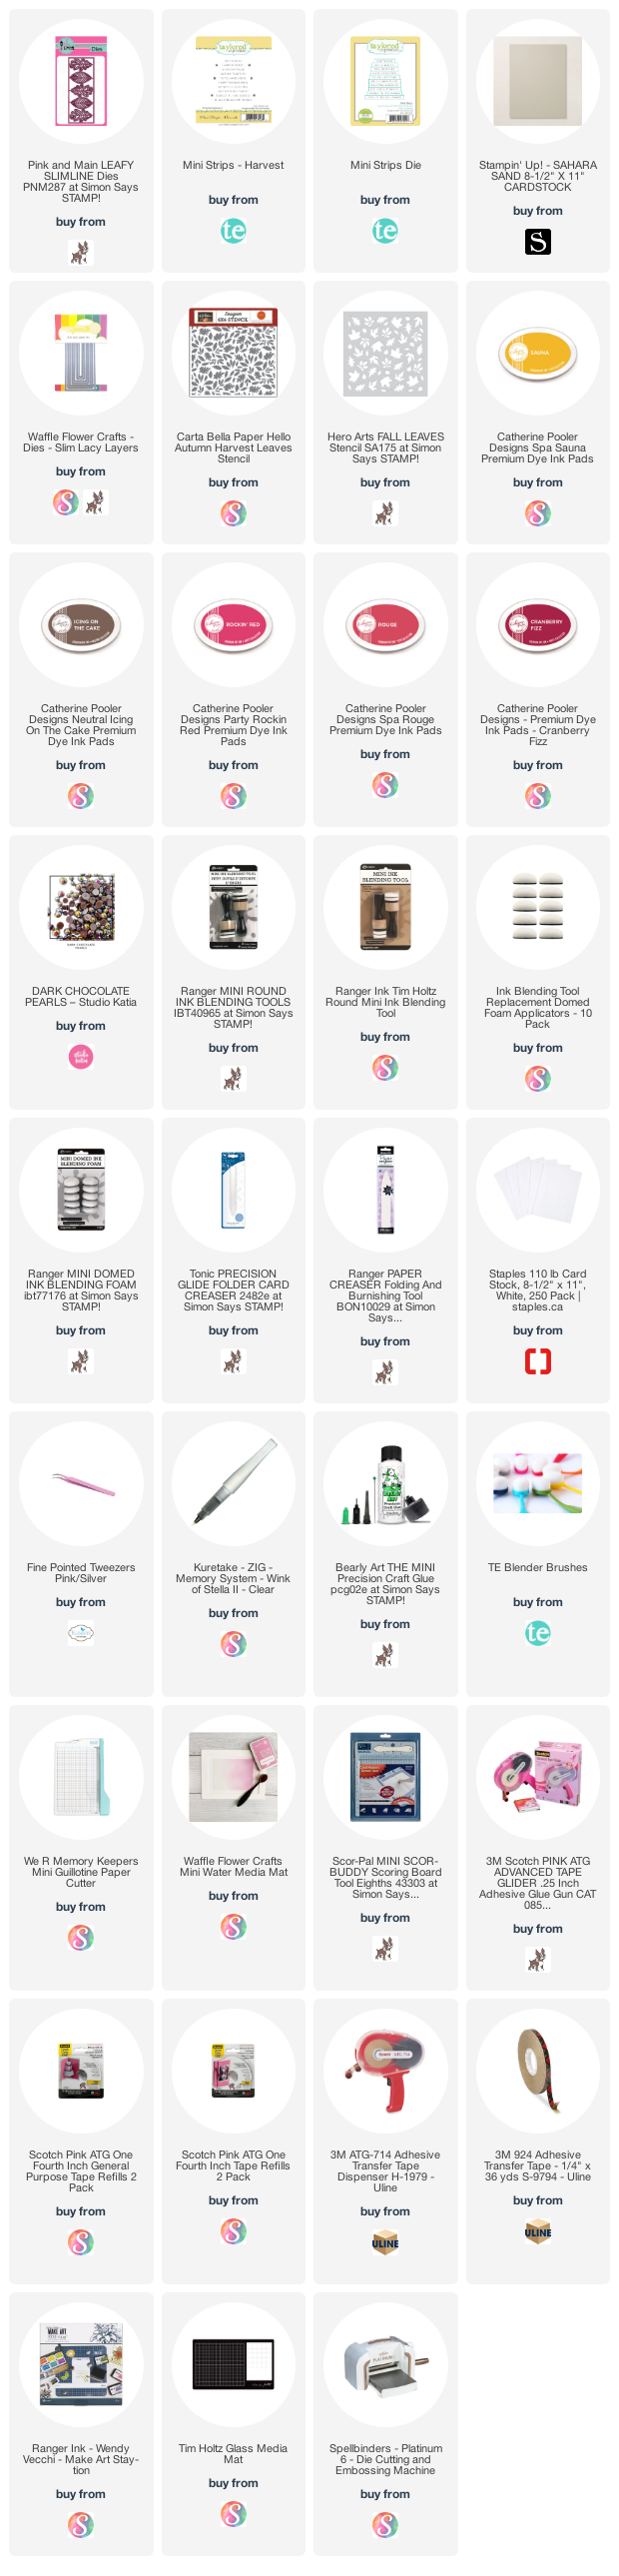
Hello! Sometimes there is a die I just have to have. Normally I purchase dies that I can see many uses for, something versatile and that I can use for years and for multiple people. When Pink and Main released this Slimline leaf die I knew I would just HAVE to add it to my collection, even though it doesn't tick many of my boxes. It's SO pretty, and - well, LEAVES. It took awhile before I could buy it, but I did and this is my first play with it. I have several ideas already, but of course my first card had to be a fall themed one.
I cut it from a metallic paper and I just adore the shine. The pretty pearls are new from Studio Katia ... Dark Chocolate Pearls. And I added a sentiment from Taylored Expressions Mini Strips Harvest.
Here is a peek at the inside ...
I added a leftover strip of the metalic card stock to the inside as well as some stencilled leaves on the Kraft envelope. While I can't find that stencil to link, I will like two others that would also work.
This blog uses affiliate links whenever possible. This means, that at no cost to you, if you make a purchase through one of my affiliate links that I may receive a small commission from your purchase. I only link products that I own, love and use for my card making!
Supplies I'm unable to link for you: Mirri Card - Glitter Ombre, Hunky Dory Copic Marker Shimmer Spray for spatter
Sentiment - Echo Park (retired) Kraft #10 Business Envelope
Hello! This year I'm making an effort to finish off a lot of the 'in progress' cards I have in my craft room. That is where these six came from, and I have all the details on YouTube:
I loved this patterned paper and wish you could still get the K & Co paper pads. Both the Happy Thanksgiving on the card fronts, and the leaf & pumpkin inside were cut from a mottled foiled card stock and I adore the shine. I also added some gold Glitter Dots!
Since the card bases and pop up interiors were already cut and sitting in my 'In Progress' bin, I just pulled in some additional items from my stash to complete them. These cards were made using an older die cutting system from Karen Burniston called "Pop 'n Cut" these are the big Steel Ruled dies and I still have all of mine.
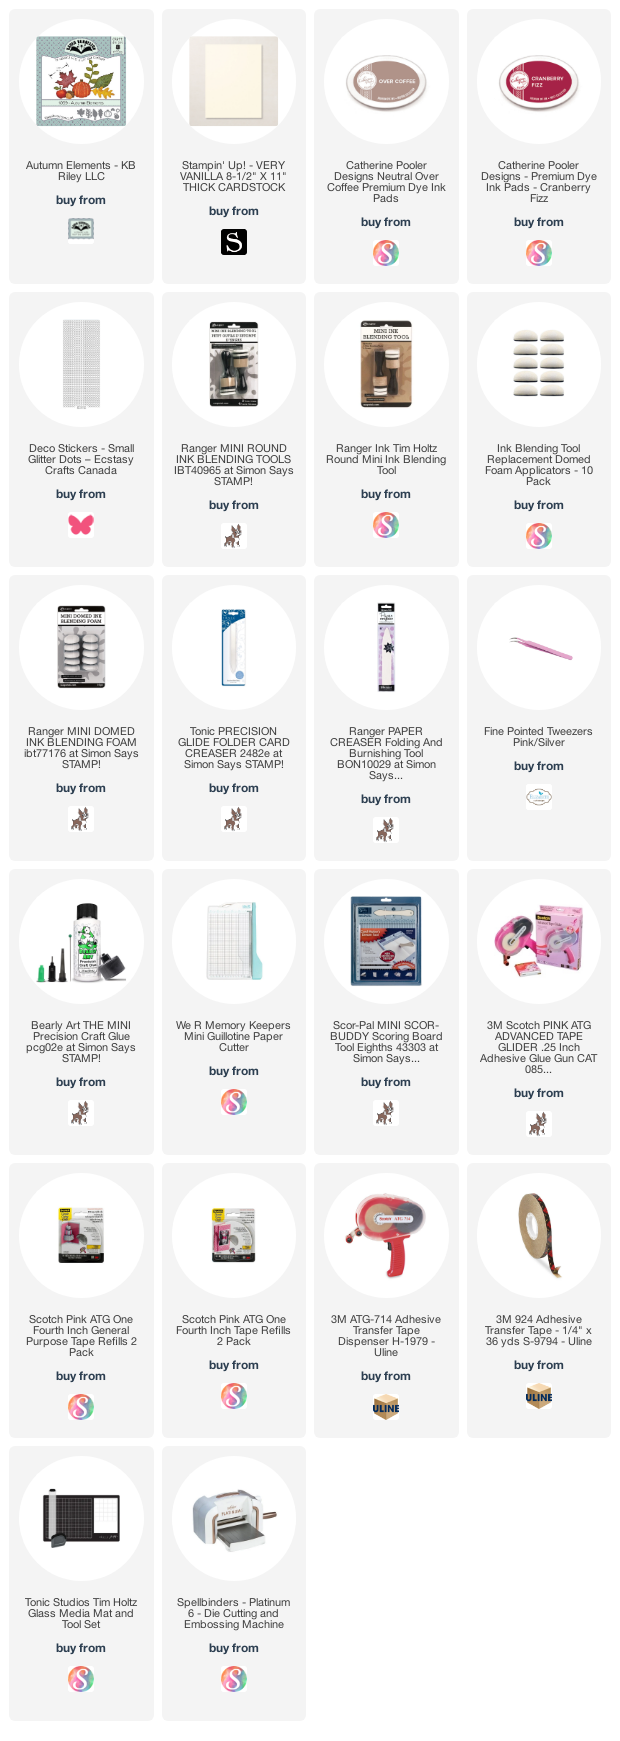
I used Karen Burniston's Autumn Elements for the leaf and the pumpkin elements - and I love that the veining shows up so well when you use a metallic or foiled card stock.
This blog uses affiliate links whenever possible. This means, that at no cost to you, if you make a purchase through one of my affiliate links that I may receive a small commission from your purchase. I only link products that I own, love and use for my card making!
Supplies I'm unable to link for you: Pumpkin patterned paper - K & Co (old, from my stash) Inside patterned paper - Basic Grey (old, from my stash) Pop 'n Cut with Wavy Label Insert - Karen Burniston (long retired) Wavy Label Thinlets - Karen Burniston (long retired) Patterned Paper strips - Gilded Autumn, Stampin' Up (retired) Confetti card stock Mirri Ombre Card Stock - Hunky Dory Copic marker Happy Thanksgiving 3D Drop Ins - Stamps of Life (retired)
Hello! Today I'm sharing four Birthday Cards made using the Celebrate Edger die from Creative Expressions. This is one of the dies I picked up from R&R Scrapbooking when they had a flash sale. This one in particular I knew would get lots of use, as I make a LOT of Birthday Cards. But it's good for New Years and other celebrations too. And it will work on a Mini Slimline and Slimline card format too. ❤️
Check out that black layer - I used the Matting Rectangle die from Divinity Designs. It leaves just a slight border around the focal panel. I don't know about you, but I have a terrible time cutting a narrow border with my trimmer and always end up having a wonky edge or two. This die eliminates that issue completely and it's sized perfectly for A2 cards!
Here is a peek at the inside, with a stamped sentiment from Divinity Designs and a Newtons Nook stencil. Everything that is available is linked below for you.
I used both pink and blue papers from the pad and here is a blue card. On each of the cards, I adhered a few of those fallaway stars onto the patterned paper, and brushed the inside of the die cut stars with Wink of Stella for some shimmer.
These cards will be donated to my Mom's old nursing home.
This blog uses affiliate links whenever possible. This means, that at no cost to you, if you make a purchase through one of my affiliate links that I may receive a small commission from your purchase. I only link products that I own, love and use for my card making!
Supplies I'm unable to link: Patterned paper - Gilded Ink, Recollections
Hello! This is the card I made to give our son for his Birthday ... he enjoys fishing, so I knew he would love this card. The Slimline die on the front is from Hello Bluebird and it cuts all the pieces away from the frame. Instead of using patterned paper as I would usually do, I die cut it from heavyweight white card stock and inked all the pieces with die inks. Then I spritzed them with water and let them dry before reassembling them puzzle style. I have a walkthrough on YouTube with all the details:
For the inside, I stencilled right on the card base, then added some stamped die cuts. The leaping fish was adhered using Karen Burniston's Mini Pops. The Happy Birthday was die cut a couple of times from white card stock then stacked and glued one on top of the other. I fussy cut the vellum shadow layer.
This fish is such a nice size to use for cards! I stamped the verse on Karen Burniston's Crosshatch Rectangles which is where we signed the card.
This blog uses affiliate links whenever possible. This means, that at no cost to you, if you make a purchase through one of my affiliate links that I may receive a small commission from your purchase. I only link products that I own, love and use for my card making!
Supplies I'm unable to link for you: Stamps - Best Catch, Stampin' Up (retired) Kraft & white #110 card stock - Michaels Stencil - Artsy Swirls from my stash Shimmer spray
Hello! The newest Fun Friday Challenge #168 at Your Next Stamp is a Birthday Theme. I made a water coloured pop up card using many items from the new release and the details on how you can enter to win a prize are further down my post. Since this is a pop up card, it also qualifies for Fun Fold Friday here on my blog. 😊
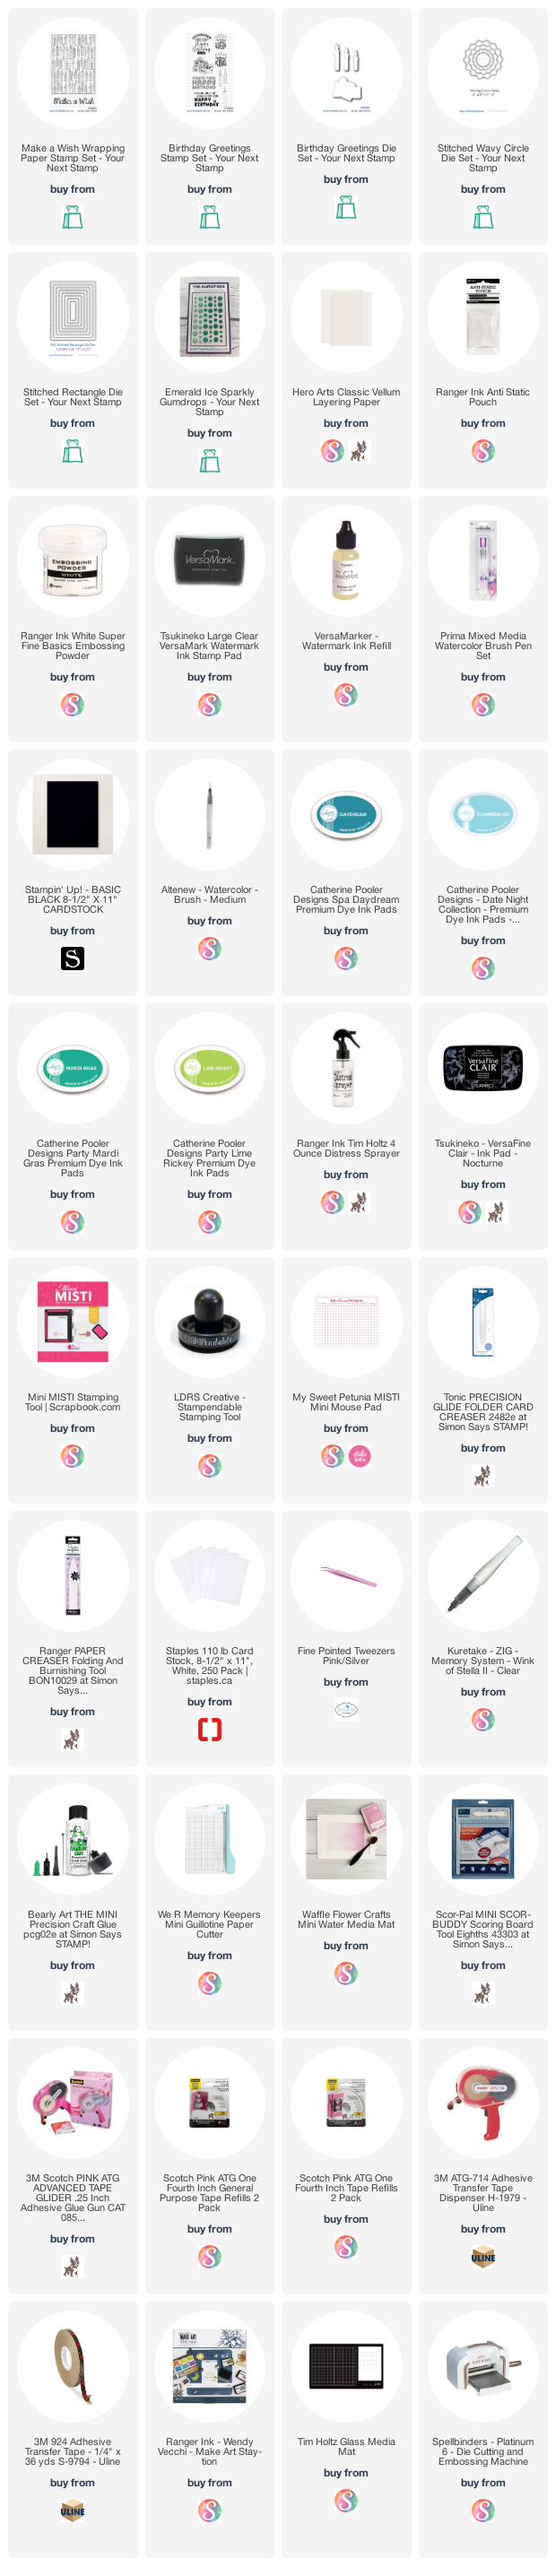
I have always loved the random colour you get from pigment sprinkles spritzed with water. The first time I saw them I was HOOKED and that is what I used to colour the white heat embossed background panel.
Inside, I created a Pop Up and will link my simple Box Pop Up tutorial below as well as in my YouTube description.
#1 – Would you like the chance to win a YNS stamp set? Leave a comment on the Your Next Stamp Blog by September 22, 2021 at midnight EST to be entered in the random drawing. Want more entries in the drawing? Leave comments on YNS’ IG and FB pages too!
#2 – Would you like the chance to win a YNS store e-gift card? Play along with the challenge! Link up your creation at the bottom of the post on the YNS BLOG by September 30th, 2021 at midnight EST to be entered in the random drawing to win a $15.00 YNS gift certificate. If your creation contains YNS products and you are the random winner then you receive an extra $5.00.
This blog uses affiliate links whenever possible. This means, that at no cost to you, if you make a purchase through one of my affiliate links that I receive a small commission from your purchase. I only link products that I own, love and use for my card making!
Supplies I'm unable to link: Brusho,Color Bursts, Lindy's Stamp Gang, (pigment powders) Sparkle embossing powder - Stamp A Mania