Thursday, 16 September 2021

Birthday Gnomies Mini Slimline Card

Hello! Today both the new website and the new release at Your Next Stamp are LIVE!!! We are celebrating with an Instagram Hop & a sale, and I have all those details later in my post. I have a video showing all the new products that are being released on YouTube:

For my card share today, I used several different new release products to create a Mini Slimline Birthday card.


Inside my card, I added some stencilling with the Birthday Confetti Stencil and a sentiment from the new Birthday Greetings.  I also added the stencilled balloons to the envelope to dress that up a bit.


We are celebrating the arrival of 11 new stamp sets and 3 new die sets in the YNS Store. Plus, we are adding stencils to the line up! 

Join in our INSTAGRAM HOP, leaving comments as you go, for your chance to win one of three $20 gift certificates to the Your Next Stamp Store.  The Instagram Hop starts at the Your Next Stamp Instagram page and continues on... 

This blog uses affiliate links whenever possible. This means, that at no cost to you, if you make a purchase through one of my affiliate links that I may receive a small commission from your purchase. I only link products that I own, love and use for my card making!

Additional Supplies:
Ohuhu Alcohol Markers
Miri ombre metallic card stock - Hunkydorycrafts.io.uk

Thanks for stopping by

Wednesday, 15 September 2021

Mini Slimline Roses Birthday Card


Hello!  Today I'm sharing another card made with these floral Paper/Die duo's from Divinity Designs. The pretty patterned paper is also theirs and I just love the floral prints. While I know it's probably time to be making fall and winter holiday cards, I'm just NOT ready to completely give up on Summer and flowers. 

This card is a Mini Slimline card and I used the Mini Slimline Square Window die from Taylored Expressions. Everything that is available is linked below. This is the first time I have used the colour scheme of beige and pink and I quite liked it!


The stamps I used are from the same April Blessings Box.


This blog uses affiliate links whenever possible. This means, that at no cost to you, if you make a purchase through one of my affiliate links that I receive a small commission from your purchase. I only link products that I own, love and use for my card making!

Thanks for stopping by

Monday, 13 September 2021

Mini Slimline Soccer Fun Card


Hello! This week the Design Team is sharing sneak peeks of the new release at Your Next Stamp. Everything that is available is linked below, and the new items will be launched on the NEW website on Thursday!! There are prizes leading up to the release, so be sure to head over to the Your Next Stamp Blog for a chance to enter.

I chose to make a Mini Slimline card featuring the new Soccer Fun, and the Star Circle Frames, as well as the new Puffy Clouds Stencil. Yes, Your Next Stamp has brand new stencils with this release!!


Here is a peek at the inside, where I used the Star Circle Frame as a stencil, and also added more puffy clouds and a YNS sentiment.


This blog uses affiliate links whenever possible. This means, that at no cost to you, if you make a purchase through one of my affiliate links that I receive a small commission from your purchase. I only link products that I own, love and use for my card making!


Additional Supplies:
Green & yellow card stocks - stash
Ohuhu alcohol markers
YNS Soccer Fun - available Sept 16/21
YNS Soccer Fun Die - YNS Soccer Fun - available Sept 16/21
YNS Star Circle Frames - YNS Soccer Fun - available Sept 16/21
YNS Pufy Cloud Stencil - YNS Soccer Fun - available Sept 16/21

Thanks for stopping by

Dinosaur Slimline Shaker Card


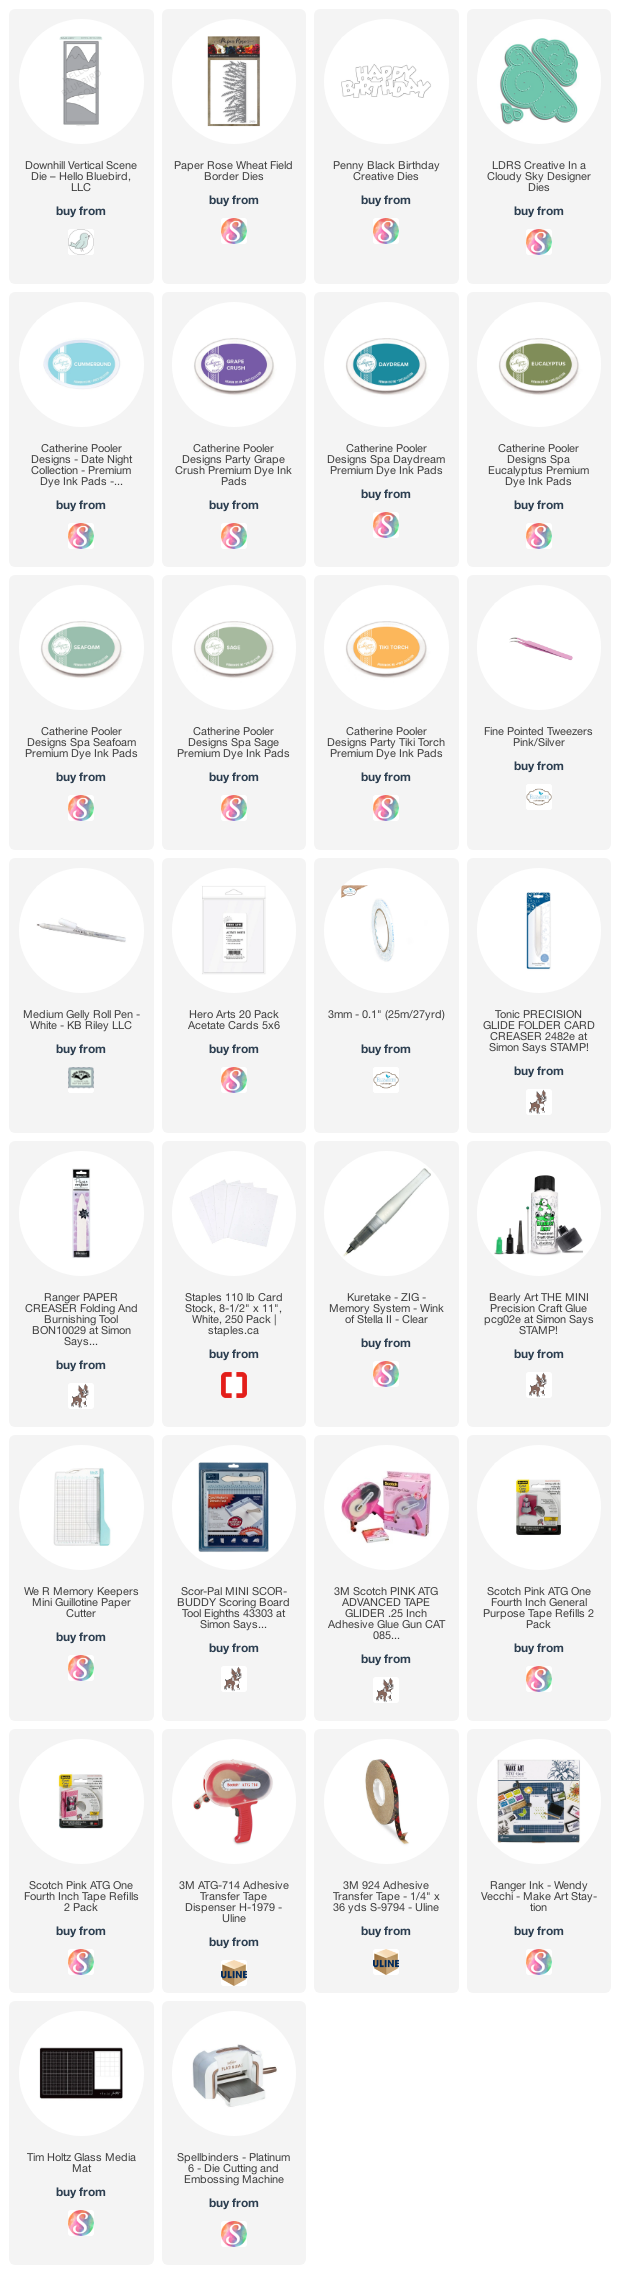
Hello!  I had a lot of fun creating this card for our Gransons Birthday this month. I used the Downhill Vertical Scene from Hello Bluebird, cutting everything from white card stock. Then I inked, dipped and dragged the pieces with dye inks and placed them back inside the outline ... puzzle style. I also cut away one of the portions to create a shaker, which I know our Grandson will enjoy.


Here is a peek at the inside where I added a few layered sentiments. We will be hand delivering this card, so I didn't have to worry about bulk or how much it weighed for going through the mail.


One more look ...


This blog uses affiliate links whenever possible. This means, that at no cost to you, if you make a purchase through one of my affiliate links that I receive a small commission from your purchase. I only link products that I own, love and use for my card making!

Additional Supplies:
Fun foam
Various shaker filler - my stash
Green card stock
Grey and blue Copic markers
Tasteful Label Dies - Stampin' Up (retired)
Dino stamps - No Bones About It, Stampin' Up (retired)
Dinosaur die - Pre-historic Tim Holtz
Heavy weight white card stock

Thanks for stopping by

Sunday, 12 September 2021

Bee Themed Grandparents Day Card


Hello!  Today I'm sharing the card I sent to my Mother In Law for Grandparent's Day. I really liked how the Kraft card stock looked with the light yellow - a combination I will have to use again.

In addition to the Slimline dies from Divinity Designs, I used retired stamps & dies from Stampin' Up and everything that is available is linked below for you. The black open bee die cut was spritzed with shimmer spray before I added the Glossy Accents to the body. It's so nice and shiny!


Here is a peek at the inside ...


Note - the Slimline Card base die requires a larger die cutting machine.

Additional Supplies:
Honey Bee Stamp and Dies - Stampin' Up (retired)
Copic markers
Black marker
Sequins
Confetti off white, yellow and black card stocks

Thanks for stopping by

Saturday, 11 September 2021

Halloween Garden Bench Pop Up


Hello! I wanted to have another play with Karen Burniston's new Garden Bench Pop Up, so I made a Halloween Card. I have a walkthrough of my card, including how I made the cute Pumpkin Pillows, on YouTube:  


The Happy Halloween and the bats (from the new Haunted Tiny House Add On) were cut from black card stock and given some sparkle with shimmer spray. I also used the Crosshatch Circles and everything that is available is linked below.


Here is a peek at the inside ... 


This new Garden Bench Pop Up is a revamped set that was discontinued years ago, and I am really liking it. It's so versatile!

The signing block was created with two of the rectangle dies from the Slim Flaps and Frames, and the sentiment is from MFT.


This blog uses affiliate links whenever possible. This means, that at no cost to you, if you make a purchase through one of my affiliate links that I receive a small commission from your purchase. I only link products that I own, love and use for my card making!

Additional Supplies:
Patterned paper - Night & Fall, Recollections (old, from my stash)
Card size - 4-1/2 x 6"
Cream card stock - stash
Shimmer Spray 

Thanks for stopping by

Friday, 10 September 2021

Thanksgiving Tower Pinwheel Card


Hello
and welcome to Fun Fold Friday here on my blog.  When I created my first Tower Pinwheel Card I said I would make another one only a 5 x 7" size instead of the A2 one I had just finished. Here is my first one in that size, and I can tell you I will do more for sure. These cards are SO fun to make, easy peasy and the options for decorating are endless. I have a walkthrough with all the details on YouTube: 

Below is what the card would look like coming out of the envelope:

Each side of the pinwheel pieces are decorated - I chose some older stickers from my stash because they had gold foiling which matched the gold foiling in the patterned papers. Note - I adhered the stickers to white card stock then fussy cut them out for stability.

The patterned paper was on the Clearance Rack at Stampin' Up - I love all the gold foiling on it. The photo below has a label for our personal greeting. For some reason the clear sticker at the top of the label is faded out but you can see it clearly in the photo above.


If you are interested in making a Pinwheel Tower Card, the video tutorial that I used is HERE.

Additional Supplies:
Patterned paper - Gilded Autumn, Stampin' Up (retired)
Kraft, Cream card stocks - stash
Stickers - Paper Studio and Hallmark
Copic markers
Resin circle sticker - Recollections
Thanksgiving Blessings - Taylored Expressions (retired)

Thanks for stopping by

Thursday, 9 September 2021

Christmas Slimline With Gnomes

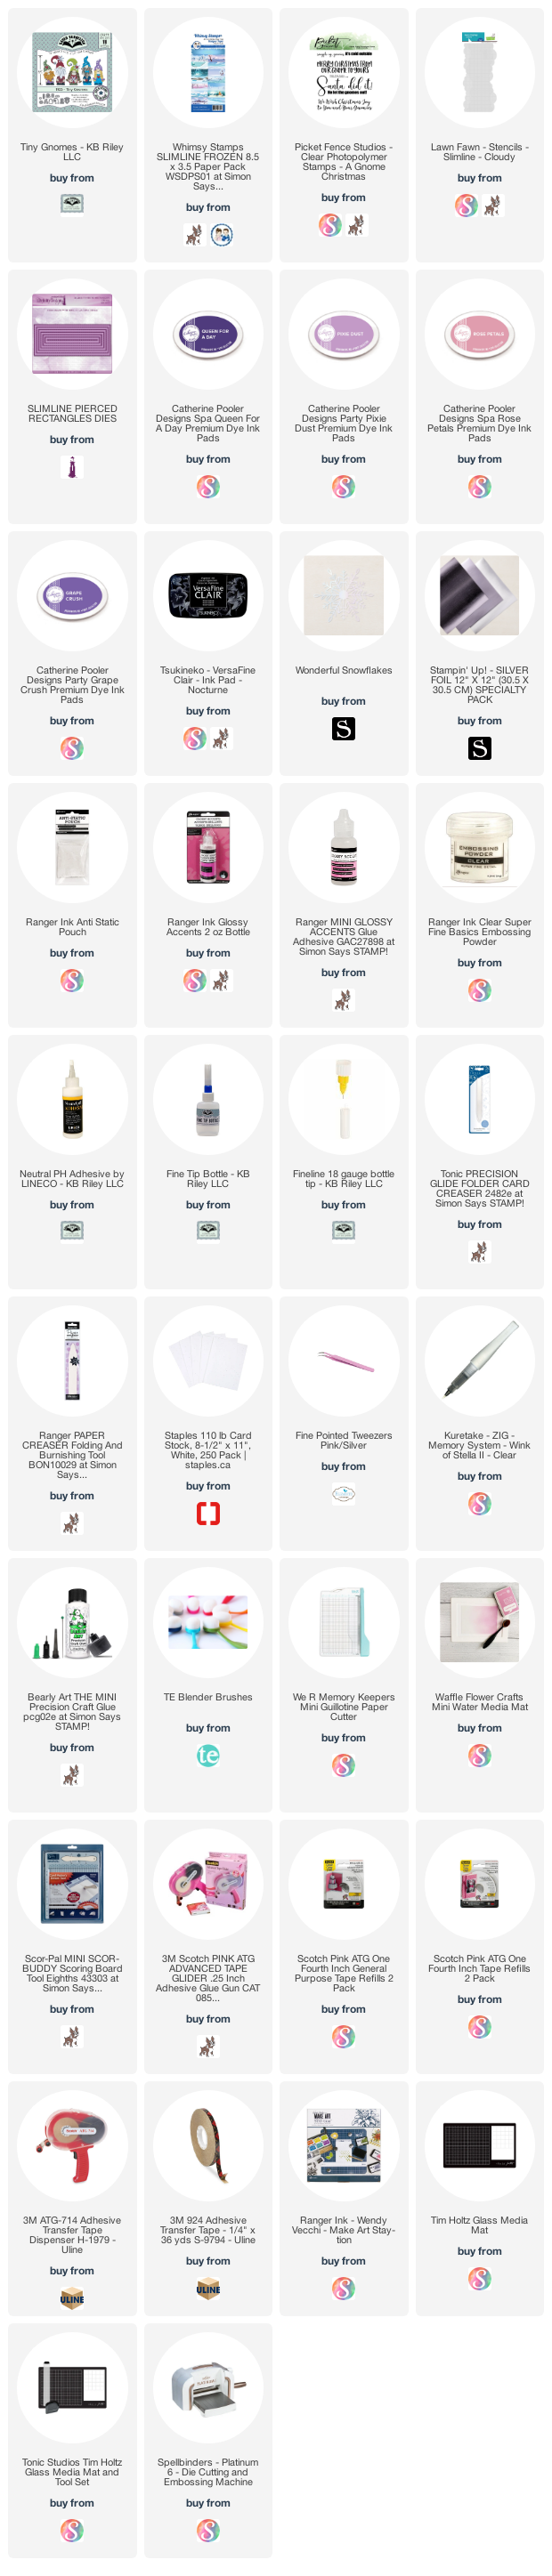
Hello!  I was crazy about these Slimline Patterned Paper Pads from Whimsy Stamps as soon as I saw them. My friend Frances used one first, I was intrigued & checked them out. Of course it took awhile for my order to arrive in Canada but I have been enjoying them since they arrived. I chose a winter one for my Christmas Card today in non traditional colours and die cut it using a Pierced Slimline Rectangle die to add interest to the edges. Then I added some of the new Tiny Gnomes by Karen Burniston.

The iridescent snowflake is from Stampin' Up, I embossed the sentiment with clear embossing powder, and silver metallic card stock for the tiny jingle bells.


Here is the inside, with a fun Gnome sentiment stamp and everything that is available is linked below for you. I also used the leftover piece of iridescent snowflake on the inside, and some pale stencilling to resemble banks of snow.


... one more look ...


This blog uses affiliate links whenever possible. This means, that at no cost to you, if you make a purchase through one of my affiliate links that I receive a small commission from your purchase. I only link products that I own, love and use for my card making!

Additional Supplies:
Various card stock scraps
Gray Crayola marker
Black pen

Thanks for stopping by

Wednesday, 8 September 2021

Garden Mouse Slimline Card


Hello! Today's Slimline card is one that looked better in my head, ha ha. Sometimes that happens, but I think whoever I send it to will still enjoy it. I used one of my new Edger Dies by Creative Expressions. R&R Scrapbooking in Edmonton had a Flash Sale and I added a few (ahem) of these dies to my collection. 

I thought with the colour's in the background paper that the flowers from Divinity Design's April Blessing Box would work perfectly, but they sort of get lost. I would have liked it better if I had added a fussy cut black shadow around them maybe? 

I snipped the mouses arm away and added one of the flowers in between it's paws and I think that would be fun to do again with a cupcake, or shamrock etc. The 'HI' has glossy accents on the top layer so it's raised, shiny and catches the light as the card is turned.


Here is a peek at the inside ...


This blog uses affiliate links whenever possible. This means, that at no cost to you, if you make a purchase through one of my affiliate links that I receive a small commission from your purchase. I only link products that I own, love and use for my card making!

Additional Supplies:
Patterned paper - Gilded Ink, Recollections
Coral card stock
Black Glitter Dots - Elizabeth Craft Designs

Thanks for stopping by  

Tuesday, 7 September 2021

Winter Blizzard Pop Up Card

NOTE: I mistakenly posted this a few days early, but rescheduled it when I realized my mistake.

Hello!  Welcome to Karen Burniston's September Designer Challenge, where she challenged her Design Team with the theme "SUN OR SNOW" - make a sunny or snowy day card." I can't believe it, but I made a card with a snow theme. I am NOT a fan of the white stuff, ha ha. I have a walkthrough of my card on YouTube:

Not only are the sequins sparkly, the snowflake has Wink of Stella on it and is nice and shimmery too. This card is 5" square, because it will fit in an A7 (or 5 x 7") envelope and mail for a single stamp. In Canada, square envelopes cost more to mail so I will be opting for an A7 envelope instead.


Inside I used the Photo Collage Pop Up, Word Set 13 Snow and Holiday Charms, and when the card opens it's like a blizzard of snowflakes. So fun!


The snowflakes all got some Wink of Stella and glitter in their centres, but it is very hard to see in photos.


I hope you will check out what the rest of the Design Team came up with for the challenge - their blogs are linked over on the right. Karen Burniston will have her post tomorrow (Wednesday) on HER BLOG.

This blog uses affiliate links whenever possible. This means, that at no cost to you, if you make a purchase through one of my affiliate links that I receive a small commission from your purchase. I only link products that I own, love and use for my card making!

Additional Supplies:
Patterned paper - Snowy Night, Sandylion
Black fine point marker

Thanks for stopping by