Saturday, 10 March 2018

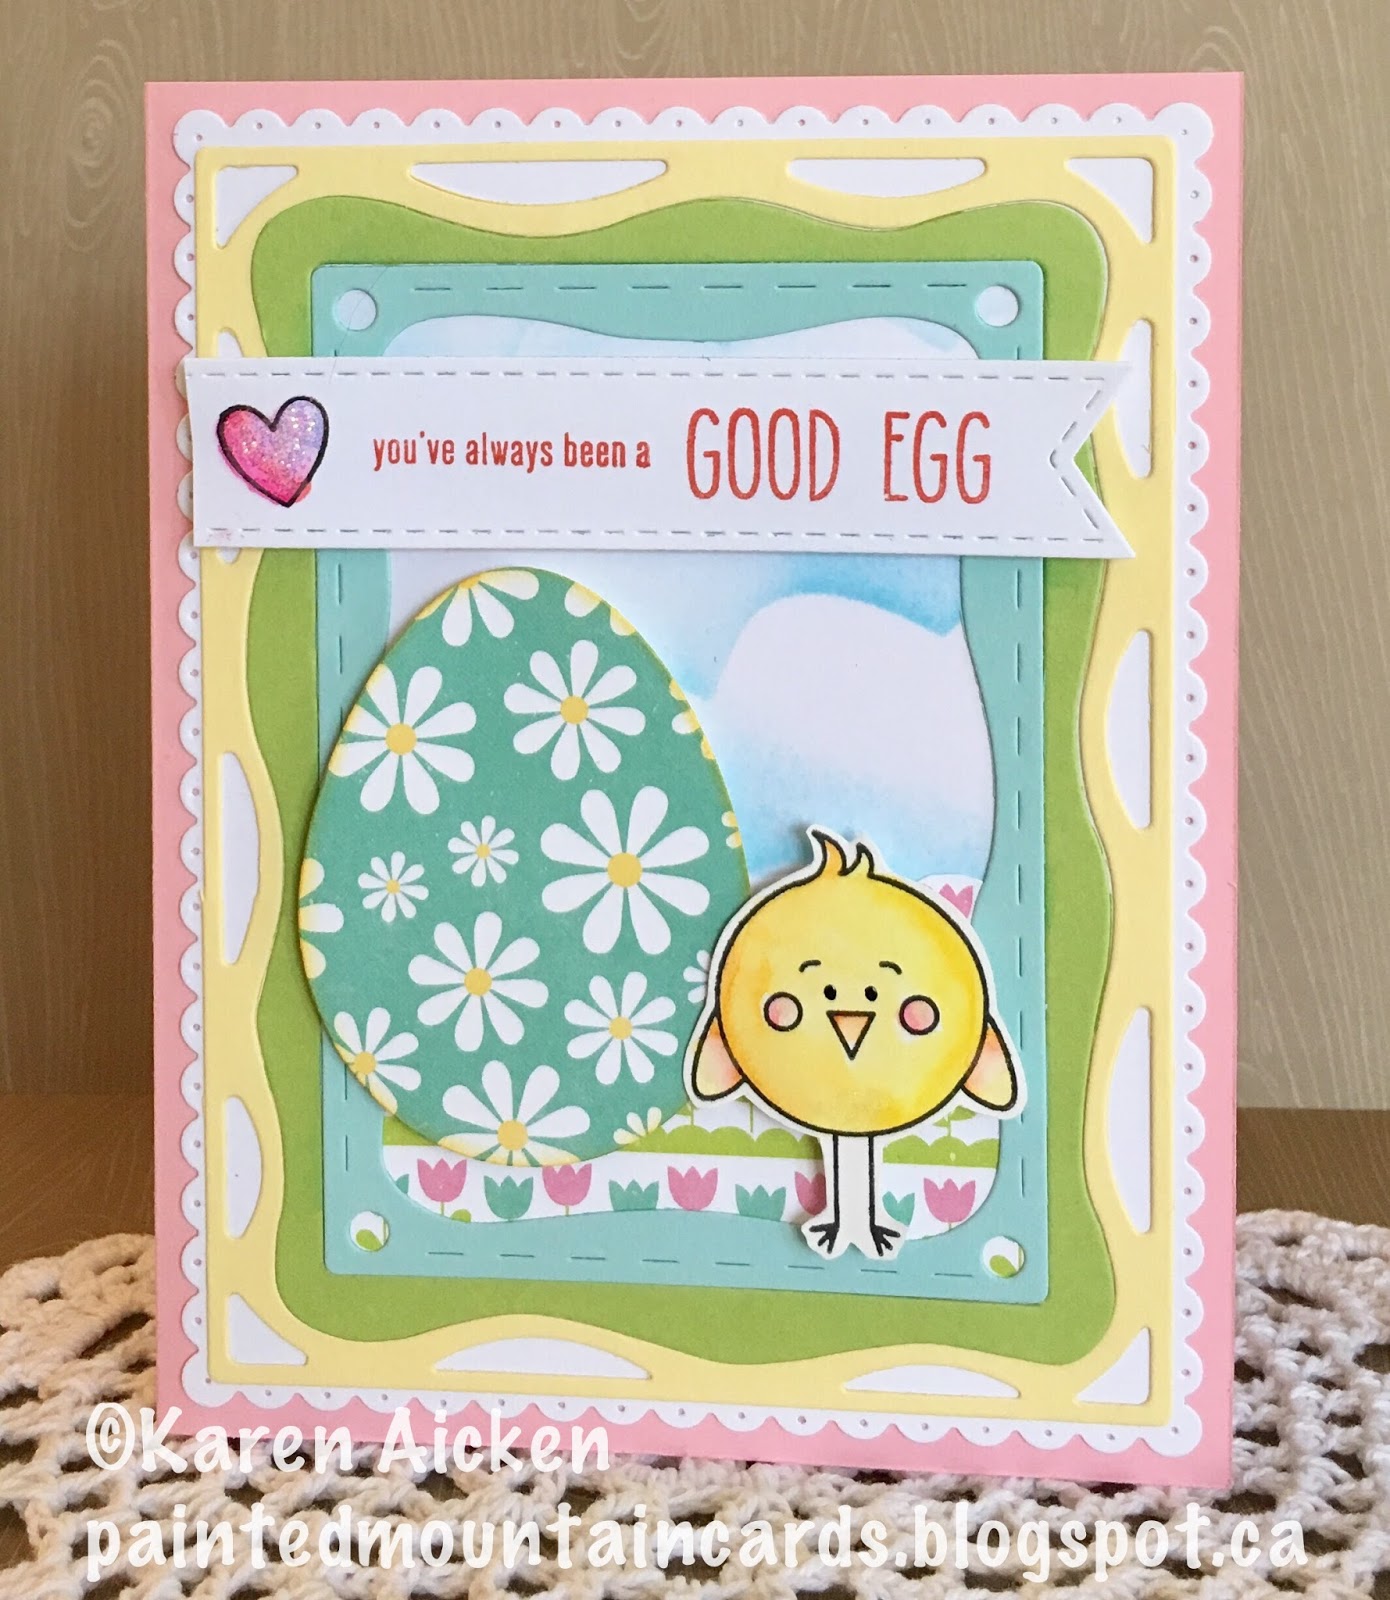
C4C425 Chicken Pop-Up Card

Good morning friends

It's Saturday and that means a new challenge at the Crazy 4 Challenges blog. Bonnie Sharp had her challenges all ready for us, so even though she has left the Design Team she said to go ahead and use her challenges. Kristine Reynolds is joining us as our Guest Designer again this month (yeah!). You can find her blog HERE.  

This is Bonnie's challenge: It is National Poultry Day - a day that is close to my heart since we had egg layers for over 40 years! My challenge is to create a chicken card - of course if you don’t have a chicken stamp, you can certainly use any type of fowl - cardinal, robin, flamingo - something with feathers!

I decided to go ahead and make an Easter card featuring CHICKS! Below is the front of my card, featuring a sweet Victorian image - which is actually a Journal Card or Cut-Apart from the paper stack I was using.


Here is the inside, with a bunch of happy chicks.


I used the adorable chicks from Your Next Stamp, and a Lawn Fawn die to create a flowery hill pop-up.


Finally, a side view so you can see the dimension a little better. I did find that the patterned paper started to crack at the folds when I was assembling, so I reinforced those folds on the back with clear tape.


Check out the C4C blog to see how the Crazies have been inspired by the challenge. We'd  love to see your take on it, so be sure to stop by the Crazy 4 Challenges blog and link up your creations. If you are uploading to an online gallery, please use the keyword C4C425.

Supplies:
Patterned paper and Cut-apart - Authentique
Stitched Hillside Pop-Up - Lawn Fawn
Chick stamps - Your Next Stamp
1045 Outdoor Scene (stitched clouds) - Karen Burniston
Blueprints #29 (banner) - MFT Stamps
Black fine point pen
1011 Katherine Label Pop-Up (labels) - Karen Burniston
Wonky Stitched Rectangle die - MFT Stamps
Ribbon - Stampin' Up
Happy Easter stamp - Elizabeth Craft Designs
Distress Oxide Inks
Sequins (!!)

Thanks for stopping by today

Friday, 9 March 2018

Tulip Scalloped Easter Card

Good morning friends

I have another Easter card to share today. I love this scalloped card set - it makes such a pretty card base!


I used Zig Clean Colour markers to add colour to the Easter Egg Peel-Off sticker, which was adhered to Strathmore Bristol before colouring. I fussy cut the egg then added pattern paper & card stock layers and ribbons.


Here is a peek at the inside - the stamps are from the March 2017 Simon Says Stamp Card Kit.


Supplies:
Scalloped card - Stephanie Barnard (Sizzix)
Blue, pink and white card stocks
Ribbon scrap
Zig Clean Colour Markers
Patterned paper - Authentique
Stitched circle dies - MFT Stamps
Stitched circle frame die - Lawn Fawn
Scalloped inner card - Stephanie Barnard (Sizzix)
Seam binding
Stamps - Simon Says Stamp, March 2017 Card kit
Tulip Peel-Off sticker - Elizabeth Craft Designs

Thanks for stopping by today

Thursday, 8 March 2018

Easter Bunny and Chick Card Duo

Good morning friends

I have a pair of Easter cards to share today, that I made last year with the Simon Says March 2017  Card Kit. I had so much fun playing with that kit, but didn't get all the cards posted before Easter. So I just hung onto the photos. I used the same stamps and colours as yesterday's card.


For the first card, I used a bunch of dies from Elizabeth Craft Designs, and the adorable bunny stamp from the card kit.


The bunny was fussy cut and adhered with an Action Wobble so he bobs and wobbles around.


The inside of both cards are identical - a little sponged and stamped scene with a die cut Easter Egg.


The second card was made much the same, but I used the cute chick from the stamp set and the words that got with it.


These ones went into my Easter Card stash and I will be sending them off soon.

Supplies:
Egg dies - Tailored Expressions
Stamps - March 2017 Card Kit @ Simon Says Stamp
Zig Clean Colour Markers
Wink of Stella
Glaze pens - Sekura
Patterned paper - Echo Park
White, blue and pink card stocks
Curvy Rectangle dies - Elizabeth Craft Designs
Stitched Fishtail Banner dies - Elizabeth Craft Designs
Action Wobble
Fun foam
Stickles

Card size - 4-1/2 x 5-3/4"

Thanks for stopping by today

Wednesday, 7 March 2018

Wobbly Bunny Easter card

Good morning friends

Today's share uses several older items from my stash.


The cute bunny is on an Action Wobble, so she bobs and wobbles around on the card. So fun!


I added some hand lettering inside, but obviously forgot to take a photo.

Supplies:
Cover plate - MFT Stamps
Cloud patterned paper - Doodlebug
White, green and pink card stocks
Stamps - March 2017 Card Kit @ Simon Says Stamps
Zig Clean Colour Markers
Glaze pens - Sakura
Wink of Stella
Action Wobble

Thanks for stopping by today


Tuesday, 6 March 2018

Coffee Cup Pop-Up Gift Card Holder

Good morning friends

It's time for Karen Burniston's  March 2018 Designer Challenge. This month our challenge theme is:  "COFFEE & CAKE" - use either the Coffee Cup Pop-up OR the Cake Pop-up for your project.

I chose the new Coffee Cup Pop-Up and made a fun birthday card for a friends mother who turned 97! They had requested a 'card shower' for his Mom as she enjoys receiving cards and it's fun for them to go through the cards with her and talk about how they know the person who sent her the card.


On the front I used the new Happy Birthday die - which will not be a surprise as I use it frequently. I love that it cuts in a single piece and the font works for masculine birthday cards too. I added a little 'to go' cup on the front from the Coffee Charms, to give a hint as to what was inside.


You might be wondering why I would use a coffee cup for a card like this instead of the more obvious cake choice. Well, whenever my friends visit his mom, they bring along her favourite iced coffee! So I included a gift card so they could pick her up a couple of coffee's on us.


This Coffee Cup Pop-Up is really cool - the curve to the cup when the card is opened is amazing. You can use it with or without a gift card, too. I added a party hat from the Birthday Cards to my 'to go' cup since it is for a special birthday.


The new number dies are very handy for customizing a card, so I used it here as well as a stamped greeting.


The squares are from the Spinner Square Pop-Up.


Be sure to check out what my fellow teammates have come up with for the challenge - their blogs are linked on the right. Karen Burniston will have her post tomorrow (Wednesday) on her Blog.

Supplies:
Patterned paper - Heidi Grace
Marvy LePlume II markers
White card stock
Stickles
Happy Birthday stamp - MFT Stamps
Nuvo Crystal Drops

Card size - 5 x 6",  fits into a 5 x 7 envelope

Thanks for stopping by today
SaveSave

Monday, 5 March 2018

Victorian Easter Bunny Card

Good morning friends

When I was in my late teens, I was crazy about Victorian images. That changed as I got a little older, but last year when I saw this lovely paper stack with the Victorian Easter imagery I just had to get it. For my card share today, I'm using a photo frame and a banner die by Lynda Kanase for Sizzix.

I cut the Travel Photo Frame from a pretty floral patterned paper in the stack, then adhered it over the bunny Cut-Apart. It was matted with a pale yellow then adhered to a gingham cut Photo Banner.


The pretty flower and leafy sprig come with the Banner die, and after cutting them from other papers in the stack I added them to the frame and a Bakers Twine bow.


Here is a peek at the inside. I used the Photo Banner die again, but this time adhered a strip of coordinating patterned paper over the holes.


Tips & Tricks
I chose not to die cut a word or design from the photo frame, which gives it a different look and room for additional embellishments.

I purchased this patterned paper in both 12 x 12" and 6 x 6", so was able to use the same Cut Apart in both sizes for the card. The paper was on for a great deal, and I couldn't decide which size I wanted more. So ... bought them both!

I like using the journal cards (or Cut-Aparts) from paper stacks with my card-making. Generally they are 3 x 4" which is a good size for a card embellishment.

Supplies:
Patterned paper and Cut Aparts, Authentique
Photo Frame, Travel (frame) - Lynda Kanase (Sizzix)
Photo Banner - Lynda Kanase (Sizzix)
Bakers Twine
Pink patterned A2 card - Michaels
Yellow and white card stocks
Fun foam
Dashing Rectangle dies - Elizabeth Craft Designs
Stitched circle die - MFT Stamps
Happy Easter stamp - Elizabeth Craft Designs

Thanks for stopping by today

Sunday, 4 March 2018

Camping Riley Shaped Card

Good morning friends

I think 'Dress Up Riley' is so fun, so I was excited to see some new 'Dress Up Riley' sets in the new release at Riley & Company. Of course I had to have this camper set! For my first card using it, I made a shaped card that stands up on it's own.


Riley has his hiking boots and camping vest on, and the lucky moose is roasting a marshmallow. Such fun stamps included in the set! The camper was intentionally coloured grungy - to show that it's been well used and enjoyed.


Everything was coloured with Derwent Intense pencils and a water brush. I was not impressed with these pencils when I purchased them a few years ago, but I've decided to give them another try. I was actually happy with how they worked this time!


The stamp inside is by Wild Whisper.


I have some other ideas for this fun stamp/die set from Riley & Company ... just need more time to play.

Supplies:
Dress Up Camping stamps and dies - Riley & Company
Basic Dress-Up Riley the Moose - Riley & Company
White card stock
Sakura silver gel pen
Derwent Inktense Pencils
Waterbrush
Words inside - Adventure stamp set, Wild Whisper Designs
Stickles
Black glaze pen - Sakura

Thanks for stopping by today

Saturday, 3 March 2018

C4C424 S'more Photo Card

Good morning friends 

It's Saturday, so that means a new challenge on the Crazy4Challenges blog. Bonnie Sharp was going to hostess this month, but had to leave the design team. She said to go ahead and use her challenges, which she had already prepared for us. Kristine Reynolds is our Guest Designer again this month - thanks Kristine!. You can find Kristine's blog HERE.

Bonnie's challenge is:  Today is National Banana Cream Pie Day - one of my favourites! My challenge to you is to create a Dessert card - which can include pie of course, or ice cream, or cookies - anything you consider to be a sweet dessert!

My challenge card is a Bridge Card featuring S'mores, cooked on a winter campfire. 


I have been having fun creating personalized cards using Instax printed photos. They are similar to a Polaroid but they are gift card sized. Sizzix designer Lynda Kanase has a cool line called the Picture This Collection, and I've been adding those dies to my stash. I think I have almost all of them now, because the cut-a-way words in each set are interchangeable! The entire Picture This Collection was designed to work with the Instax photos.

Lynda also has a die called 'Photo Stand, Seasonal'. It's seasonal, because it has fun accessory stamps & dies related to winter & Christmas. But the stand itself can be used year round and for any occasion. I cut this one from Lynda's 'Picture This' paper pad, a fun little 4 x 6" double sided paper pad with prints & patterns for different seasons. I love blue and green, so for me this stand can be used all the time.

I use the Photo Stand die a lot - first of all, it's easy peasy to assemble, and when the stand is finished you can't help but think how clever it is. I have one on my desk and whenever I print an Instax Mini photo, I stand the photo in it to display and enjoy. Even if I plan on making a card with the photo, I like to enjoy it for a bit first.


Below is a side view - you can see where the photo slips into the slot that forms when you assemble the Photo Stand. Rather than cut the word 'memories' from the stand itself when I die cut it, I cut the word 'memories' from a scrap of the same patterned paper and backed the word with black card stock. I left a narrow black mat and adhered it directly to the top of the photo stand.


I had taken a photo of our pretty Bougainvillea bushes, so when I went to make my card for today's challenge I printed off that photo and now it is in the photo stand for me to enjoy. 


Onto my challenge card... There is a new release at Riley & Company and I just HAD to have the Dress Up Riley Camping Set. Most of the stamps/dies I used on my challenge card today use that set. 


I chose some wintery patterned paper from Lynda's Picture This paper pad and the card base itself was cut from blue Soft Finish Card Stock. I love that it is white on the other side, and it's such a nice weight to work with. I die cut the Travel Photo Frame from the same patterned paper but didn't cut a word from the bottom. I really like how customizable these frames are.


Both the 'let it snow' and the winter hat stamps are from the Seasonal Props Photo Frame, but the lantern, S'mores, campfire and marshmallow/stick are from Riley & Company. This Bridge Card folds flat for mailing in a standard A2 envelope.


I added a bit of decorating on the back as well, since that is where I will write my note. The photo was taken out at our acreage, and I know it will be a happy surprise for my daughter & family when they receive this card in the mail.


Check out the C4C blog to see how the Crazies have been inspired by the challenge. We'd  love to see your take on it, so be sure to stop by the Crazy 4 Challenges blog and link up your creations. If you are uploading to an online gallery, please use the keyword C4C424.

Supplies:
Instax Mini SHARE Smart Phone Printer - Fujifilm
Patterned paper - Picture This by Lynda Kanase (Sizzix)
Photo Frame, Travel (frame) - Lynda Kanase (Sizzix)
Photo Frame, Seasonal Props - Lynda Kanase (Sizzix)
Seasonal Tag (label die) - Lynda Kanase (Sizzix)
Camping clear stamps and Dress-Up Camping dies - Riley & Company
Blue Soft Finish Card Stock  - Elizabeth Craft Designs
Fun foam
White & black card stocks
Sakura white gel pen - Karen Burniston


Thanks for stopping by today!

Friday, 2 March 2018

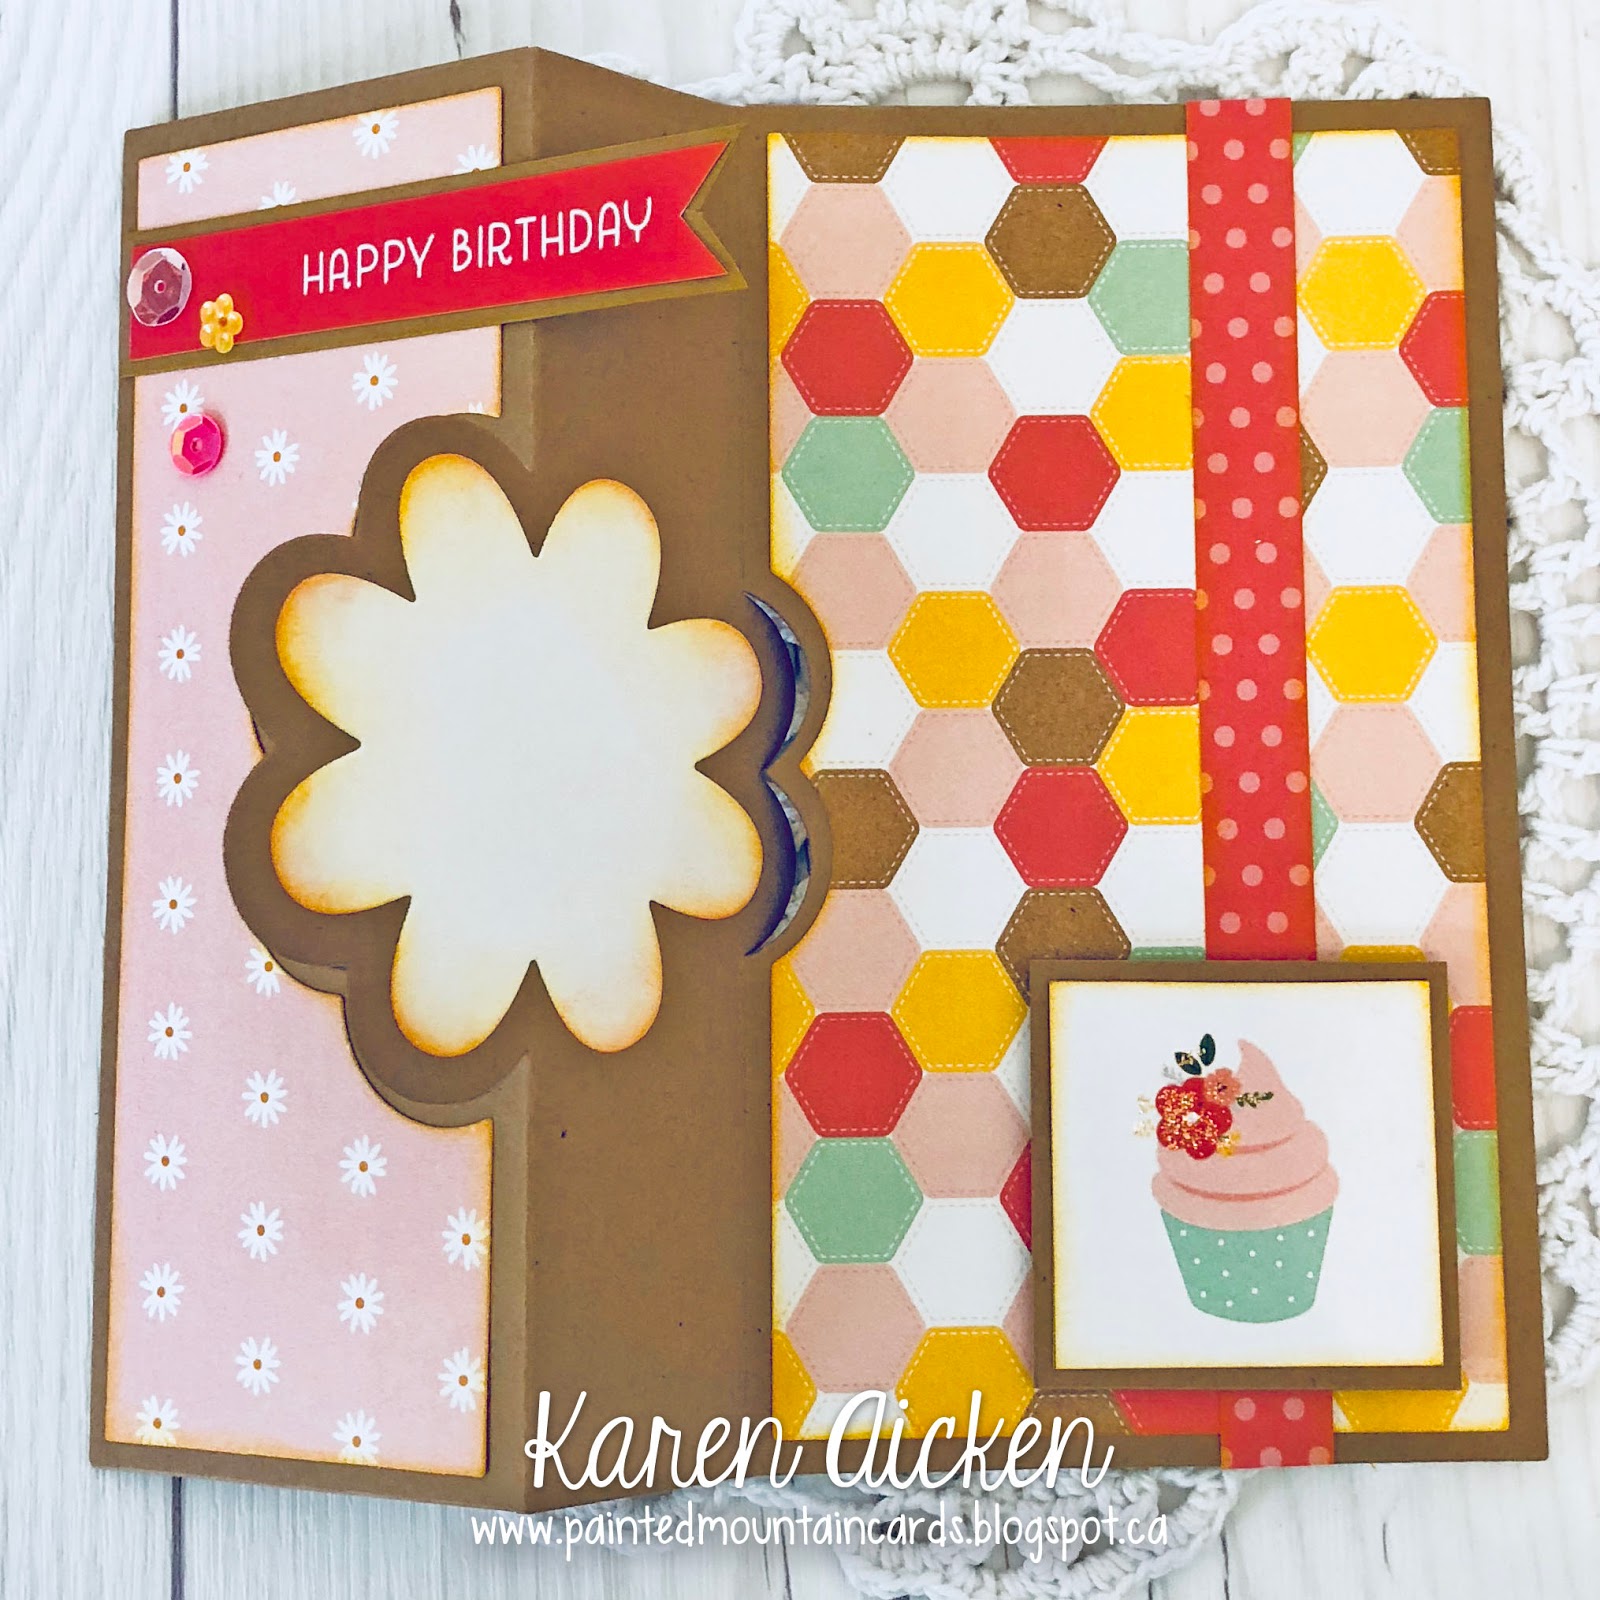
Birthday Flower Flip-It Card

Good morning friends

When I was at CHA in January, I saw this die set at the Sizzix booth. I was lucky enough to run into Stephanie Barnard there and told her I thought the concept was brilliant. I admit to possibly stalking the Stamps of Life website this month and all of a sudden the die set was there and I placed my order immediately.

It's no secret how much I enjoy Flip-It cards, and this Drop In Flip-It is going to be lots of fun. The flower centre section and the layers are independent to the base and there are plans to introduce more 'centres' in different shapes. The price point will be better as you will only need the new shape and layers once you have this base set.

This is the first card I made with it, and once I chose the patterned papers, I decided to use a couple of Cut Parts from the same paper stack rather than decorate the centre with the included flower layers.


Now I will say that cutting the layers is a little more fiddly than with the previous Flip-Its. I used a tape similar to Washi to hold my pieces together when cutting and that worked well. But I recommend you take the extra few seconds to do that step and you will be happy with your results.


Into my card stash with this one!

Supplies:
Card, Drop-ins Flip-its Base - Stephanie Barnard (The Stamps of Life)
Kraft & white card stock
Patterned paper and Cut-Aparts - Pebbles
Stickles
Sequins
Fun foam

Thanks for stopping by today

Thursday, 1 March 2018

'Whale of a Time' Twist Panel Pop-Up Birthday Card

Good morning friends

I purchased a mermaid themed paper pack and have been having lots of fun using it. It came with a sheet of large stickers, and I couldn't wait to try them with with Karen Burniston's Twist Panel Pop-Up die set.

I used both a sticker (whale) and a piece of the patterned paper on my card front:


Here is the inside:


Because you always get to choose the card size with Karen Burniston's Pop-Up dies, I chose to make this card a top-fold  5 x 5-1/2". I think if I'd had to make this into an A2 sized card, the pretty patterned paper wouldn't have worked as well - it needed more room.


While these are stickers, I still used adhesive to adhere them to the panels. Then I added some pretty glitter glue highlights.


The little crab from the Sea Animals die set is so cute, and easy peasy too. I added wiggly eyes and painted him with some diluted Distress Oxide inks. The stitched scalloped border is from the Tropical Scene set - another die that is going to get a ton of use.


Yes. Those are sequins. Sigh. I swore years ago I was NOT getting on the sequin bandwagon. Then I got a package in the March 2017 Easter Card Kit from Simon Says - a lovely package of sunny yellow sequins. Which I planned on using for shaker cards. And once I used them for shakers, I decided I had to have some more colours. And since I have the sequins now, I tried adding a couple to a card front. And I really liked them. So here we are ... expect to see sequins all the time now. I'm finally on trend! LOL.

Supplies:
1009 Twist Panel Pop-Up - Karen Burniston
Patterned paper and stickers - Mermaids Tale (Reminisce)
1038 Tropical Scene - Karen Burniston
Light Blue Soft Finish Card Stock - Elizabeth Craft Designs
Dashing Rectangle dies - Elizabeth Craft Designs
Fun foam
Seas the day stamp - Stampendous
White and teal card stocks
1037 Sea Animals - Karen Burniston
Sequins
Wiggly eyes
Distress Oxide Inks
Water brush
Stickles
Xyron
1030 Happy Birthday die - Karen Burniston

Card size 5 x 5-1/2", which fits in a 5 x 7" envelope.

Thanks for stopping by today