Monday, 19 July 2021

Slimline Sympathy Card


Hello! Today I'm sharing a Slimline Sympathy card I made to have on hand. I used some pretty alcohol ink print paper and added some gold leafing. The lovely florals have gold foil on them as well - they are actually from Washi Tape by Pinkfresh Studio. After applying the Washi Tape to white card stock, I used the coordinating die to cut them and I love how they turned out! It's hard to see the elegant gold foiling/leaf in photographs.

My right arm is still giving me grief - the inflammation will take many weeks to calm down - so having images that I don't have to colour is the way to go for me these days.

I also used my new Slimline Rounded Rectangle Nested Dies from Scrapbook.com. The sentiment and stitched label are both by Stampin' Up.


Here is a peek at the inside ...


One more look ...


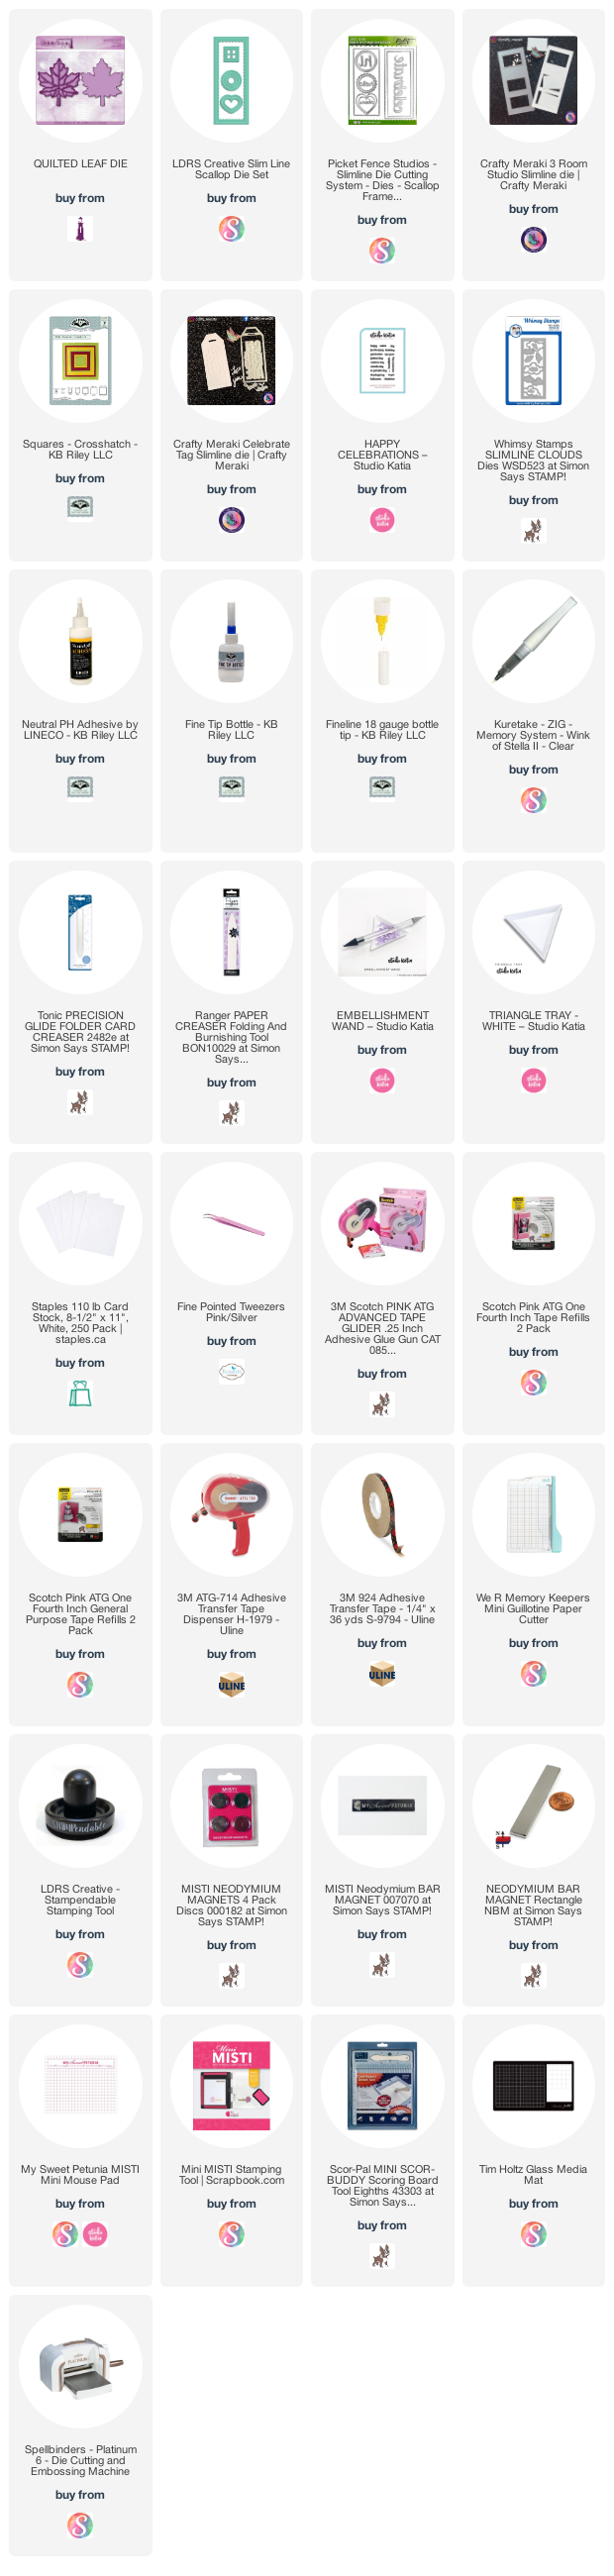
For your convenience I have linked many of the products I used below. Some may be affiliate links which means if you use these links to purchase I may earn a small commission but there is NO extra cost to you.

Additional Supplies:
Tasteful Label Dies - Stampin' Up
Kindness & Compassion - Stampin' Up 
Clear Resin Hearts - Stampin' Up (retired)
Thinking of You - Happy Thoughts (Stampin' Up)
Corner Rounder

Thanks for stopping by

Sunday, 18 July 2021

June Paper Pumpkin Alternate - Sympathy Card


Hello! Today I'm sharing another Paper Pumpkin Alternate using the June kit - this is a sympathy card created as I wanted something extra special for the family I was sending it to.

The circle that I used on a previous Pop Up Paper Pumpkin Alternate card was cut from the centre of this printed card base from the kit. That way I could still use this card base by cutting the back from the front and layering them together for my card today.  Even though that first card used two of the pretty card bases, you can see I still got a second card from those same two bases. You can see the other card HERE.  

I backed the circle opening with acetate as I like the subtle shine it gave the card, then layered the Paper Pumpkin sprigs over that.


Finally, here is a peek at the inside. The stamps I used are long retired, but I will have everything that is available linked below.


For your convenience I have linked many of the products I used below. Some may be affiliate links which means if you use these links to purchase I may earn a small commission but there is NO extra cost to you.
Additional Supplies:
Card with circle leftover from first Paper Pumpkin Alternate
June Paper Pumpkin Kit - Expressions in Color
Lavender card stock
Gold foil card stock - Stampin' Up
Sympathy stamps - Hero Arts
Heavyweight white card stock

Thanks for stopping by

Saturday, 17 July 2021

Canada Day Mini Slimline Card


Hello!  This Mini Slimline card is one I sent to a friend for Canada Day. I couldn't share it before July 1st as I wanted to be sure it was received and - then I just had other cards to share. 😊

The triple window (everything that is available is linked below) was embossed with a lovely woodgrain plank embossing folder and popped up with foam tape. I used the Maple Leaf from Karen Burniston's Autumn Elements and went over the veining with a Wink of Stella pen.

The Happy Canada Day was created with a label maker and I added some red gems from my stash,


Inside, I just had to add this pair of moose along with the stamped Celebrate.


For your convenience I have linked many of the products I enjoy using below. Some may be affiliate links which means if you use these links to purchase I may earn a small commission but there is NO extra cost to you.

Additional Supplies:
Bling Stash
Moose - Marianne Designs
Pinewood Planks, Dynamic Embossing Folder - Stampin' Up
Red card stock
Celebrate - May 2015 Paper Pumpkin, Stampin' Up

Thanks for stopping by today

Friday, 16 July 2021

'Rainbow Is My Favorite Color' Card Kit Card Duo


Hello!
  It's Fun Fold Friday here on my blog and today I'm sharing two more cards made with this fun kit from Simon Says Stamp - 'Rainbow Is My Favorite Color'. I had wanted to do a YouTube video, but my right arm is bothering me and I knew I wouldn't be able to edit the video. I will even be keeping my comments here to a minimum as typing isn't comfortable either. 😬 I will link everything that is still available below.

First up is an Impossible Card. I am VERY late to the whole Impossible Card trend. Like many years late. One popped up on my Pinterest feed and I was intrigued so checked it out. LOL - I think that post was from 2018.  You can make them in a variety of sizes, but I went with A2 for this one. If you want to create one, a simple search on YouTube or Pinterest will yield many different tutorials. 

It's quite a different card, with openings in front and behind the pop up piece. I had to figure out the layering pieces, and if you follow me you know I much prefer dies for this. But I really wanted to try one and how I have. 


Here is the card from the front ...


Here is the back, with the cloud shaped signing block ...


... and it all folds completely flat to fit in a standard A2 envelope!


My second card is a Mini Slimline using many items from the kit as well as the rest of my craft room.


Loving the scripty 'hello' that Karen Burniston included in her Waterfall Card Die set. 


Here is a peek at the inside of the Mini Slimline card, with a stencilled cloud background.


For your convenience I have linked many of the products I used below. Some may be affiliate links which means if you use these links to purchase I may earn a small commission but there is NO extra cost to you.
Additional Supplies:
Happy Thoughts - Stampin' Up
Shimmer spray

Thanks for stopping by today

Thursday, 15 July 2021

June Paper Pumpkin Alternate - Mini Slimline


Hello!  Today I'm sharing another Paper Pumpkin Alternate card using the June Paper Pumpkin Kit, as well as both new and older items from my craft room. The patterned panel on the card front was leftover from one of the other cards I made from the kit - you can always check out the Paper Pumpkin label on the right side if my blog to see all of my Paper Pumpkin cards. I have a walkthrough of this one on YouTube as well: 


The floral image on the front is an older die from Elizabeth Craft Designs. I checked, but it is no longer available. I do have everything that IS available linked below.


Inside, I used Karen Burniston's Katherine Label Pop Up and Crosshatch Circles for the Pop Up inside. I loved how this turned out and will be doing this combination again.


Since I'm unable to link the 'alcohol inked' look patterned paper, I am linking a similar one that I also own and love.


Remember Karen Burniston has assembly videos for her pop up dies!  Once you know how to assemble your die, the rest is card size, paper and colour choice as well as embellishments! You can change the look of your card every time you use the dies. :-)  I always enjoy showing you different looks and ways you can use your dies once you know how to assemble them.


For your convenience I have linked many of the products I enjoy using below. Some may be affiliate links which means if you use these links to purchase I may earn a small commission but there is NO extra cost to you.

Additional Supplies:
June Paper Pumpkin - Expressions in Colour, Stampin' Up
Rose card stock
Flower Cluster die - Elizabeth Craft Designs
Patterned Paper inside - Gilded Ink, Recollections

Thanks for stopping by

Wednesday, 14 July 2021

Four Panel Fold Floral Birthday Card

Hello! This is the ninth card I've created using the April Blessings Box at Divinity Designs, and I have linked everything  below. The card base uses the 4 Panel Fold Card with Layers, which is a Divinity Designs die set I purchased a couple of months ago. I love how versatile it is and if you follow me you know how much I like card dies that include the layering pieces!


The papers in the Floral Favourites Paper Pad are just SO pretty, and I also added the Happy Birthday and Layers to the second panel. It's hard to see in the photos but I added orange gems from Studio Katia and they have lots of shine in real life. The flowers are from the Paper/Die Duo Set 3 (April Blessings Box) and the stamped sentiments are from both the Magnolia and the Sweet Friend stamp sets - also included in the Blessings Box.

Below is what the card looks like when it is fully open and the white label on the final panel is where we can sign our name when I go to send the card.


For your convenience I have linked many of the products I enjoy using below. Some may be affiliate links which means if you use these links to purchase I may earn a small commission but there is NO extra cost to you.
 
Additional Supplies:
Coral Card stock

Thanks for stopping by

Tuesday, 13 July 2021

Canada Day Slimline Card Duo


Hello!  I know Canada Day is over, but I still have some cards to share. These two are Slimline cards and I used the Quilted Leaf die by Divinity Designs. This is exactly what I had in mind when I bought the die but of course if I chose different colours it would work beautifully for a fall card as well. 

I added it over the Slimline Clouds die from Whimsy Stamps, which I think is going to get lots of use.


I sprayed my paper pieced Maple Leaf with shimmer spray 😊.


Inside I used words from the Celebrate Slim tag by Crafty Meraki!


My second card started off with another die by Crafty Meraki ... the 3 Room Studio die. I disguised the off centre opening with one of Karen Burniston's Crosshatch Squares then added another paper pieced Maple Leaf.


Yes, even more shimmer spray - I do love shimmer & shine!


Inside I cut the large Celebrate from the white panel making sure to save the fallaway pieces from the letters "e, b and a".  Then I added them back in when I adhered the white stitched panel to my card. I saved the actual die cut Celebrate for another card another day.


For your convenience I have linked many of the products I enjoy using below. Some may be affiliate links which means if you use these links to purchase I may earn a small commission but there is NO extra cost to you.


Additional Supplies:
Red and black card stock - stash
Shimmer spray
Small maple leaf - Seasonal Layers, Stampin' Up (retired)

Thanks for stopping by

Monday, 12 July 2021

Ice Cream Pop Up Slimline


Hello!  Every year I send Ice Cream cards to my kids in honour of my Mom. When she was a little girl there was a parade in their small town each July and afterwards her dad (my Grandpa) would take her for an ice cream soda. She made sure to take my brother and I for ice cream on this day each July and I did the same with my kids and now my grandkids. When my Mom lived away from us for a few years, I started sending her Ice Cream themed cards since we couldn't be together for an ice cream sundae and now I make sure to send my kids and my brother an ice cream card in July.

I have a walkthrough of my card on YouTube here: 

The ice cream stamps/dies are ones I've had for many years. I really do try to invest in products that I can use a lot, and while I have been getting a few new goodies in my craft room lately - a lot of thought goes into the majority of my purchases.


Inside I used Karen Burniston's Mini Pops to create the pop up. I did extend the arms by about 1", and if I decide it's something I want to do again I will also do a tutorial for you.


Here is Karen Burniston's Mini Pops Assembly Video:


For your convenience I have linked many of the products I enjoy using below. Some may be affiliate links which means if you use these links to purchase I may earn a small commission but there is NO extra cost to you.

Regarding the shopping links below, it looks like the Stamps of Life are clearing out the ice cream sets, so I'm not sure how long the links will work. Since I can't link the patterned paper I used, I am linking a different one (that I also own and love) that has a similar look.

Additional Supplies:
Patterned paper - Gilded Ink - Recollections
Seam binding
Shimmer spray
Grey topic
Gold foil card stock - Stampin' Up

Thanks for stopping by

Sunday, 11 July 2021

TWENTY SIX Birthday Cards to Donate

Hello!  Today I'm sharing a big batch of Birthday Cards that I made using the March 2020 Sheetload Of Cards by Alicia of Call me Crafty Al. I have her video linked below if you are curious. 

This patterned paper had been in my stash for YEARS. I pulled it out then went stash diving through my embellishment bin to pick out stickers etc that would work with the colours in the papers. Then I started cutting. I ended up getting TWENTY SIX Birthday cards to donate to my Mom's old nursing home! The first photo above shows the first group of cards.


Here are the next two groups ...

I did use wet glue to adhere the stickers, since they were so old I didn't trust the adhesive on them to hold up. All of the white diagonal matting layers were leftover from various other projects and I loved using them up!


 While I used a bunch of older items from my stash, I will link below anything that is still available. For your convenience I have linked many of the products I enjoy using below. Some may be affiliate links which means if you use these links to purchase I may earn a small commission but there is NO extra cost to you.
Additional Supplies:
March 2020 Sheetload of Cards - Call Me Crafty Al   
Various card stocks (stash)
Patterned paper - Where The Heart Is, My Minds Eye
All embellishments & stickers - old, from my stash
Banners Pick A Punch - Stampin' Up
Resin Hearts - Stampin' Up
Perennial Birthday (Celebrating You) - Stampin' Up
Fun foam
Picture Perfect Birthday (Happiest of Birthday's, Celebrate the Good Stuff) - Stampin' Up
Bling - Faceted Dots, Stampin' Up
Inside & Out Birthday II (small Happy Birthday) - Papertrey Ink
Life Should Be Celebrated - Papertray Ink
In and Out Birthday (Oh Happy Day) - Taylored Expressions

Thanks for stopping by today

Saturday, 10 July 2021

Peony Z Fold Paper Pumpkin Alternate


Hello!  There is just something fresh about yellow and pink together, don't you think? While I loved the bright yellow card base from the June paper Pumpkin kit ... and the lovely printed vellum panel ... I couldn't see doing them as the instructions showed. As with the rest of this kit, I just did my own thing, creating a Z-fold card from one of the yellow bases.

The peony ephemera was in my stash from somewhere, so I fussy cut it then sprayed it with shimmer spray. Alcohol Ink prints are very trendy right now, and I made this one on vellum using alcohol markers and a paintbrush with 99% rubbing alcohol. Adhering it down to white card stock really made the colours pop! I added a leafy sprig die cut from gold card stock as well. 

I also embossed the left side of the card with a textured embossing folder.


I added the printed vellum inside the card, as well as a stamped sentiment that is hidden when the card is coming out of the envelope. That is also where we will sign our names when we send off the card.


One more look ...


For your convenience I have linked many of the products used below. Some may be affiliate links which means if you use these links to purchase I may earn a small commission at NO extra cost to you.

Additional Supplies:
June Paper Pumpkin - Expressions in Color, Stampin' Up
Ohuhu alcohol markers
99% rubbing alcohol
Tasteful Textile Embossing folder - Stampin' Up
Pink card stock - stash
Peony Ephemra - stash
Gold foil card stock - Stampin' Up
Shimmer Spray

Thanks for stopping by