Friday, 11 March 2022

Hello Friend, Mini Slimline Card


Hello my crafty friends and welcome to and non Fold Friday here on my blog. Today I'm sharing the Mini Slimline card I sent to a friend for Happy Mail and all the details are in my YouTube video:  


I used 'That Paper', which this particular friend sent to me as a Random Act of Kindness. It's available at Hobby Lobby and of course we don't have HL in Canada. I absolutely love this paper and make sure to USE it and not HOARD it as I would normally do with paper I love but can't replace when it's gone.  NOTE:  It's referred to as "That Paper', as a talented paper crafter Bette Manning uses it a lot and shares her beautiful creations on the Facebook group Stamp Junkies. She started a full on craze using 'That Paper', which is how I became aware of it in the first place. 
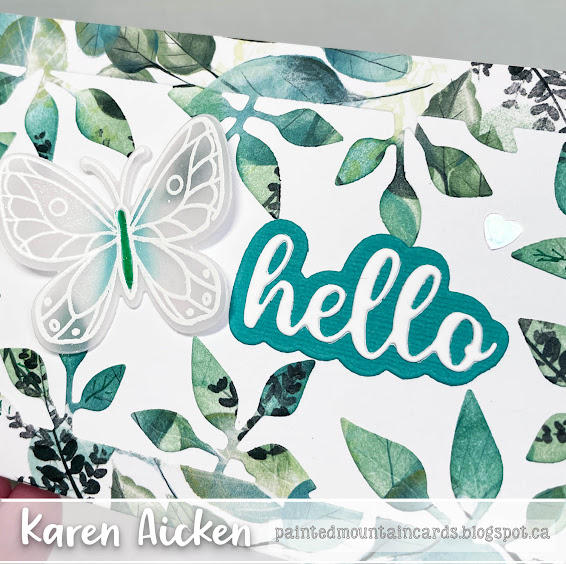

I die cut the Mini Slimline Foliage Frame (linked below) from 'That Paper', and adhered it to a white card base. The butterfly was stamped and heat embossed with white embossing powder onto vellum. I added colour in the centre area with water based markers spreading the colour with a water brush then Wink of Stella for lots of shimmer.

Inside I created a simple box pop up to add the stamped oval and more butterflies to. Not one to waste pretty paper, I added a leftover piece to the top edge.  Note:  HERE is a link to my tutorial on creating a simple box pop up - once you get the hang of it (it's so easy - I promise!) you can vary the measurements of the platform to work with the card size you are creating.

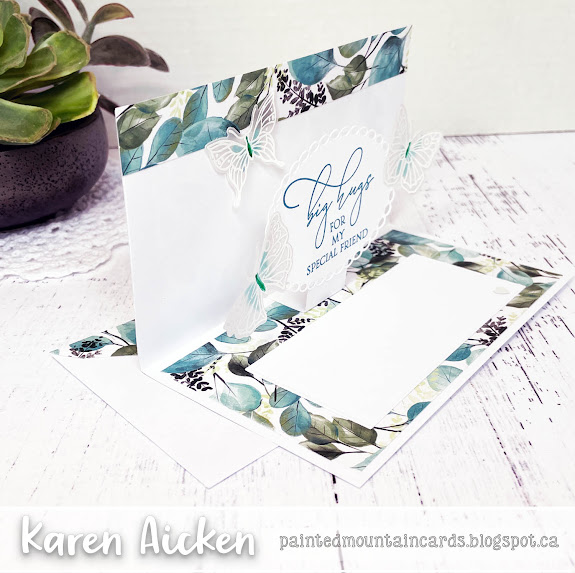
I wrote my note on the white panel which has a lovely embossed edge, and added more of the patterned paper to the envelope.


This blog uses affiliate links whenever possible. This means, that at no cost to you, if you make a purchase through one of my affiliate links that I may receive a small commission from your purchase. I only link products that I own, love and use for my card making!

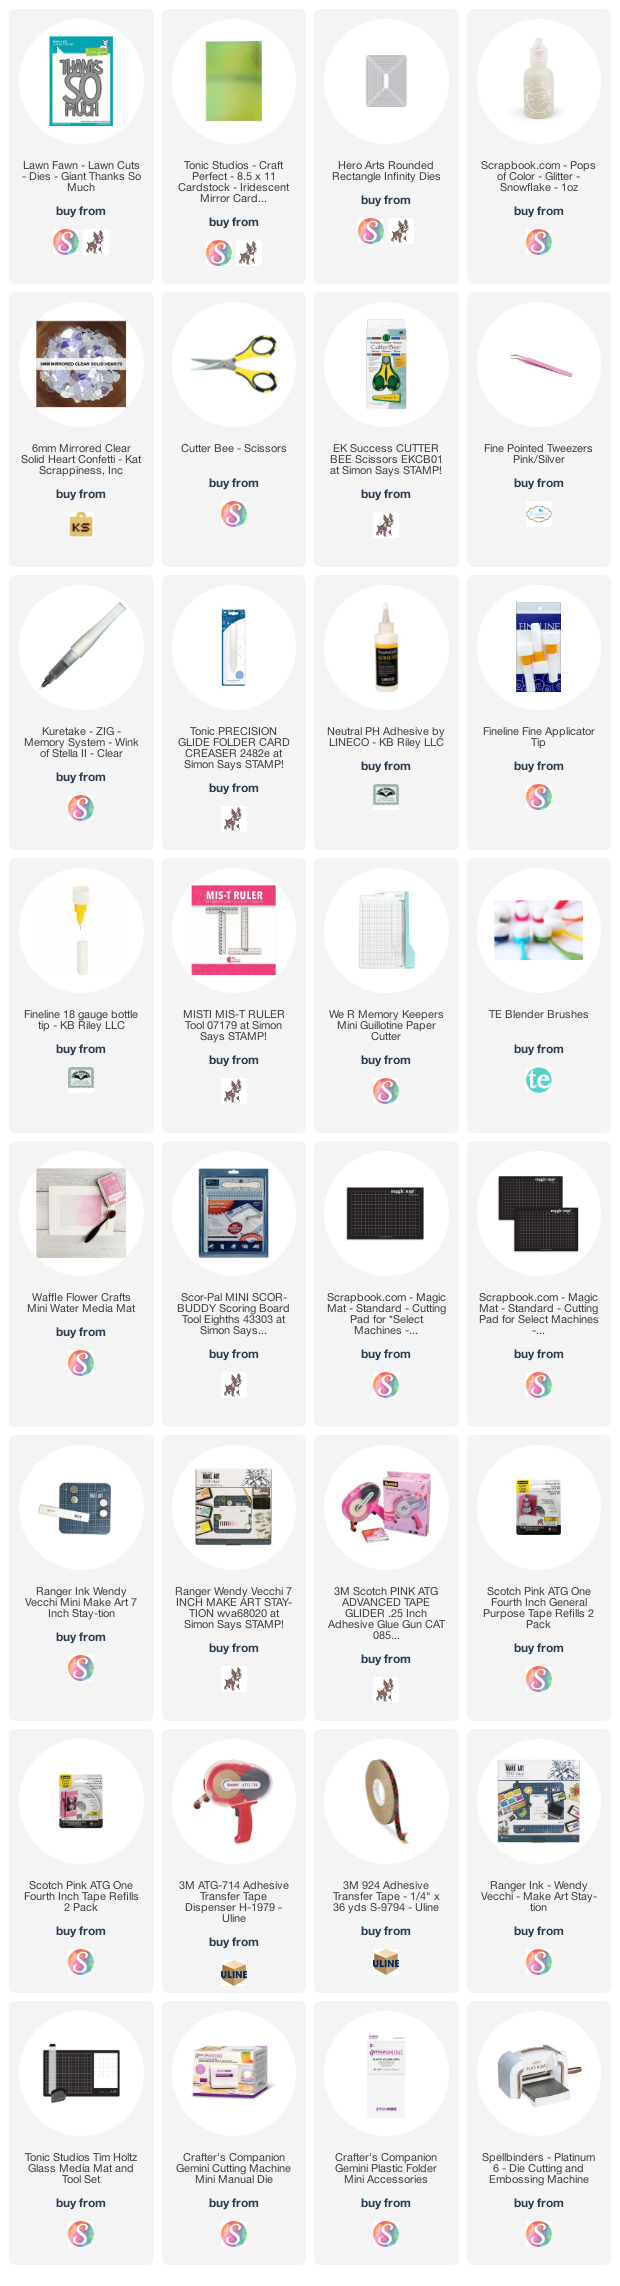
Any supplies I'm unable to link are listed at the very bottom of my post.



Additional Supplies:
Teal fine point marker
Teal card stock scrap
White card stock - Accent Opaque Digital Super Smooth (Amazon .ca)
Patterned paper - Eucalyptus, Hobby Lobby

Thursday, 10 March 2022

Leprechaun Pop Up Card


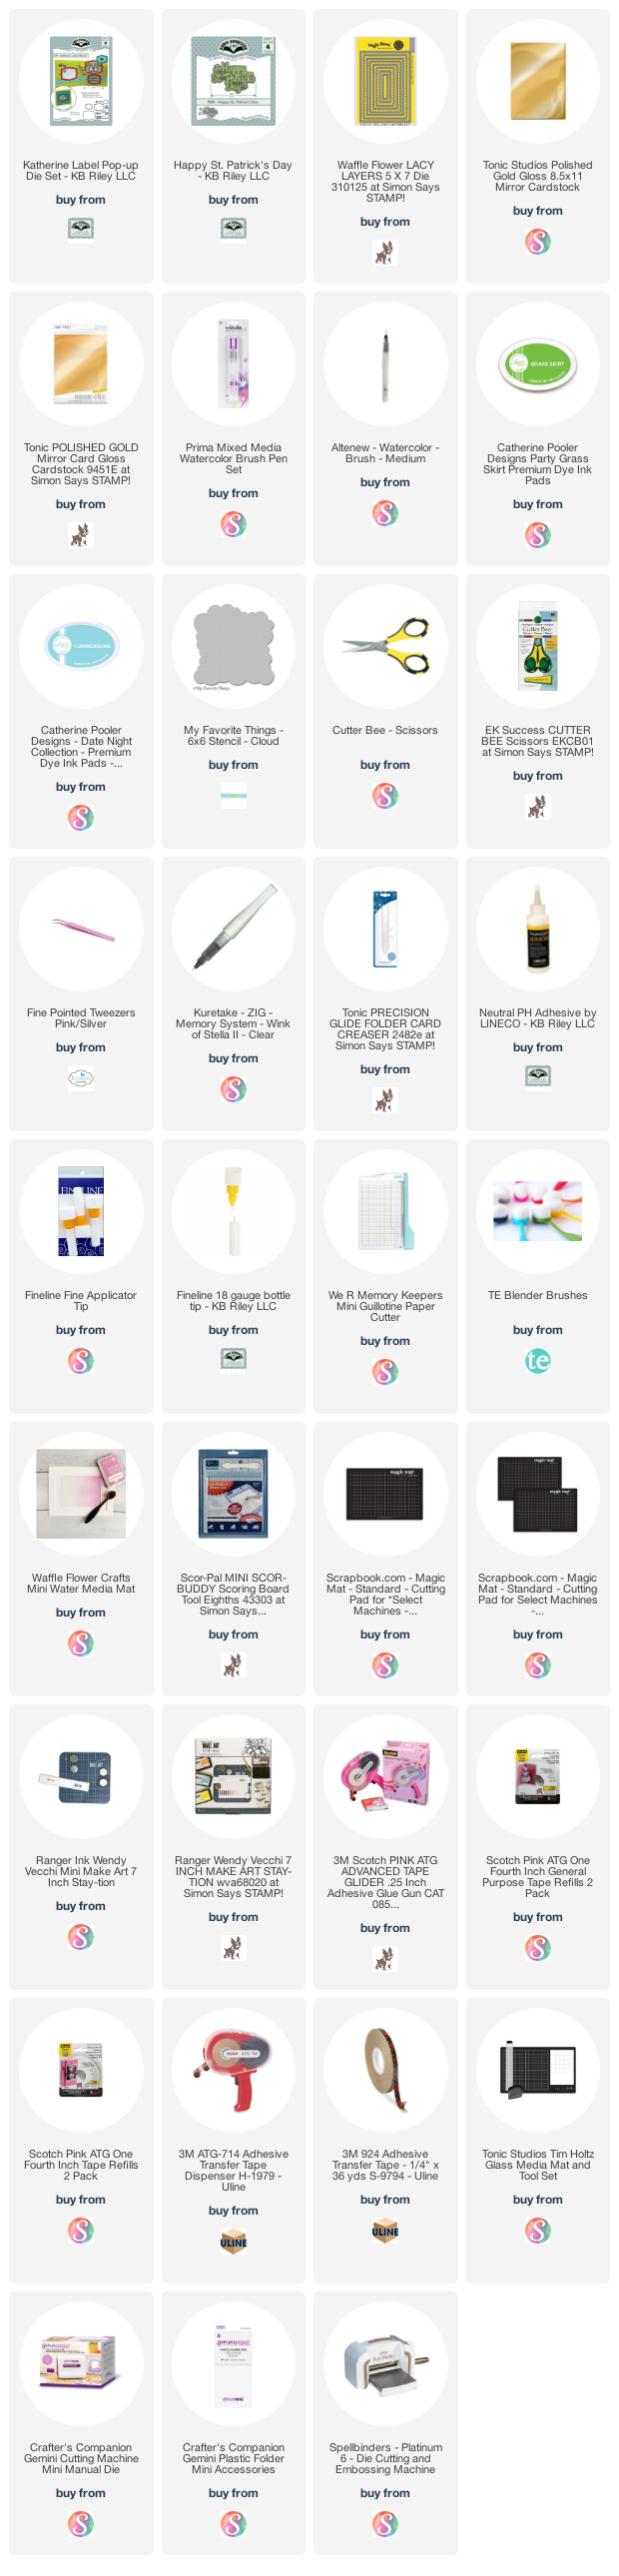
Hello my crafty friends.  Several years ago, I saw these St. Patrick's Day stickers at a dollar store and thought they would be cute on cards. Into the stash they went. And there they stayed. This year, I pulled them out again and decided to USE them. I didn't manage to use all of them, but I did make a good dent into the two packages I had purchased. This large Leprechaun was in one of the packages, so did some ink blending on a stitched scalloped panel and added that to a 5 x 7" card base. The (foiled and puffy) stickers were adhered with glue, since they are so old I didn't have any faith in the remaining adhesive. 


Inside, I used the Katherine Label Pop Up by Karen Burniston to animate the Happy St. Patrick's Day & shadow (also KB), then added a few more stickers from the other package.


I added the additional shamrocks to the sentiment, cutting them from gold mirror card stock, and also used blending brushes to give the words an ombre look.


While I had everything out anyhow, I went ahead and made a couple of Mini Slimlines to send to the Grandkids, but I likely won't get them posted on my blog before St. Patricks Day. So ... I'll be saving them for next year. I used up most of the stickers at least! 😊

This blog uses affiliate links whenever possible. This means, that at no cost to you, if you make a purchase through one of my affiliate links that I may receive a small commission from your purchase. I only link products that I own, love and use for my card making!

Any supplies I'm unable to link are listed at the very bottom of my post.


Additional Supplies:
Stickers - Old, from my stash
White card stock - Accent Opaque Digital Super Smooth (Amazon .ca)

Wednesday, 9 March 2022

Floral Slimline Birthday Card


Hello my crafty friends!  I have to say, I really enjoyed making this card. I popped it in the mail right away, as it was a Birthday card for a friend ... but I would have loved to have had it on my table for awhile so I could enjoy it too. 😊


Most of the products I used are from Pinkfresh Studio ... the large floral spray was one of the first PFS items I had purchased, back in 2020. I was very intrigued, and purchased the stamp set, coordinating die AND the layering stencils. The first time I used them I was blown away - such a brilliant concept with the layering stencils for easy peasy colouring. I also like the loose, whimsical style of this set so no need to 'stay inside the lines' or use 'proper' botanical colours. ❤️❤️❤️


I'm still playing with that retired paper package from Carta Bella (Flower Market) and I added one of the cutaparts inside as a place to stamp the sentiment. The butterflies are also from Pinkfresh - again, stamp, die and layering stencils. There is also a hot foil plate for the butterflies but I'm not going there. Ha. 

This blog uses affiliate links whenever possible. This means, that at no cost to you, if you make a purchase through one of my affiliate links that I may receive a small commission from your purchase. I only link products that I own, love and use for my card making!

Any supplies I'm unable to link are listed at the very bottom of my post.


Additional Supplies:
Patterned paper, stickers and cut aparts - Flower Market, Carta Belle
White card stock - Accent Opaque Digital Super Smooth (Amazon .ca)

Tuesday, 8 March 2022

Pop Up St. Patrick's Day Card


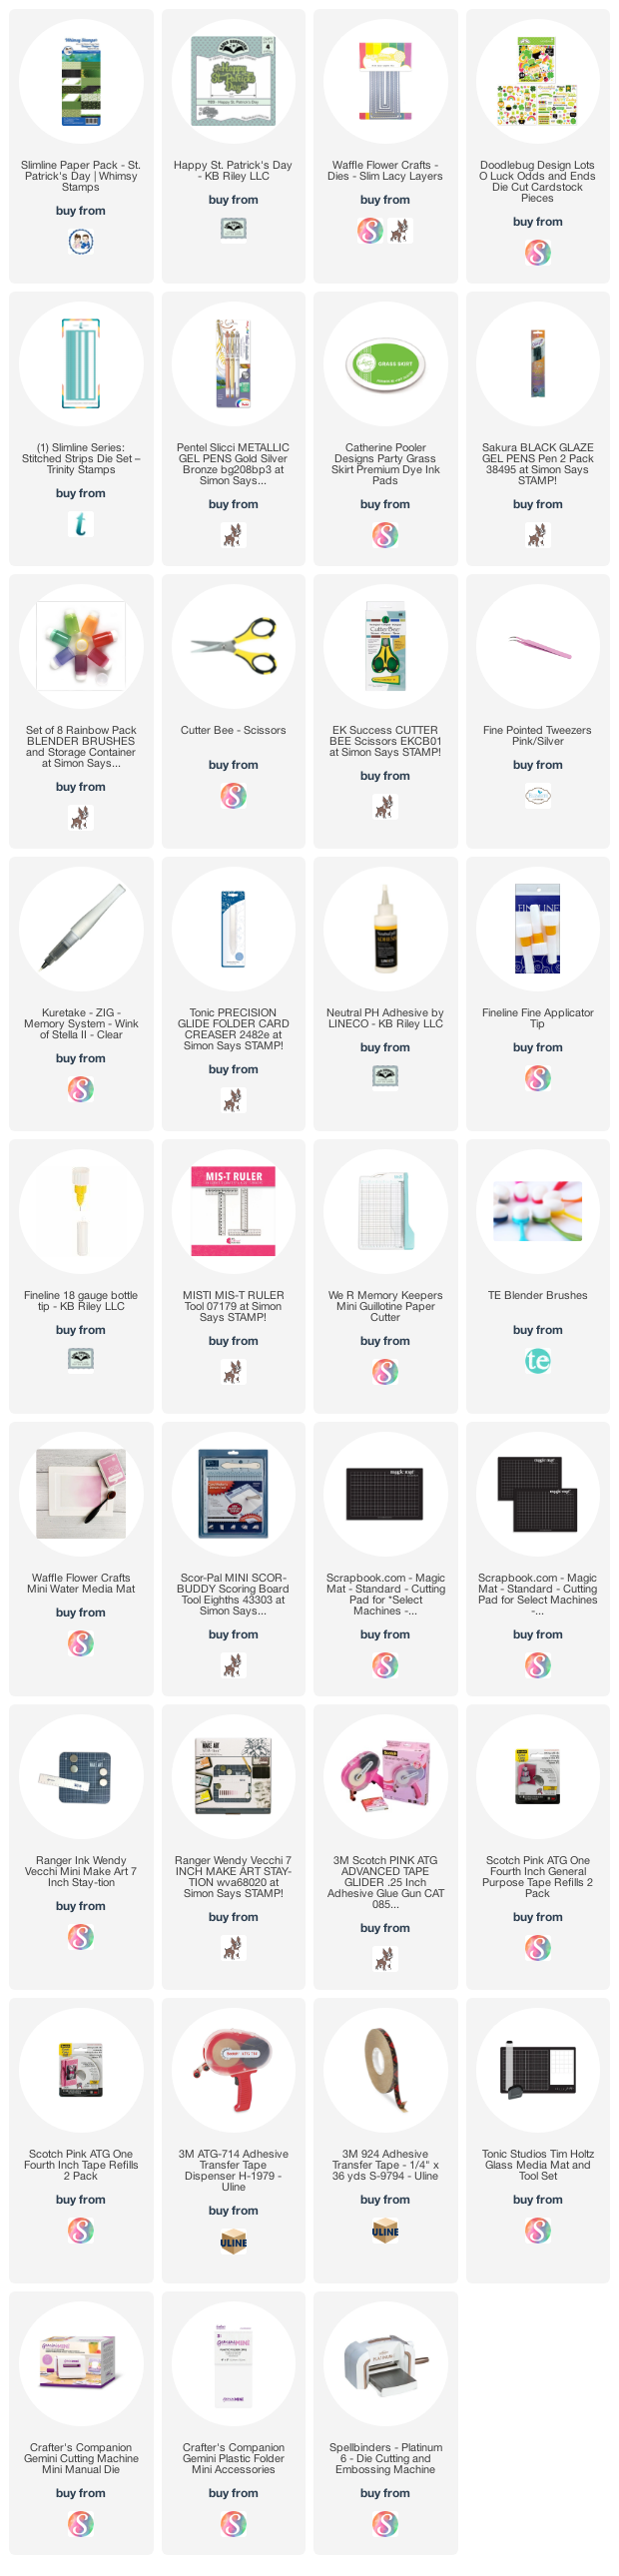
Hello my crafty friends.  Today I'm sharing a Pop Up card for St. Patrick's Day that is also a Slimline card.  The front features Karen Burniston's new Happy St. Patrick's Day die (with shadow!) and a sweet image from Doodlebug Designs.


Inside, I created a simple box pop up to animate a few more of the elements from the same package. 

HERE is a link to my tutorial on creating a simple box pop up - once you get the hang of it (it's so easy - I promise!) you can vary the measurements of the platform to work with the card size you are creating.


I liked the gold foil on some of the elements, so also added some gold circle peel-offs!.


This blog uses affiliate links whenever possible. This means, that at no cost to you, if you make a purchase through one of my affiliate links that I may receive a small commission from your purchase. I only link products that I own, love and use for my card making!

Any supplies I'm unable to link are listed at the very bottom of my post.


Additional Supplies:
Green card stock - stash
Gold circle stickers - Dazzles

Monday, 7 March 2022

Tractor & Woods Slimline Birthday Card


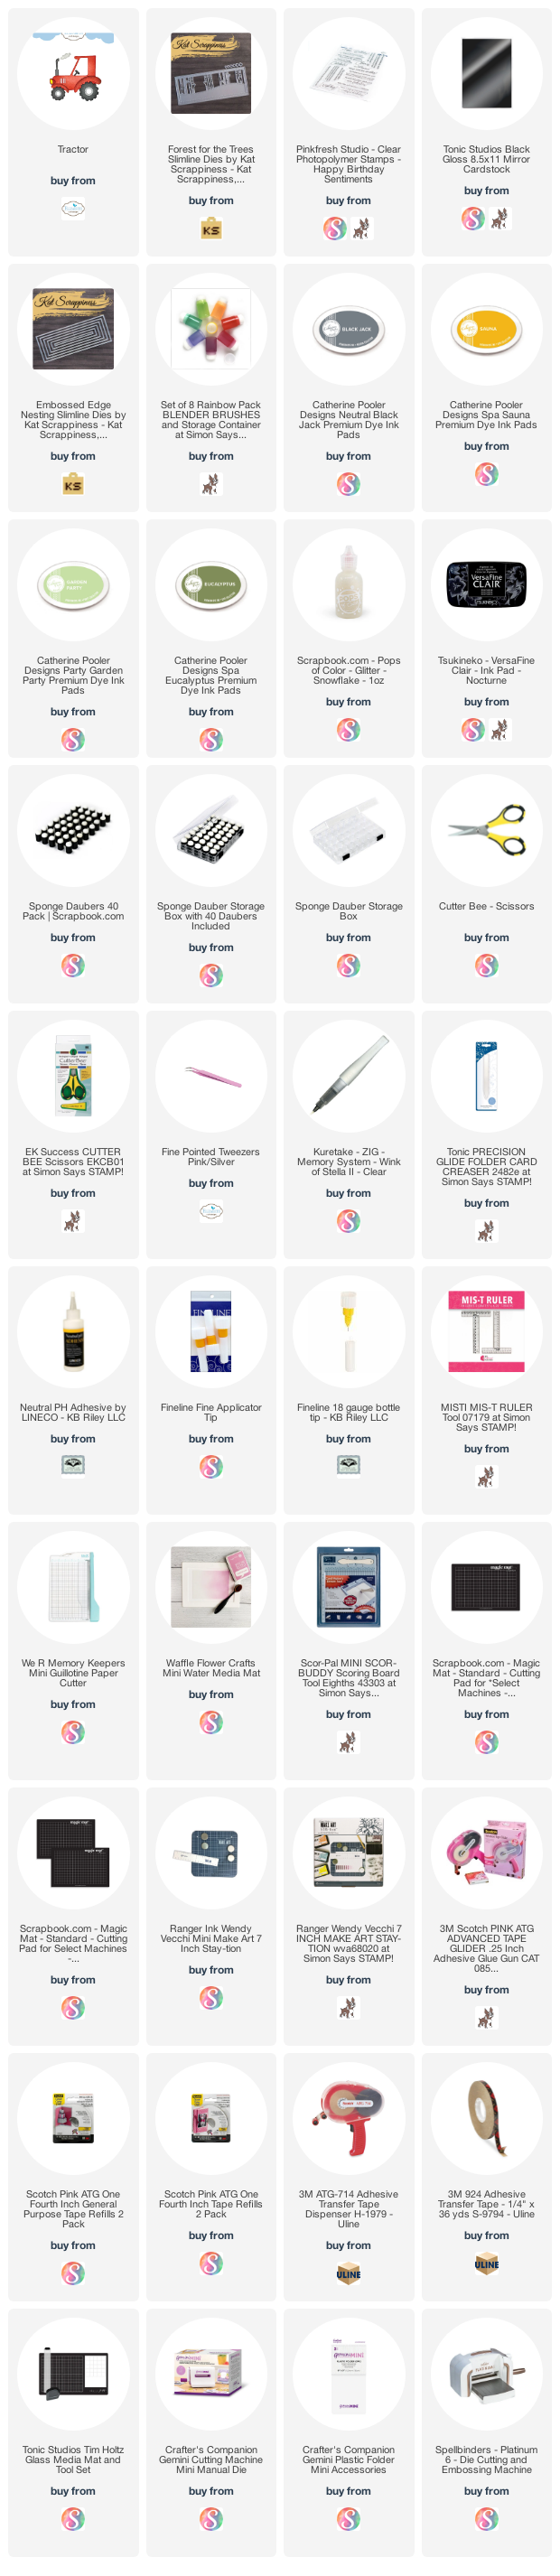
Hello my crafty friends and welcome to Masculine Card Monday here on my blog. Today I'm sharing the Slimline card I sent to our niece's hubby for his Birthday. His family has a farm, so I thought the tractor die from Elizabeth Craft Designs would be perfect. He is also an avid outdoorsman ... thus the forest background die.

I pretty much used scraps for the tractor, including the black mirror card stock. That stuff can be hard to find so I save all but the tiniest of pieces.


Here is a peek at the inside ...


This blog uses affiliate links whenever possible. This means, that at no cost to you, if you make a purchase through one of my affiliate links that I may receive a small commission from your purchase. I only link products that I own, love and use for my card making!

Any supplies I'm unable to link are listed at the very bottom of my post.


Additional Supplies:
Scraps of Silver ardstock - stash
Pool Party cardstock - Stampin' Up
Dot stamp - Stamps by Judith
White card stock - Accent Opaque Digital Super Smooth (Amazon .ca)

Sunday, 6 March 2022

Sweet Birthday Shutter Card


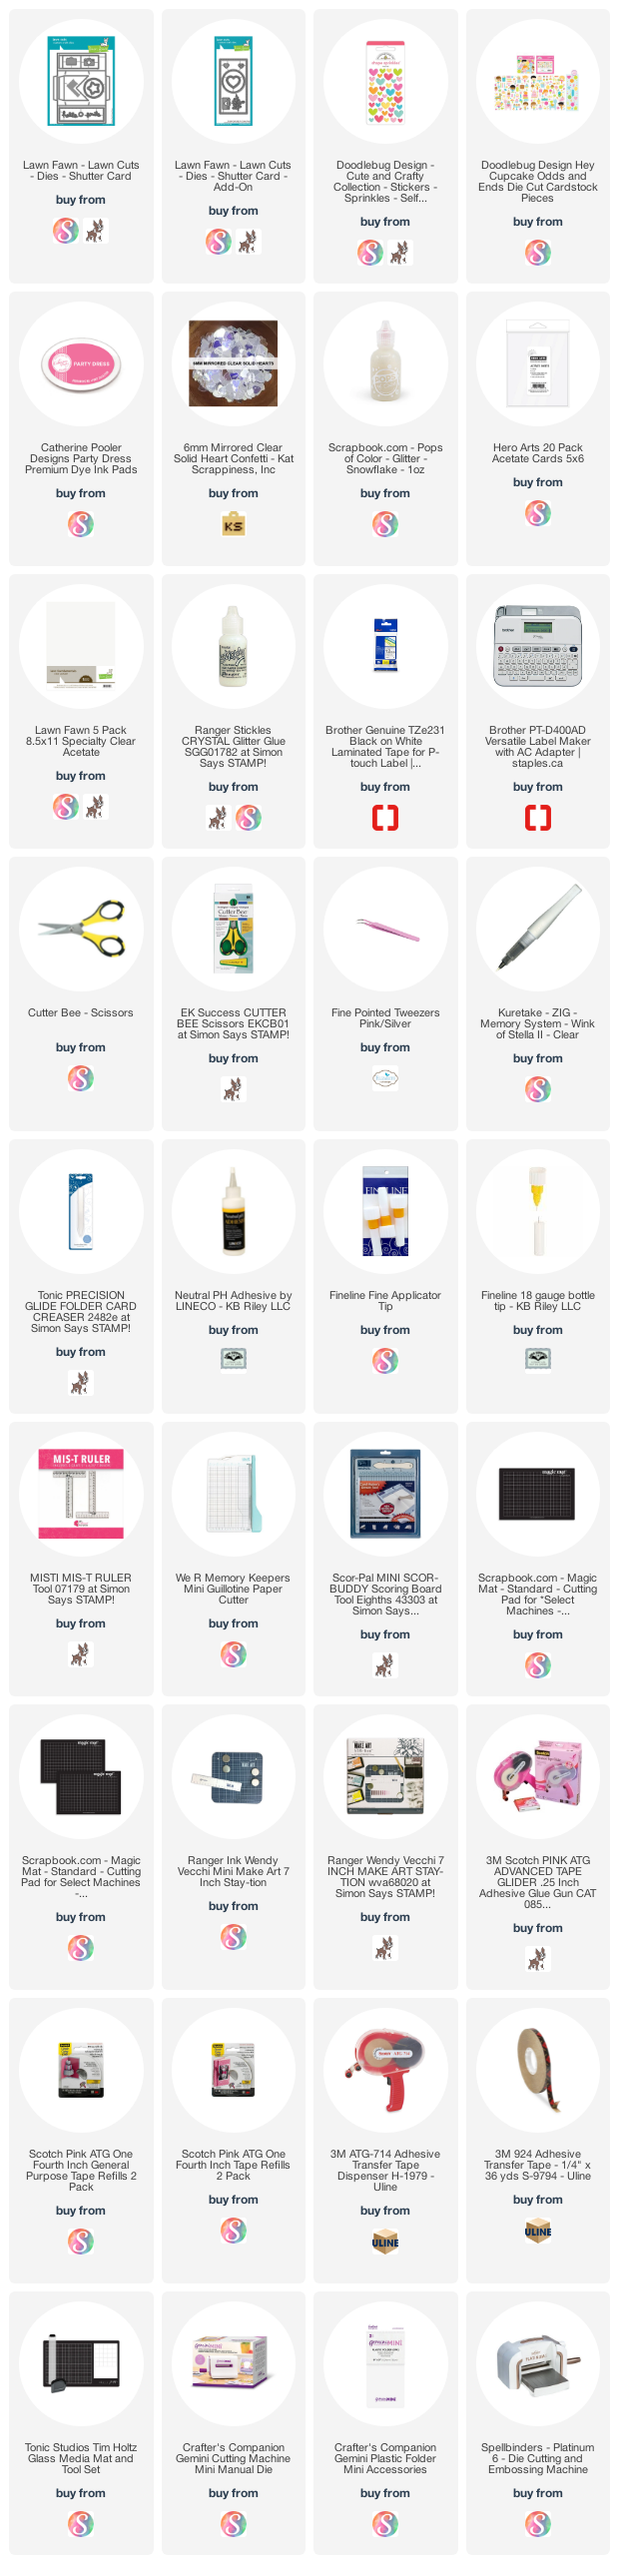
Hello my crafty friends.  I'm back with ANOTHER shutter card made using the Lawn Fawn Shutter Card die set. I am having so much fun with it - as soon as I finish one card I want to make another. 😊 I have a walkthrough of my card on YouTube, including a tip on how I deal with card stock that cracks when folding. 


This card went to our Nephew's little one, who was celebrating a birthday last month. 


I added a sentiment block on the reverse side, and that is where we signed our names as well. The stamp set I used on the back is retired, and I thought MFT might have come out with a similar one but I was mistaken.


This blog uses affiliate links whenever possible. This means, that at no cost to you, if you make a purchase through one of my affiliate links that I may receive a small commission from your purchase. I only link products that I own, love and use for my card making!

Any supplies I'm unable to link are listed at the very bottom of my post.


Additional Supplies:
Patterned paper - The Little Miss, DCWV (old, from my stash)
Handwritten Happiness - MFT Stamps (retired) 
Dimensional Sticker - old, from my stash
White card stock - Accent Opaque Digital Super Smooth (Amazon .ca)

Friday, 4 March 2022

Scrap'N Stamp Birthday Bash Inspiration Hop

Hello my crafty friends! I'm excited to say that I am joining the Scrap'N Stamp Whimsy Inspiration Hop this month and the theme is Birthday Inspiration. Scrap'N Stamp is celebrating 14 years and they are celebrating with a Weekend Sale: Save 14% on select birthday items (Offer valid 03/04/2022 - 03/07/2022). 

I made two cards for the hop and have all the details in my YouTube video:   

This first card is a great layout to make multiples of AND use up scraps of patterned paper. I combined both the Birthday Cupcakes and the Birthday Banner sets for this 'Clean and Simple" card. There is a surprise though - the cupcake is actually peeking through a circle opening! 


The cupcake was adhered inside the card, and I stamped a greeting that is hidden until you open the card.

After colouring with Zig Clean Color Markers, I went over the top of the cupcake with glossy accents and set it aside to dry overnight.

Cutting an aperture in the front of your card is an easy way to elevate a simple card.


For my second card, I used the Birthday Wishing stamp set from Colorado Stamp Company.

This one is a Z Fold card that is also a Trifold and it also has a surprise inside ...


... it's a Gift Card Holder!

I used the Diagonal Gift Card pocket die set for the pocket, taking advantage of the layering piece to stamp another one of those adorable critters. The banners are from Hampton Art's Birthday Banners - they make great sentiment and signing blocks too.


There is also a sale


All the fun starts on the Scrap'N Stamp Blog:

Thursday, 3 March 2022

Thank You Gift Card Holder


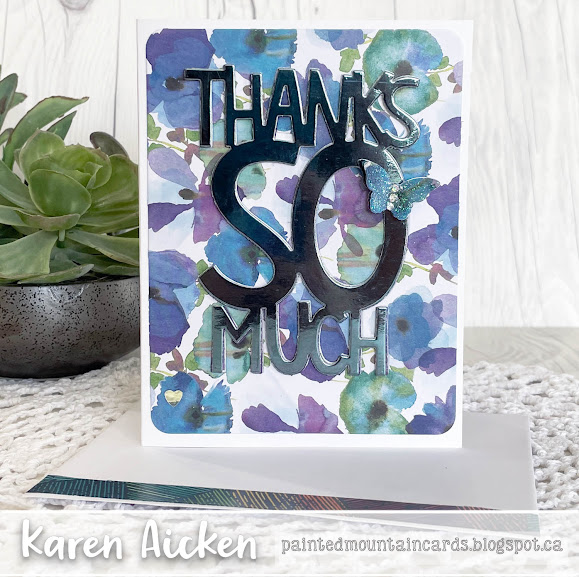
Hello my crafty friends.  Today I'm sharing the Gift Card holder I made for a friend who had been a lot of help to us. I intended to do the Elipse technique with the large Thanks So Much die and this patterned paper but it was very ineffective when I had it all done. So I cut the Thanks So Much die one more time from mirror card stock and added that to the front,. This card was getting very heavy, but I knew I'd be hand delivering it so I wasn't overly concerned.

The layered butterfly is a retired punch from Stampin' Up and I added a coating of Pops of Color for shimmer and shine. 


Inside, I added a cardstock strip, and a folded card stock oval to hold the Gift Card, There were a couple more punched butterflies and room for our personal message.


This blog uses affiliate links whenever possible. This means, that at no cost to you, if you make a purchase through one of my affiliate links that I may receive a small commission from your purchase. I only link products that I own, love and use for my card making!

Any supplies I'm unable to link are listed at the very bottom of my post.


Additional Supplies:
A2 card and envy (boxed set) - Mermaid Dreams - The Paper Studio
Purple cardstock scraps - stash
Butterfly punch - Stampin' Up (retired)
Washi Tape - Erin Condren
Circle stickers - Dazzles 
White card stock - Accent Opaque Digital Super Smooth (Amazon .ca)

Wednesday, 2 March 2022

March 2022 Sheetload of Cards


Hello my crafty friends!  It's the second of the month and that means it's time for another Sheetload of Cards! Since I'm on the YouTube Collaboration Team, I have all the details in my video:  


I wanted to make something bright and cheery ... and none of my 6 x 6" pads were appealing to me. Instead, I cut into two different 12 x 12" sheets that were double sided. After cutting a couple according to the template & cutting guide, but I decided I LOVED the striped one for the side pieces so went with those instead of alternating pieces as you would normally do with a Sheetload.


I added a pair of die cut banners using an older die from my stash and fish tail banners on the remaining cards. The Party Hat was stamped in two colours of ink and die cut but I wanted a little more contrast so added black dashes & dots with a marker.


The card interiors were all done the same, adding a stamped panel to the inside of each along with a strip of Washi tape for colour.


This blog uses affiliate links whenever possible. This means, that at no cost to you, if you make a purchase through one of my affiliate links that I may receive a small commission from your purchase. I only link products that I own, love and use for my card making!

Any supplies I'm unable to link are listed at the very bottom of my post.


Additional Supplies:
Orange and turquoise card stocks - stash
Corner Banner - CC Designs
Fine point markers
Washi Tape - Erin Condren
White card stock - Accent Opaque Digital Super Smooth (Amazon .ca)
Patterned paper - Happy Hooray, Pebbles (retired)

Tuesday, 1 March 2022

Pop Up Mother's Day Shaker Card


Hello my crafty friends and welcome to Karen Burniston's March Designer Challenge. The challenge is to " incorporate a shaker element into a card of any theme.". I chose to crate a Pop Up Mother's Day card with a shaker along the bottom edge. I have a walkthrough on YouTube:  


As I explained in the video, this card was created in two pieces ... the card front was cut at 7 x 5.5" with a 1/2" scoreline along the top long edge. The back was cut 7 x 5" and my finished, folded card is 7 x 5" and fits in a standard A7 envelope.

Working on the front of the card, I cut in two pieces with the Long Nature Edges. I used one of the Long Rectangles Crosshatch to cut a long window from the smaller of the two pieces and that is what I created the shaker part on. The shaker was adhered directly to the bottom edge of the inside back panel, then I was able to adhere the remaining front piece to the back using that 1/2" flap. I also added the Happy Mother's Day with the included shadow, an expanding butterfly and heart - everything is linked below for you.


Inside I used the Street Lantern Pop Up for the little pop up platform which allowed me to add another heart as well as the Love You.


More butterflies were added to the scalloped heart with leftover strips of acetate from when I made the shaker. This allows the butterflies to expand when the card is open and displayed.❤️. That idea was inspired by teammate Sandy Diller!


The greenery is also from the Street Lantern Pop Up, cut from some of the aqua printed paper to decorate the edges of the shaker card and also the front bottom edge. Once again, I used one of the rectangles from the Slim Flaps and Frames to add a signing block and a place for our personal message.


One more look ...


I have the rest of the Design Team linked on the right side of my blog, and I hope you will check out what they came up with for the challenge. Karen Burniston will have her post tomorrow (Wednesday) on her BLOG.

This blog uses affiliate links whenever possible. This means, that at no cost to you, if you make a purchase through one of my affiliate links that I may receive a small commission from your purchase. I only link products that I own, love and use for my card making!

Any supplies I'm unable to link are listed at the very bottom of my post.


Additional Supplies:
Patterned paper - Flower Market, Carta Bella (retired)
Shaker filler - my stash