Friday, 15 July 2022

Hello Sunshine Magic Iris


Hello my crafty friends and welcome to Fun Fold Friday here on my blog. Today's card is another one made with the Magic Iris (and Add On) from Lawn Fawn. I really like this set!   Above is what the card would look like coming out of the envelope. I didn't do a walkthrough on YouTube, but I do have a quick clip to show you the card opening and closing. So fun!


After I was finished, I realized that I had neglected to use the angled tab/arrow die that came with the Magic Iris Add On, but instead used the one that came with the Magic Iris. That's why it doesn't fit perfectly in the thumbhole opening. Oops!  Next time I'll get it right.

I have had the Stitched Sun for over a year, and I was happy with how well it works with the Magic Iris die set. I'll get even more use out of that sun die set now.  After making my first Magic Iris Card (click HERE to see that one) I had one of the BaBee bee images leftover so I added it to this card. 

Below you can see the card with the shutters starting to open. The sentiment was gold foiled using my Glimmer Foil System.  


Finally, here is is fully open with the sentiment (also from Lawn Fawn) revealed. There are lots of gold gel pen detailing on the card as well, both inside and out.


Here is a peek at the inside ...


One more look ...


This blog uses affiliate links whenever possible. This means, that at no cost to you, if you make a purchase through one of my affiliate links that I may receive a small commission from your purchase. I only link products that I own, love and use for my card making and not every link below is an affiliate one! 😊

Any supplies I'm unable to link are listed at the very bottom of my post.



Additional Supplies:
Cloud patterned paper - Flea Market, Doodlebug (old, from my stash)
White card stock - Accent Opaque Digital Super Smooth (Amazon .ca)
Scrap of teal cs
Alcohol markers
Clouds - already cut, several years old - from my stash
Fishtail Banners - MFT Stamps (retired)

Wednesday, 13 July 2022

Stencilled Mini Slimline Birthday Card Trio


Hello my crafty friends.  Before I get to my card share today, I wanted to give you a heads up that I likely won't be posting as much. I've been posting cards nearly every day for years, and right now I just don't have the time. I still love creating - it's a physical need for me - but life takes us all in different directions sometimes and I just haven't been as prolific as in the past. I still like to play in my craft room every day but with the addition of our rescue dog Willow into our family ... well honestly? I'd rather spend more time with my dogs right now than make them wait while I finish a card. I know my crafting time will pick up again and I'll be posting daily in no time.😊

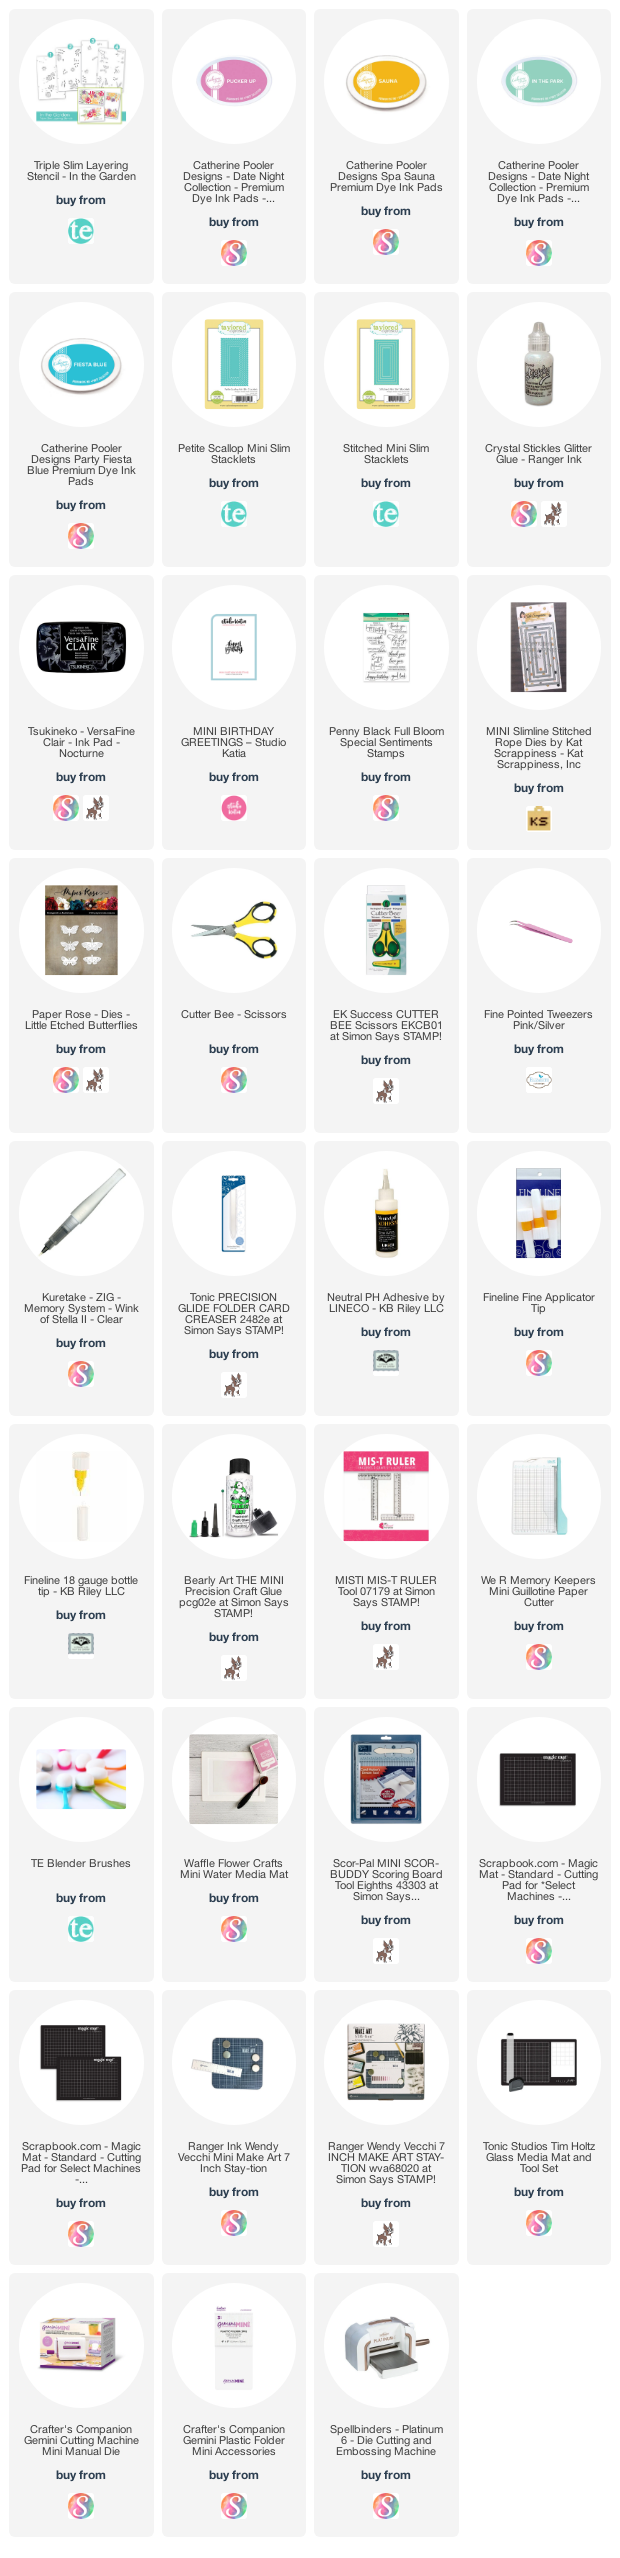
Today I'm sharing a trio of cards using layering stencils from Taylored Expressions. These ones actually create three Mini Slimline panels! I chose bright and happy colours, but want to try some soft pastels next. 


I added some bling, a stamped sentiment and then popped up some little die cut butterflies (which I'm completely obsessed with).


The panels were each cut out with Mini Slimline dies that had either a stitched or other decorative edge, and matted with a scalloped panel.


The insides are plain except for a stamped sentiment in a modern & fresh font. I tried adding a butterfly or more light stencilling but seemed to distract from the overall card. So ... sweet and simple it is.


I think these products have been very popular, so I am looking forward to seeing what Taylored Expressions might come up with for the holidays! I do already have last year's  Create In Quads Snowflake set and my first cards with those will be shared next week. 😊

This blog uses affiliate links whenever possible. This means, that at no cost to you, if you make a purchase through one of my affiliate links that I may receive a small commission from your purchase. I only link products that I own, love and use for my card making and not every link below is an affiliate one! 😊

Any supplies I'm unable to link are listed at the very bottom of my post.


Additional Supplies:
Shimmer spray
White card stock - Accent Opaque Digital Super Smooth (Amazon .ca)
Circle gem stickers - Stampendous (old!)
Turquoise cardstock - stash

Tuesday, 12 July 2022

Ice Cream Charm Accordion Card


Hello my crafty friends.  In keeping with our families tradition to have ice cream on a certain day in July ... here is another ice cream themed card!  If you'd like to read more about this tradition, I will add the details below the photos. 

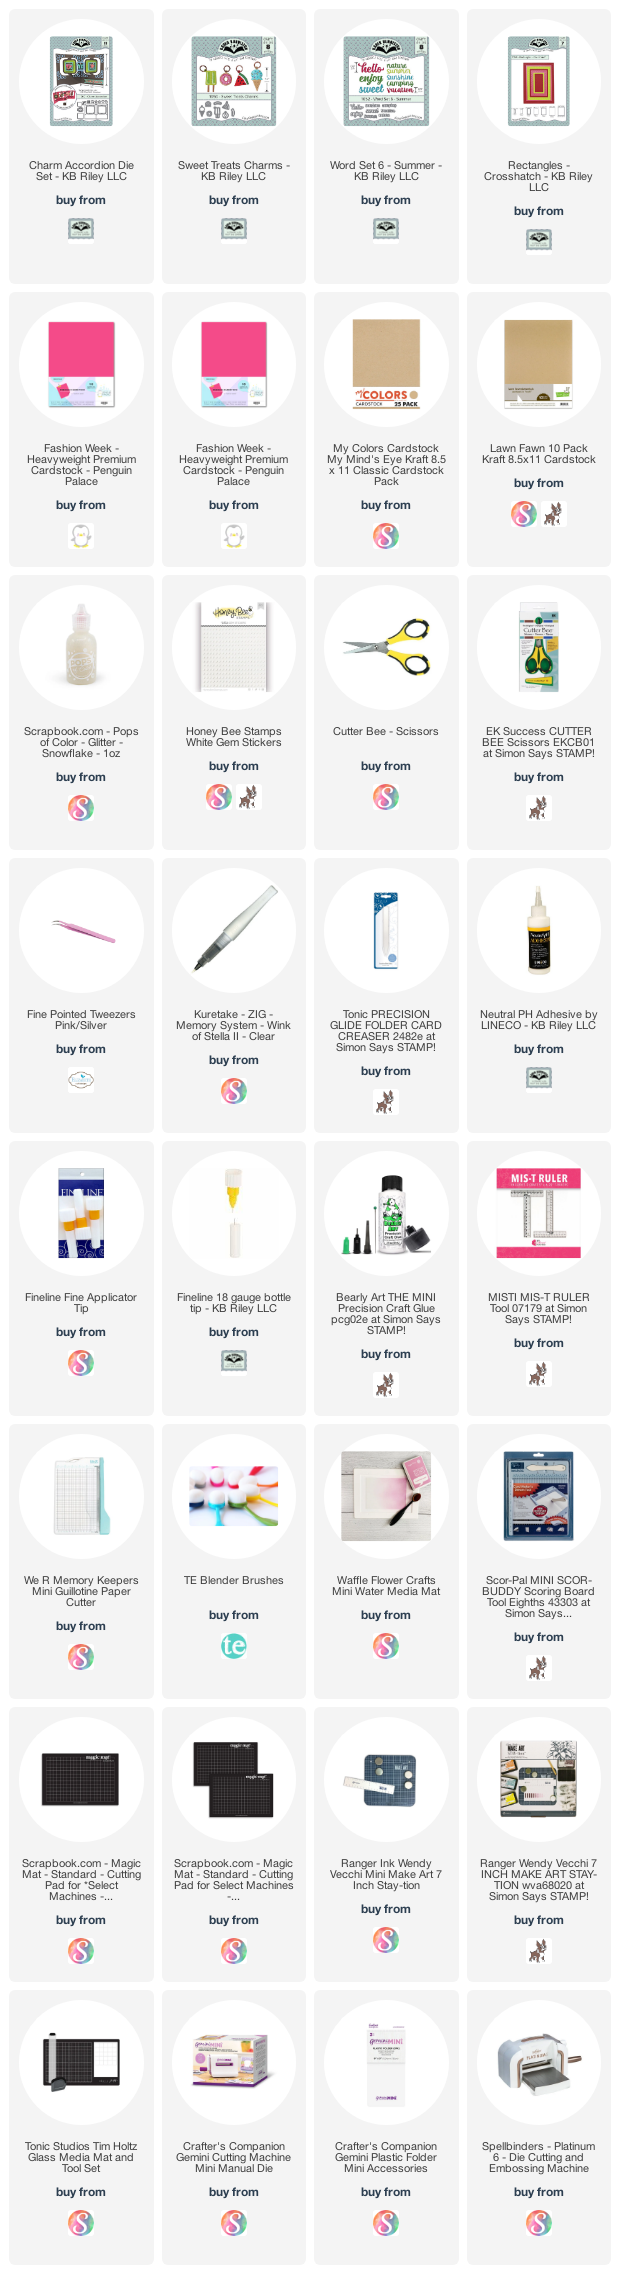
For this card I pulled out several dies by Karen Burniston, and some cheerful plaid patterned paper from my stash. The ice cream cones are from the Sweet Treats Charms - simply snipping off the hanging hole lets you create embellishments instead of charms. I added some glitter to the ice cream portions, and also to the dangling heart. 


The Charm Accordion comes with a die that cuts four jump rings, I cut mine from the same pink card stock as the card base but only needed one for this card.. I added a little clear drying glue to the ends but I don't find they separate with regular card handling. You could also use a metal jumping or even twine or embroidery floss!


Here is what it looks like from the back ...


When my Mom was a little girl, there was always a July parade in their town. Afterwards her dad, my Grampa, would take her to the drugstore for an ice cream soda. She continued the tradition with my brother and I, on a special day in July she would take us for ice cream. And I did that with our kids too - bringing my Mom along. We always made sure she had ice cream on that day. 

Now that she has passed, we continue the tradition - raising an ice cream cone to her in a toast and our grandkids think it's a great tradition! I also send my family ice cream themed cards to celebrate.

This blog uses affiliate links whenever possible. This means, that at no cost to you, if you make a purchase through one of my affiliate links that I may receive a small commission from your purchase. I only link products that I own, love and use for my card making and not every link below is an affiliate one! 😊

Any supplies I'm unable to link are listed at the very bottom of my post.


Additional Supplies:
Patterned paper - Plaid Tidings, Stampin' Up (retired)
White card stock - Accent Opaque Digital Super Smooth (Amazon .ca)

Monday, 11 July 2022

60th Anniversary Card with Foiling


Hello my crafty friends. Today's card has foiling, foiling and more foiling! 😊  A friend's parents were celebrating their 60th Wedding Anniversary (!!!) and she requested a card shower. Of course I obliged and this is the card I came up with. 

I started the card with a pink cardstock layer that has the texture added from the Dashed Diamonds Cover Plate from Pigment Craft Co. I love how perfectly it fits on an A2 card, leaving just a little border all the way around. The Hexagon frame was gold foiled and die cut, then I got out some of my sentiment Hot Foil Plates as well as the solid hot foil plate. Once I had foiled the Congrats and Happy Anniversary I used the solid plate and the negative foil pieces to get another set of greetings. After die cutting I chose to use the negative ones on this card and put the others away for another day.

The beautiful Washi Tape has gold foil accents and I added some bling too. 😊  The #60 is from Karen Burniston's new Mini Alpha & Numbers - I didn't use the shadow dies on this card though.


Inside, I added the large Washi Tape wreath, a foiled dotted circle and a foiled Best Wishes that was also die cut. Everything was popped up with thin foam tape for some dimension and I was SO happy with how the card turned out. I hope the Anniversary couple will enjoy it too.


This blog uses affiliate links whenever possible. This means, that at no cost to you, if you make a purchase through one of my affiliate links that I may receive a small commission from your purchase. I only link products that I own, love and use for my card making and not every link below is an affiliate one! 😊

Any supplies I'm unable to link are listed at the very bottom of my post.


Additional Supplies:
Light pink card stock - Michaels
White card stock - Accent Opaque Digital Super Smooth (Amazon .ca)

Saturday, 9 July 2022

'Let It Snow' Slimline Christmas Card


Hello my crafty friends. Today I'm sharing a Slimline card for Christmas in July. I actually finished this card back in December, but didn't get it posted then. Rather than hang onto the photos until December, I'm sharing them today!  

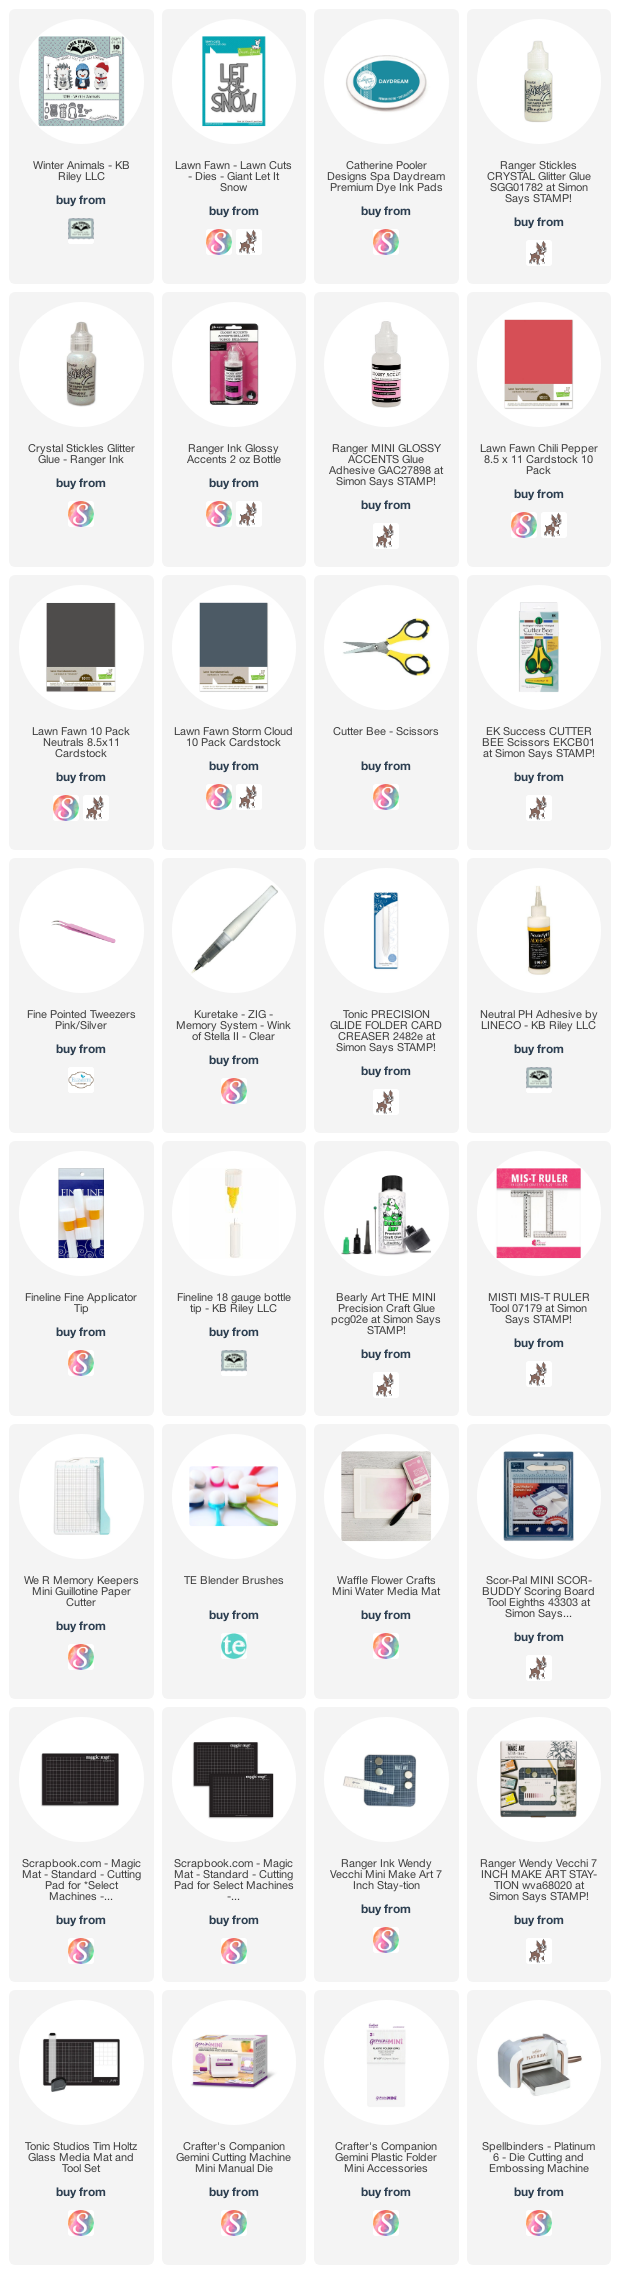
This card was about using up some of the items from my stash ... a strip of the sparkly patterned paper, the already-cut-and-assembled penguins, the iridescent snowflakes. The Let It Snow die was new back then, and I cut it twice. Once from red and once from white card stock, adhering them together but offsetting just a little so you can still see the red.


Inside, I added a few more cut-and-already-assembled pieces including the string of holiday lights which are from a retired Karen Burniston die set. They were already cut, coloured and covered with Glossy Accents and were sitting in a little baggie waiting to be used. Time to USE them!


This blog uses affiliate links whenever possible. This means, that at no cost to you, if you make a purchase through one of my affiliate links that I may receive a small commission from your purchase. I only link products that I own, love and use for my card making and not every link below is an affiliate one! 😊

Any supplies I'm unable to link are listed at the very bottom of my post.

Additional Supplies:
Wonderful Snowflakes - Stampin' Up
White card stock - Accent Opaque Digital Super Smooth (Amazon .ca)
Patterned paper - old, from my stash
Adhesive backed snowflakes - Stampin' Up (retired)
Various cardstock scraps
Encircled in Warmth - Stampin' Up (retired)
Christmas lights - from an older, retired die set by Karen Burniston

Friday, 8 July 2022

Ice Cream Cone Flip It's Card


Hello my crafty friends. It's Fun Fold Friday here on my blog and I'm back with another Ice Cream Card to send to my family! Every July I send them Ice Cream themed cards, and if you would like to know why, and more about the tradition, I put it below the photos. 


For this card I pulled out the Diamond Flip-Its Plus, a die set from the Stamps of Life. I've always loved Flip-Its, so when this one was released and it had the extra flap and the layering dies ... I added it to my collection!  The ECD Ice Cream die I've had for awhile. Even though it's retired, I still use it every year.

When you open the card, you see the 'enjoy' ...


... and when you open the right flap, the full sentiment is revealed. I stamped it onto one of Karen Burniston's new Short Crosshatch Rectangles - I adore that scalloped one. Some mirrored hearts for sparkle and this one is ready to be mailed. The sentiment is also retired, and I couldn't find it to link for you.

When my Mom was a little girl, there was always a July parade in their town. Afterwards her dad, my Grampa, would take her to the drugstore for an ice cream soda. She continued the tradition with my brother and I, on a special day in July she would take us for ice cream. And I did that with our kids too - bringing my Mom along. We always made sure she had ice cream on that day. 

Even though she has passed, we continue the tradition - raising an ice cream cone to her in a toast and our grandkids think it's a great tradition! I also send my family ice cream themed cards to celebrate. ❤️

This blog uses affiliate links whenever possible. This means, that at no cost to you, if you make a purchase through one of my affiliate links that I may receive a small commission from your purchase. I only link products that I own, love and use for my card making and not every link below is an affiliate one! 😊

Any supplies I'm unable to link are listed at the very bottom of my post.


Additional Supplies:
Burgundy alcohol marker
Burgundy cardstock
Ice Cream Cone die - Elizabeth Craft Designs
Sentiment inside - Kaisercraft, old set from my stash
Shimmer Spray

Thursday, 7 July 2022

Jingle Bell Christmas Card Duo


Hello my crafty friends! Yes, I am sharing Christmas cards ... joining the whole Christmas in July thing. I have the cards made, so it's fun to share them now and not have to hold onto the pictures until December.  A friend loaned me this lovely Jingle Bells die and I made four holiday cards with it - today I'm sharing the first two.


The first card is a Mini Slimline card and I die cut the Jingle Bells from a rainbow holographic cardstock. I used the same mottled navy card stock on the front and inside, and the matting layers use Karen Burniston's new Short Crosshatch Rectangles. The sentiment inside is from Papertrey Ink and if it's still available I will link it below for you.


The second card is a larger one - 6.5 x 5" and the Jingle Bells die was cut from a white pearl card stock. Then I backed it with alcohol inked printed patterned paper. The snowflakes are peel off stickers from may stash. 


Here is the inside of the second card, with a lovely sentiment stamp from Divinity Designs.

This blog uses affiliate links whenever possible. This means, that at no cost to you, if you make a purchase through one of my affiliate links that I may receive a small commission from your purchase. I only link products that I own, love and use for my card making and not every link below is an affiliate one! 😊

Any supplies I'm unable to link are listed at the very bottom of my post.


Additional Supplies:
Patterned paper - Guilded Ink, Recollections
Navy cardstock
Navy marbled cardstock - stash
Sentiment - Stylish Sentiment Holidays, PTI
Self Adhesive Snowflakes - Stampin' Up (retired)
Rainbow Holographic card stock, Mirri Card Essentials - Hunky-dory
Snowflake Peel Off's - Stamp On It
White card stock - Accent Opaque Digital Super Smooth (Amazon .ca)

Wednesday, 6 July 2022

Bee Happy Magic Iris Card


Hello my crafty friends. I'm really (really!) late to the Magic Iris bandwagon, but I did finally jump on. Ha. So today, for Fun Fold Friday here on my blog, I'm sharing my first Magic Iris card!

I was meeting a friend for lunch and wanted to bring her a card. She has had her Magic Iris die set (by Lawn Fawn) pretty much since it came out. 😊 I was a little intimidated by it, but I watched the Lawn Fawn video on YouTube and it went together easily. I'm so impressed! Here is a short video so you can see the card in action: 


The card is 5" square, since I was hand delivering it I wasn't worried about the extra postage from the weight of the card or the square envelope.  Below you can see that I added some white gems, and shimmer, as well as light stencilling on the closed shutters.


When you move the tab down, the shutters start to open ...


... and here are the shutters fully open. The mechanism works so smoothly!


Here is a peek at the inside. I decided not to sign the card, since she has been very busy with house Reno's and may have a need to send out some happy mail but no time to make a card of her own. I stamped on the Post-It note, which is easily removed. That is a stamp set from the Stamps of Life, and I linked it below.


There are a lot of pieces required to create the mechanism, as you have to cut several of them three times. So I went into the craft room one evening and just did a bunch of die cutting so I'm ready to assemble the next time I want to make another Magic Iris card ... and it won't be long until I do!  This was a lot of fun to make. 😊

This blog uses affiliate links whenever possible. This means, that at no cost to you, if you make a purchase through one of my affiliate links that I may receive a small commission from your purchase. I only link products that I own, love and use for my card making and not every link below is an affiliate one.

Any supplies I'm unable to link are listed at the very bottom of my post.


Additional Supplies:
Patterned paper - Garden Party, Pebbles. 6 x 6" (old, from my stash)
White card stock - Accent Opaque Digital Super Smooth (Amazon .ca)
Alcohol markers
Shimmer Spray
Stencil - Chicken Wire, clear Scraps

Tuesday, 5 July 2022

Cactus Themed Pop Up Birthday Card


Hello my crafty friends and welcome to Karen Burniston's July Designer Challenge where she asked her Design Team to create a card with the Theme: "SPINNERS" - create a card of any theme where something spins (this can be Spinner Square, modified Mailbox, Pop 'n Swap or something wound on a string). I haven't used the Spinner Square Pop Up in awhile, so I created a masculine Birthday card with it. I have all the details on YouTube:  


I used a lot of foam tape on my card ... and also made it a 5.5" square card. We will be hand delivering the card so I don't need to worry about the extra postage for mailing a square envelope.

The card is top folding, and the Celebrate Banner spins down from the centre pop up square as the card is opening. So fun! Below you can see what it looks like as you start to open the card.


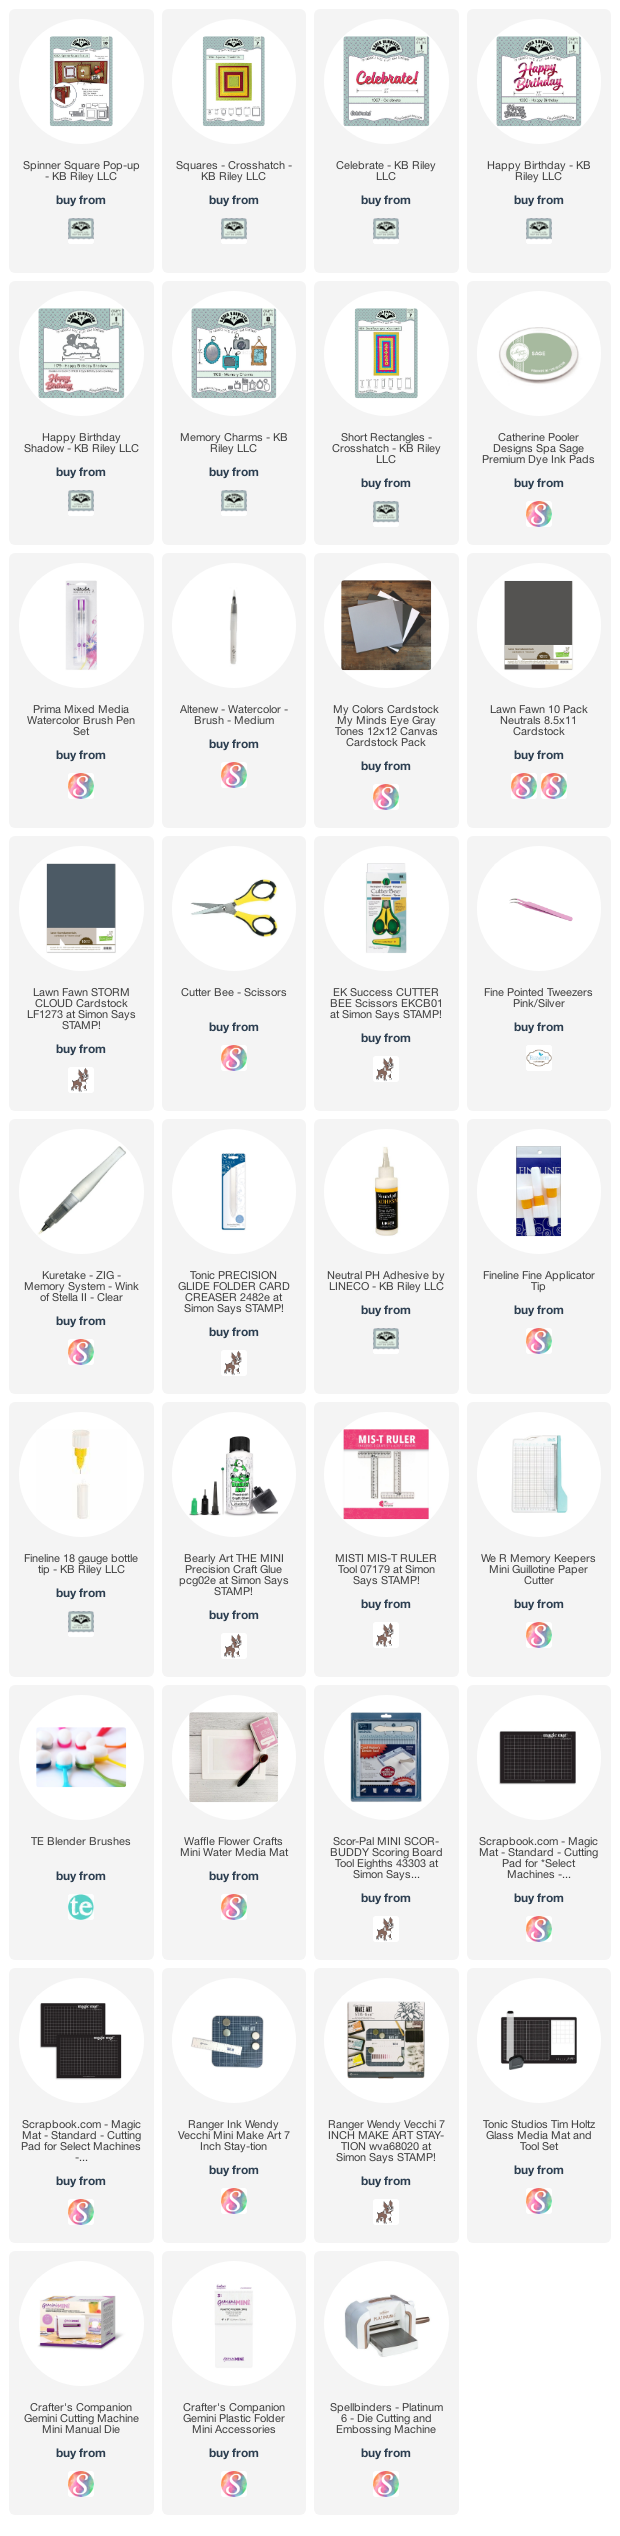
Here is the card fully open. I used the Memory Charms to highlight a few cactus images from the patterned paper package, the Happy Birthday and Happy Birthday Shadow die as well as the Short Crosshatch Rectangles. Everything that is available is linked below.


I added cactus pieces behind each of the photo frames, using up a leftover piece of  patterned paper in the package. They would have been really cute with acetate behind the frames to resemble glass, too. The Happy Birthday, and the Happy Birthday Shadow are also from Karen Burniston.


This blog uses affiliate links whenever possible. This means, that at no cost to you, if you make a purchase through one of my affiliate links that I may receive a small commission from your purchase. I only link products that I own, love and use for my card making and not every link below is an affiliate one! 😊

Any supplies I'm unable to link are listed at the very bottom of my post.


Additional Supplies:
Patterned paper - Desert Dream, Recollections

Monday, 4 July 2022

Rainbow Ice Cream Card


Hello my crafty friends.  In keeping with our families tradition to have ice cream on a certain day in July ... here is my second ice cream card!  If you'd like to read more about this tradition, I will add the details below the photos.

This card started with a printed card & coordinating envelope set that I got on the clearance rack at Stampin' Up. I added some rainbow strips and a die cut ice cream cone, as well as a little bling.


Here is a look at the inside where I used fine point markers to write the sentiment. 


When my Mom was a little girl, there was always a July parade in their town. Afterwards her dad, my Grampa, would take her to the drugstore for an ice cream soda. She continued the tradition with my brother and I, on a special day in July she would take us for ice cream. And I did that with our kids too - bringing my Mom along. We always made sure she had ice cream on that day. 

Now that she has passed, we continue the tradition - raising an ice cream cone to her in a toast and our grandkids think it's a great tradition! I also send my family ice cream themed cards to celebrate.

This blog uses affiliate links whenever possible. This means, that at no cost to you, if you make a purchase through one of my affiliate links that I may receive a small commission from your purchase. I only link products that I own, love and use for my card making!

Any supplies I'm unable to link are listed at the very bottom of my post.

Since pretty much everything I used is from my stash & either retired or discontinued I'll only be linking the basic supplies!


Additional Supplies:
Card & Envelope - Flowers for Every Season, Stampin' Up
Ice Cream Cone set - MFT (retired)
St Nested Labels - Stampin' Up (retired)
White card stock - Accent Opaque Digital Super Smooth (Amazon .ca)
Rainbow packing tape - Amazon.ca
Brown cardstock scrap
Black fineline marker