Thursday, 13 October 2022

Fox Thanksgiving Card


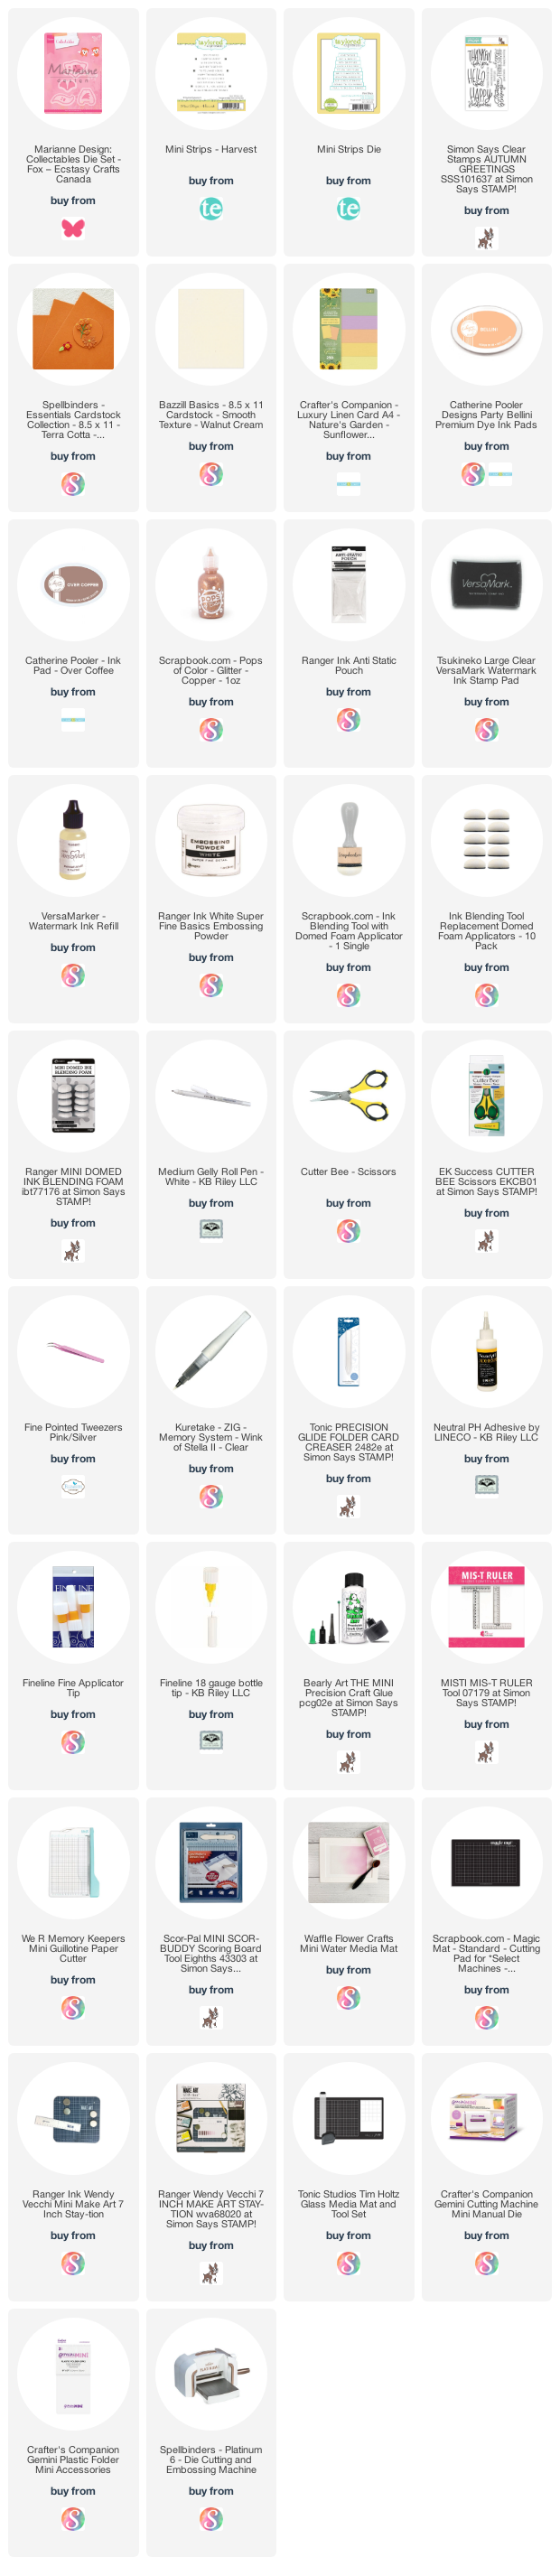
Hello my crafty friends. After I finished yesterday's Diamond Z-Fold Slimline card I had a little of the leafy patterned paper leftover. So I made two A2 cards with it and here is the first one.  I wish I had chosen a lighter rust colour for the fox, but it isn't quite as dark in real life. And it's super cute anyways. 


Here is a peek at the inside ...


This blog uses affiliate links whenever possible. This means, that at no cost to you, if you make a purchase through one of my affiliate links that I may receive a small commission from your purchase. I only link products that I own, love and use for my card making and not every link below is an affiliate one! 😊

Any supplies I'm unable to link are listed at the very bottom of my post.
Additional Supplies:
Boxed Card & envelope - stash
Patterned paper - old, Stampin' Up
Brown fine point marker
Rust, white, black and peach card stocks
Shimmer Spray
Cross stitched circle dies - Tutti Designs

Wednesday, 12 October 2022

'Happy Fall' Diamond Z-Fold Slimline


Hello my crafty friends!  I had been flipping through some of my fall patterned papers and saw this (12 x 12") sheet. There were two of them actually - they were from a retired package by Stampin Up and these were the only two sheets I had left. So I pulled one out and knew I would make a Slimline with it - but decided to make a Diamond Z-Fold Slimline instead.

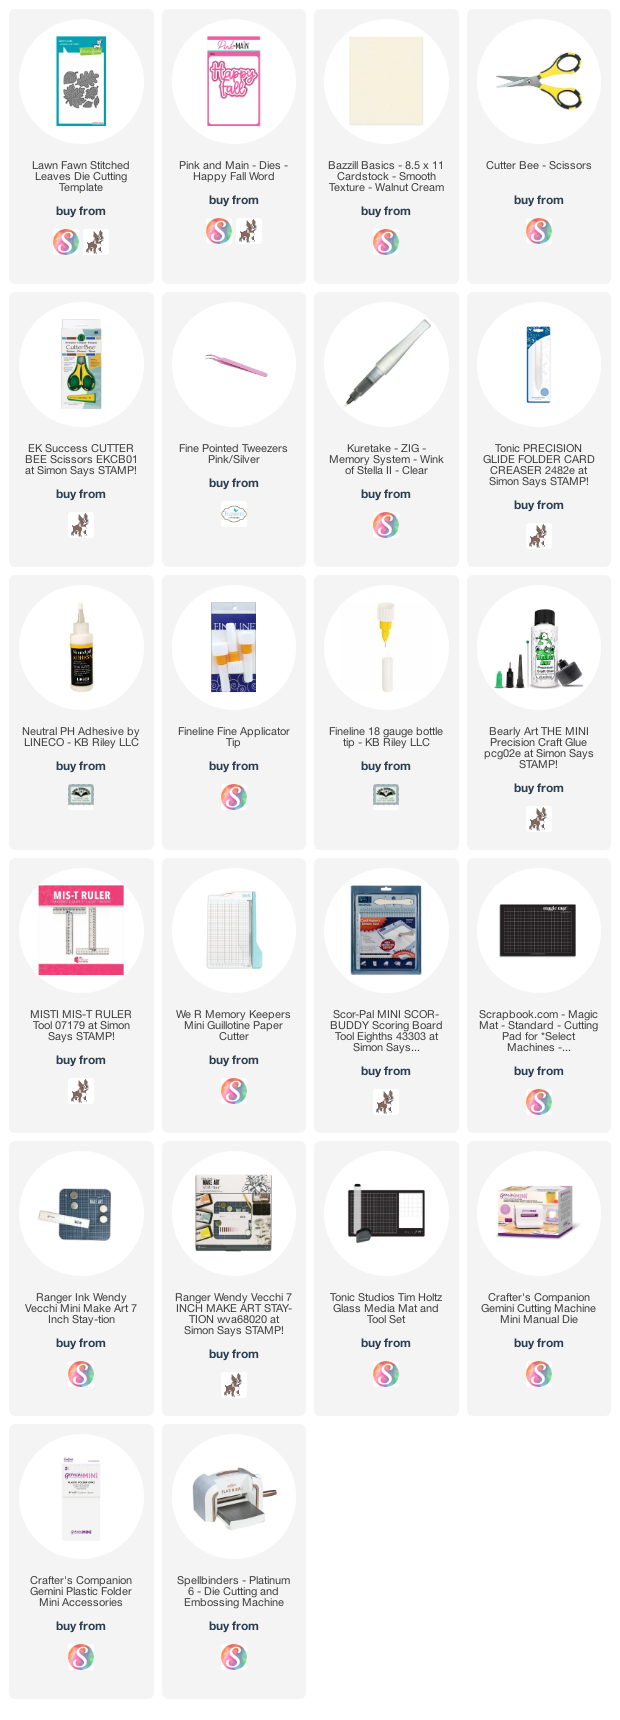
The stitched leaves and the Happy Fall were die cut from a metallic card stock so there is lots of shine. You know I love shimmer and shine!


These cards are quick and easy to put together anyhow, but I kept it really simple by just adding a few metallic leaves and not a lot of other decorating. You can see my tutorial for this style of card on YouTube HERE.


Measurements for Diamond Z-Fold Slimline Card by Karen Aicken 

Card base - 8 x 8.5". With the 8" side at the top, score at 2" and 4". The 4" scoreline is the center, so fold your card in half along that scoreline. Then fold the front right flap back to the outside along the 2" scoreline.

Patterned paper - TWO 1.75 x 8.25" pieces and ONE 3.75 x 8.25" piece. I don't always use the two smaller ones, often just adding one to the front and leaving the inside one undecorated. It's entirely up to you.

Diamonds - TWO 2.75" squares and ONE 2-1/2" square

Patterned paper (BE MINDFUL OF THE PATTERNED PAPER IF IT HAS A DIRECTIONAL PATTERN) TWO 2.5" squares and ONE 2.25" square.

Signing block - 2.25" cardstock square with a 2" square of white or light cardstock of your choice.

Pop Up strip - 4 x 3". With the 4" side at the top, score at 1, 2 & 3"
Assemble as shown in the video.

This blog uses affiliate links whenever possible. This means, that at no cost to you, if you make a purchase through one of my affiliate links that I may receive a small commission from your purchase. I only link products that I own, love and use for my card making and not every link below is an affiliate one! 😊

Any supplies I'm unable to link are listed at the very bottom of my post.

Additional Supplies:
Patterned paper - Stampin' Up (retired)
Rust cardtocks - old, stash
Metallic cardstock - Glitter Ombre, Hunky Dory

Tuesday, 11 October 2022

Halloween Train Slimline Card


Hello my crafty friends. When I was looking through one of the Doodlebug Odds & Ends packages for Halloween, I saw the train and carts pieces and knew they would work perfectly on a Slimline card. 

I die cut the background from polka dot papers (Doodlebug) using dies from Penguin Palace. The cute train tracks are by Karen Burniston.

Inside I added a large Happy Halloween and a few more of the elements from the Odds & Ends package.


One more look ...


This blog uses affiliate links whenever possible. This means, that at no cost to you, if you make a purchase through one of my affiliate links that I may receive a small commission from your purchase. I only link products that I own, love and use for my card making and not every link below is an affiliate one! 😊

Any supplies I'm unable to link are listed at the very bottom of my post.


Additional Supplies:
White cardstock
Grey dot patterned paper - Love Notes Petite Assorted, Doodlebug Designs

Monday, 10 October 2022

Spider Shaker Halloween Z-Fold Card


Hello my crafty friends. I recently discovered how easy it is to create edge-to-edge shaker cards using acetate. I shared the first four cards and a YouTube video, but actually made more than those ones. Here I have a 5 x 7" Z-Fold card and I still have two Mini Slimline to share in the coming days!  (Click HERE to see the YouTube video of the first four cards)

For this card, I just have a quick video to show the card opening and closing:


I used lots of older Halloween items for this card ... and pretty much all of it is from Doodlebug Designs. I will link a few others below for you since these ones are discontinued.


I had  fun creating these shakers - you can expect to see these show up on my blog again. I have a LOT of Christmas cut aparts/journal cards, so it might be fun to make a few up into these full front shakers too. 😊

This blog uses affiliate links whenever possible. This means, that at no cost to you, if you make a purchase through one of my affiliate links that I may receive a small commission from your purchase. I only link products that I own, love and use for my card making and not every link below is an affiliate one! 😊

Any supplies I'm unable to link are listed at the very bottom of my post.


Additional Supplies:
Journal cards - various Doodlebug packages (old, from my stash)
Acetate
Sequins - Purple Rita, Picket Fence Studios
5 x 7" card and envelope
Patterned paper and stickers - Boos & Brews, Halloween

Friday, 7 October 2022

Scrap 'n Stamps 'SO SWEET' Inspiration Hop


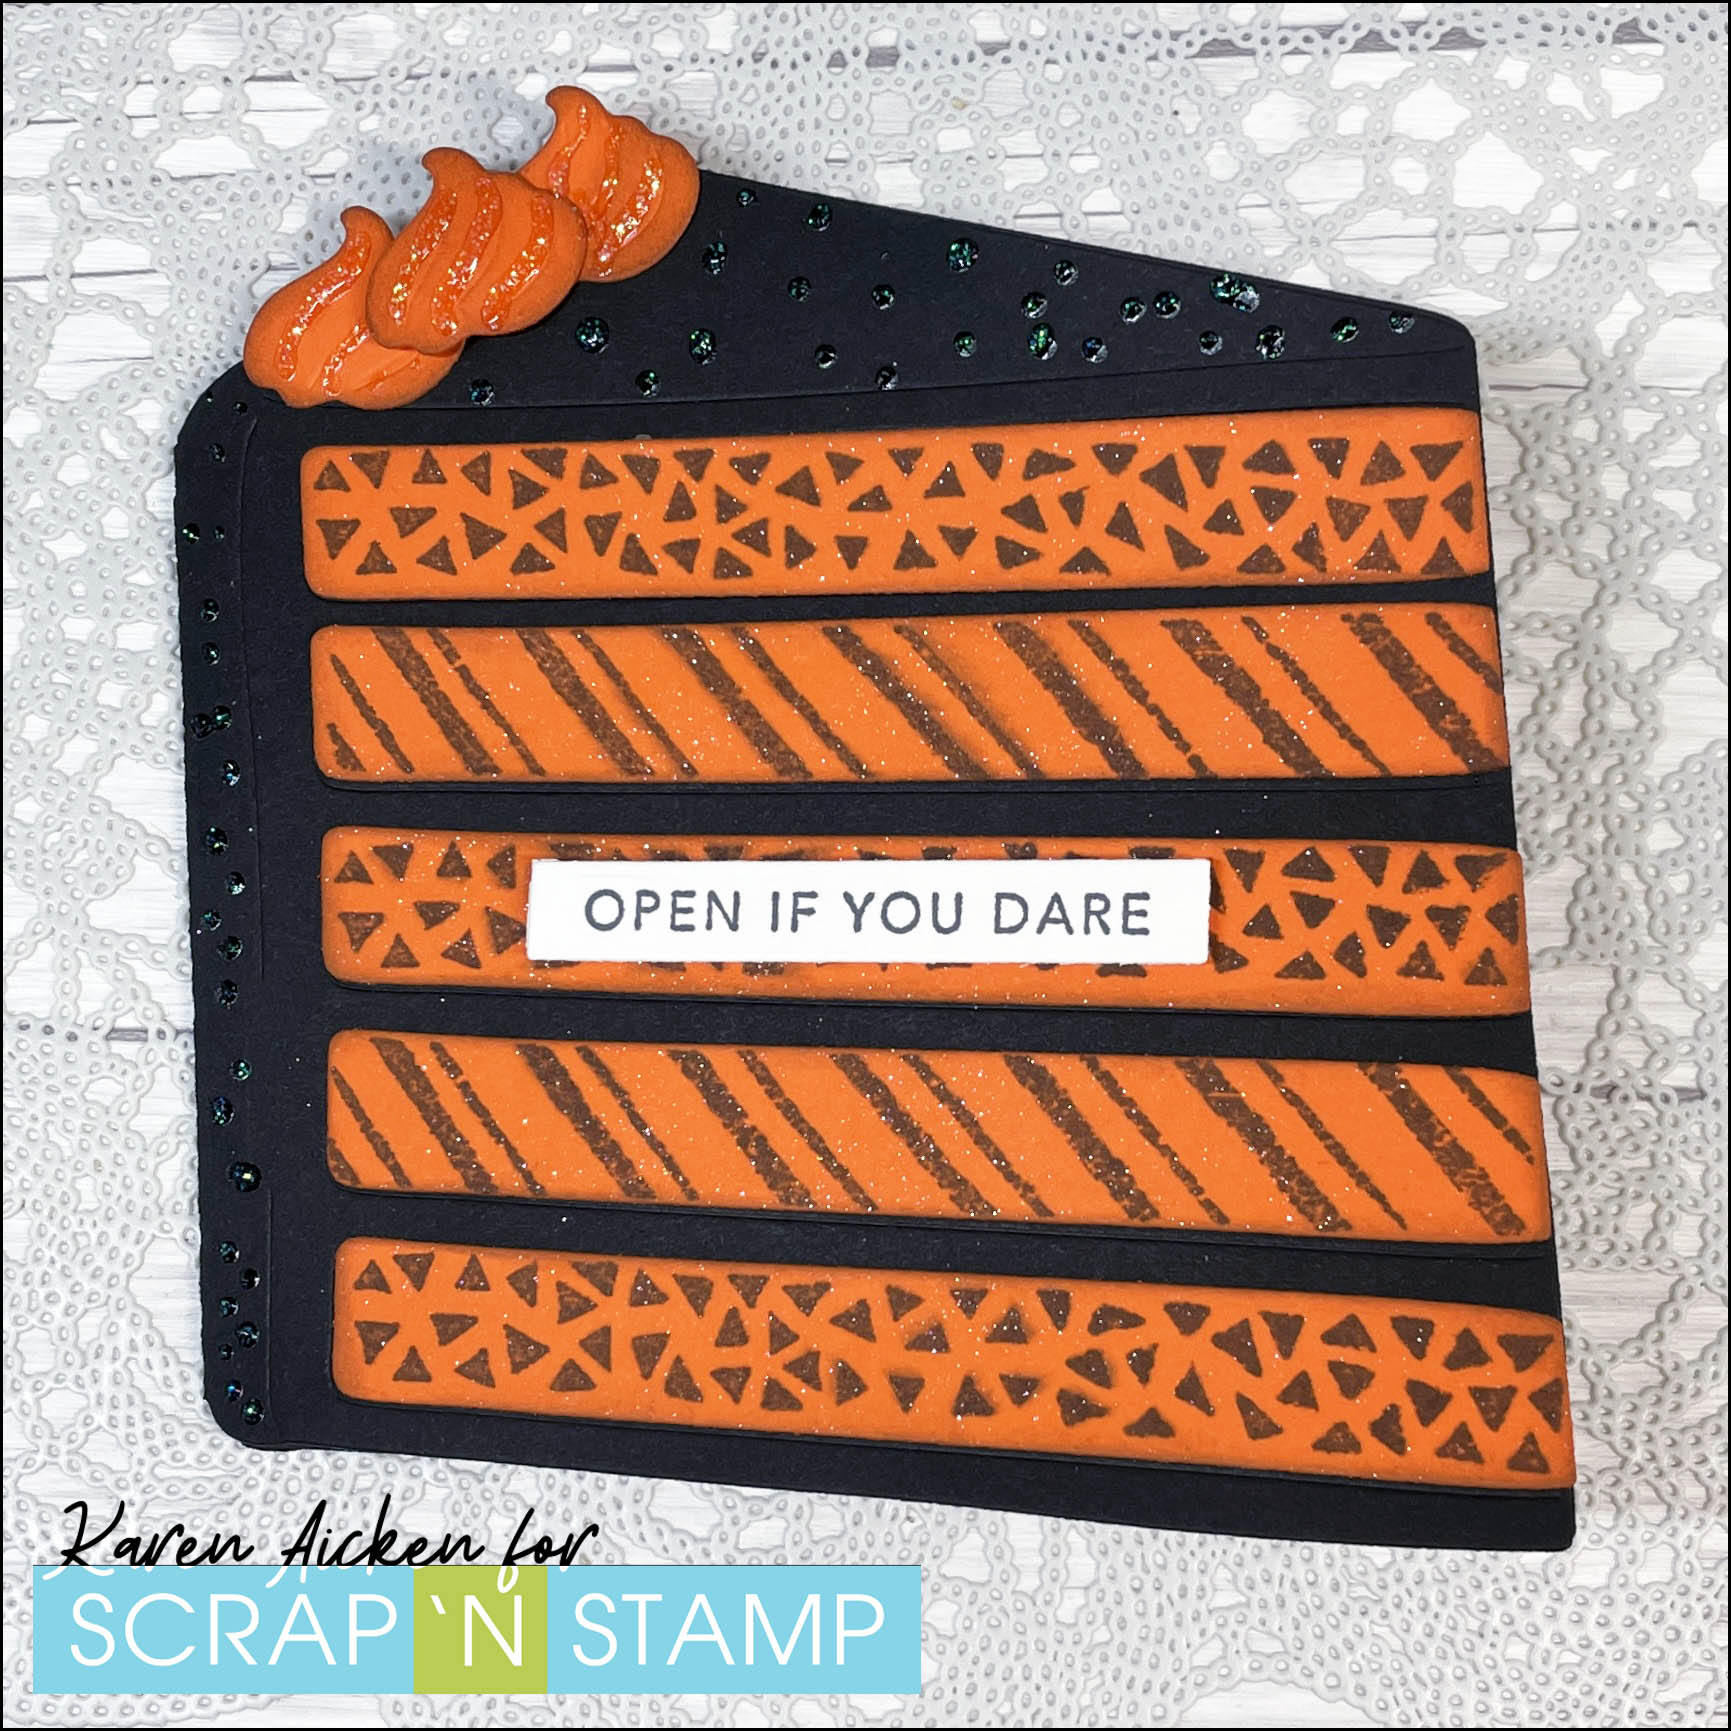
Hello my crafty friends and welcome to another Inspiration Hop put on by Scrap 'n Stamp Canada. I took the challenge literally and made treat holders and a Halloween shaped cake card. First up is the shaped card!


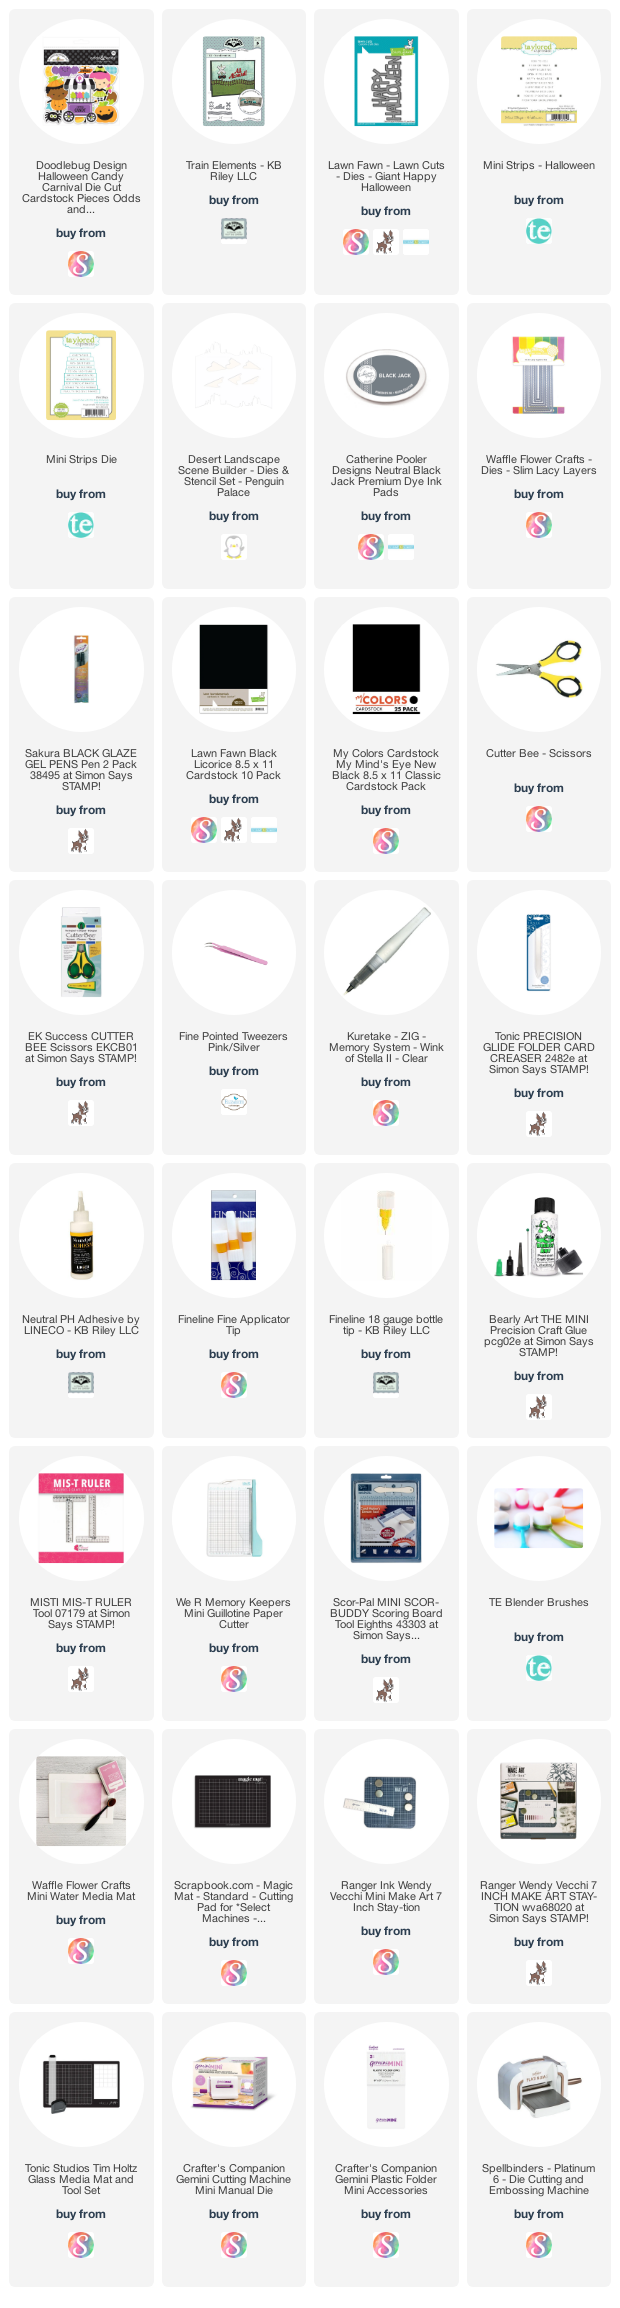
I have had this cake shaped card by Honey Bee designs for awhile and I thought it would be fun to turn into a Halloween themed one. I mean cake is sweet, right? And what would be sweeter than a Halloween cake shaped card? A Halloween cake shaped card with a pop up inside!


I added the Giant Happy Halloween from Lawn Fawn inside, with a few folds to create the pop up. Because the card base was black, I also added a signing block with white card stock.


Next up are the treat holders. Wanting a more 'rainbow' effect for the ghosts, I dipped and dragged white card stock through puddles of ink created with Catherine Pooler inks spritzed with water. When the panel was dry I die cut the ghosts. 

Black card stock scraps were adhered behind the open faces for impact, then I glued another ghost on the back to hide the black piece for the free standing treat topper. A narrow strip of acetate was sandwiched in between the two and that is what slips into the straw opening of the to-go plastic cup lid. All of the ghost edges were inked and they also got a blast of shimmer spray. 


I still remember the first time I made these 'sour cream' treat holders 25 years ago (or more!) and they are still a fun way to dress up a few treats. They can be whipped up quickly and are a great stashbushter for patterned papers.


Since these have been around for SO many years, I didn't do a tutorial. There are lots and lots of tutorials around, & I did a quick search on YouTube and HERE is one for you:   I didn't do the extra steps of using a crimper and fancy edges scissors on this one, but they do make them look extra nice. I figure my grandkids will just be ripping into them and those details would be los on them. 😂

Finally, I popped one of the ghosts onto an Action Wobble and then to a folded die cut oval. You can add these on top of any number of treat bags etc, but I chose an iridescent zip top baggie. I often give the grandkids little candy treats, but am mindful of their parents desire to limit sugar. So Just a few in one of these baggies with a cute topper makes us all happy! 

I added some bling, just because I've had these ones for YEARS and want to use them up.


The next stop on the hop is: Meghan
Edited - Meghan's blog is giving her grief, so if you can't see her cute cards using the link above, you can see them on Instagram

You can find many of the supplies I used at Scrap 'n Stamp

This blog uses affiliate links whenever possible. This means, that at no cost to you, if you make a purchase through one of my affiliate links that I may receive a small commission from your purchase. I only link products that I own, love and use for my card making and not every link below is an affiliate one! 😊

Any supplies I'm unable to link are listed at the very bottom of my post.  

Additional Supplies:
White cardstock
Acetate scrap
Shimmer Spray
Clear to go cups & lids - Amazon.ca
Candy
Seam binding - stash
Zipper candy bag - Amazon.ca 
Gems - old, from my stash
Plaid patterned paper - Perfectly Plaid, Stampin' Up (retired)
Orange cardstock

Thursday, 6 October 2022

Halloween Slimline in Purples


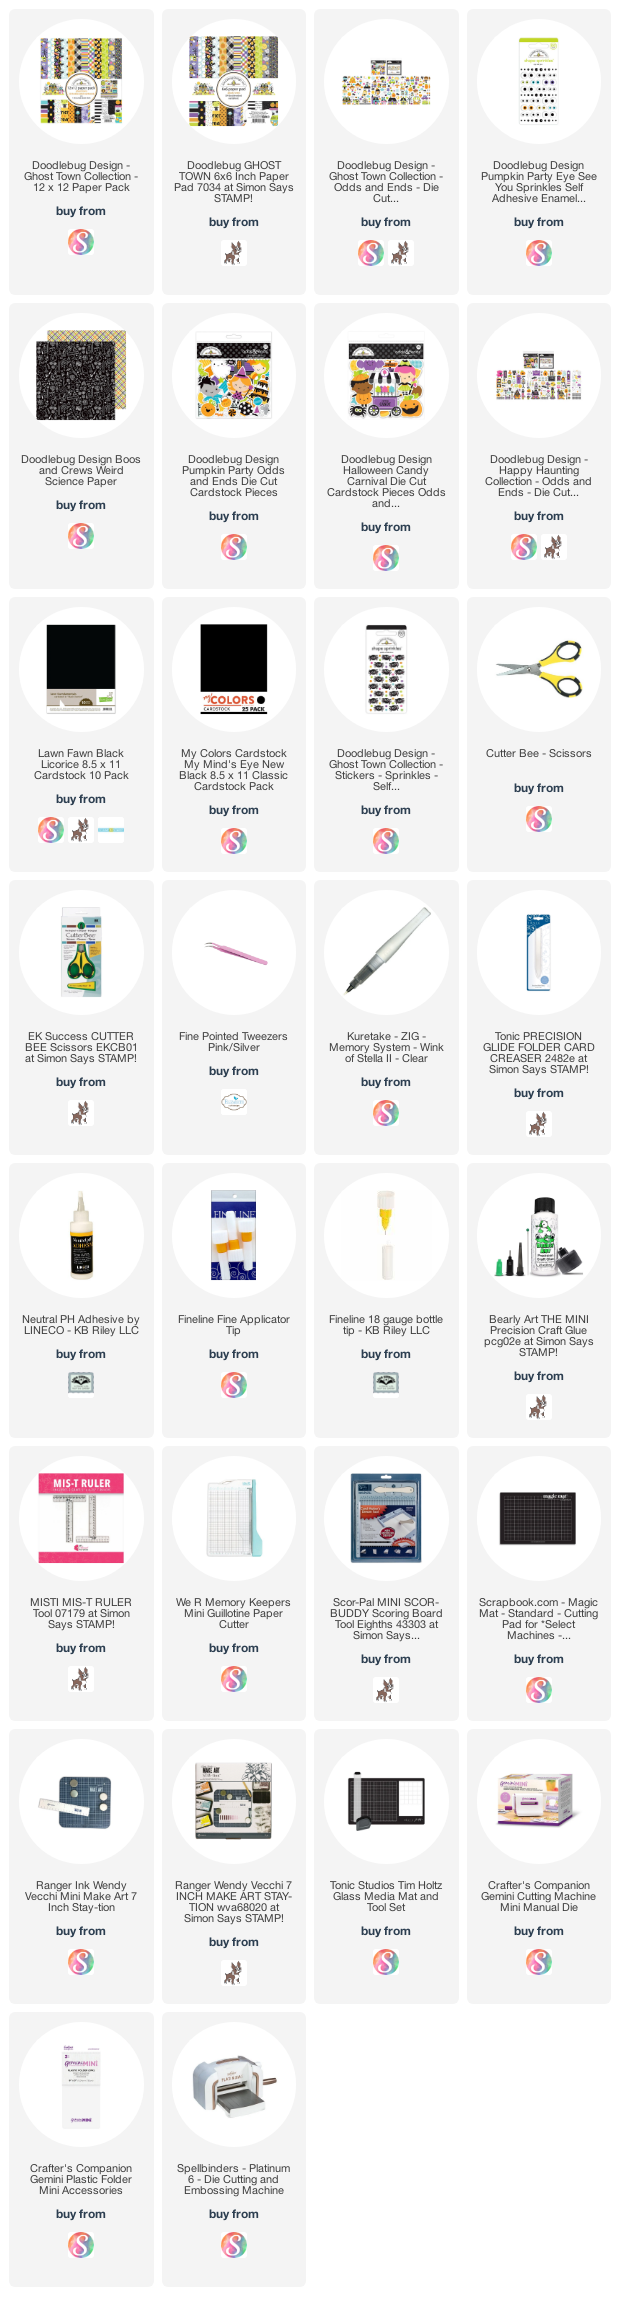
Hello my crafty friends.  I was happily surprised to see a couple of long/tall embellishments in this package by Doodlebug Designs, so chose this one to add to a Slimline card. All of the elements and papers are by Doodlebug, and if they are available I'll link them below and also other Doodlebug papers etc that I have and love. 

The little skeletons have either bling or tiny enamel dots in their eye sockets, and I added one of those little Doodlebug spiders as well. 


Below is a peek at the inside ...


I'll be sending this card off to a friend for Halloween!

This blog uses affiliate links whenever possible. This means, that at no cost to you, if you make a purchase through one of my affiliate links that I may receive a small commission from your purchase. I only link products that I own, love and use for my card making and not every link below is an affiliate one! 😊

Any supplies I'm unable to link are listed at the very bottom of my post.

Additional Supplies:
White cardstock
Purple cardstock - Michaels
Wednesday, 5 October 2022

Halloween Shutter Card


Hello my crafty friends.  Mid August I had this patterned paper out to make a card for Karen Burniston's last release, and when I was done that card I realized I had enough leftover to create a Shutter Card. I have a walkthrough of my card on YouTube:  


I really like this paper - the purple stars and dots are flocked, or felted. The first photo is what the card looks like coming out of the envelope, and below you can see the card partially open. 


When the sides are fully open the shutters reveal a cute spider.


Adding an acetate panel behind the opening, allows you to add embellishments on top to look like they are floating. That is what I did here with those tiny enamel dots.


Since there isn't a lot of room inside to write a message, I added a stamped panel on the back with a scrap of the patterned paper and a few more pieces from Doodlebug Designs.


I have quite a few items from Doodlebug Designs for Halloween, and will link them below in addition to what I used on this card.

This blog uses affiliate links whenever possible. This means, that at no cost to you, if you make a purchase through one of my affiliate links that I may receive a small commission from your purchase. I only link products that I own, love and use for my card making and not every link below is an affiliate one! 😊

Any supplies I'm unable to link are listed at the very bottom of my post.


Additional Supplies:
Purple cardstocks - Michaels
Sentiment on back - Inside Greetings, Halloween (Papertrey Ink)

Tuesday, 4 October 2022

Halloween Mini Slimline Explosion Card


Hello my crafty friends and welcome to Karen Burniston's October Designer Challenge with the Theme: {"HALLOWEEN or FALL" - create a card with a Halloween or Fall theme.} I created a Mini Slimline for Halloween in rather untraditional colours.

The Slim Bat Pattern Plate was cut from black cardstock and layered over a background of rainbow packing tape that was attached to white card stock. I've said this many times before, but you need to go slowly and have lots of patience as the packing tape is thin and tends to stretch and buckle. Your end result is colourful, but not 'perfect'. You could also use patterned paper in stripes, or create a rainbow of coloured cardstock strips for your background. This one was cut with the Slim Crosshatch Rectangles, which is a die set I use constantly.

The Happy Halloween & shadow were added to the front, and also some sparkly bling on several of the bats.


Inside, I used the Explosion Pop Up and other dies by Karen Burniston - they are all linked below. The patterned paper pad is one I've had for a couple of years and I get SO much use out of it! The new Skeleton is going to be a favourite in future Halloween's as well ❤️


I added some details lines with a sparkle gel pen both inside the card and on the Happy Halloween on the card front - and my card was finished.


The rest of the Design Team is linked on the right side of my blog and I hope you will check out what they came up with for the challenge. Karen Burniston will have her post tomorrow (Wednesday) on her BLOG.

This blog uses affiliate links whenever possible. This means, that at no cost to you, if you make a purchase through one of my affiliate links that I may receive a small commission from your purchase. I only link products that I own, love and use for my card making and not every link below is an affiliate one! 😊

Any supplies I'm unable to link are listed at the very bottom of my post.

Additional Supplies:
Rainbow packing tape - Amazon.ca (several years old)
White cardstock

Monday, 3 October 2022

Lumberjack Diamond Z-Fold Slimline


Hello my crafty friends and welcome to Masculine Card Monday here on my blog.  Today I'm sharing the Diamond Z-Fold Slimline card I completed in the video tutorial last week. If you would like to see the tutorial for creating one of these cards, click HERE.


The center diamond is on a simple box platform, so it floats above the inside back of the card. After I finished the video and taking the photos, I decided this would be a great birthday card for my brother. So I dug around in my stash and found some retired Happy Birthday peel off stickers in black. I added one at the top left inside, and it is hidden when the card is closed. I didn't take a photo though.

I'm pretty happy with how these cards work out, and how easy they are to put together.


Measurements for Diamond Z-Fold Slimline Card by Karen Aicken 

Card base - 8 x 8.5". With the 8" side at the top, score at 2" and 4". The 4" scoreline is the center, so fold your card in half along that scoreline. Then fold the front right flap back to the outside along the 2" scoreline.

Patterned paper - TWO 1.75 x 8.25" pieces and ONE 3.75 x 8.25" piece. I don't always use the two smaller ones, often just adding one to the front and leaving the inside one undecorated. It's entirely up to you.

Diamonds - TWO 2.75" squares and ONE 2-1/2" square

Patterned paper (BE MINDFUL OF THE PATTERNED PAPER IF IT HAS A DIRECTIONAL PATTERN) TWO 2.5" squares and ONE 2.25" square.

Signing block - 2.25" square with a 2" square of white or light cardstock of your choice.

Pop Up strip - 4 x 3". With the 4" side at the top, score at 1, 2 & 3"


This blog uses affiliate links whenever possible. This means, that at no cost to you, if you make a purchase through one of my affiliate links that I may receive a small commission from your purchase. I only link products that I own, love and use for my card making and not every link below is an affiliate one! 😊

Any supplies I'm unable to link are listed at the very bottom of my post.


Additional Supplies:
White cardstock

Sunday, 2 October 2022

October Sheetload of Cards


Hello my crafty friends. It's the 2nd of the month and that means it's time for a new Sheetload of Cards. Since I'm on the YouTube Collaboration Team, I have all the details in my video:   


Because I needed Halloween cards for our Grandkids, I decided to use this month's Sheetload to make Halloween cards and pulled out a bunch of older Doodlebug Designs items. Apparently I really like CUTE Halloween vs spooky.


Inside the grandkids cards, I stamped a sentiment and sprinkled a few more stickers around the words.


The remaining four cards got a stamped sentiment and a popped up jack-o-lantern using Karen Burniston's Mini Pops die. Such a quick & fun way to quickly animate something inside a card!


Be sure to check out my VIDEO and see how you can download your own Sheetload of Cards.  I'm not sure what Doodlebug products are still available, but I did find some to link for you below.

This blog uses affiliate links whenever possible. This means, that at no cost to you, if you make a purchase through one of my affiliate links that I may receive a small commission from your purchase. I only link products that I own, love and use for my card making and not every link below is an affiliate one! 😊

Any supplies I'm unable to link are listed at the very bottom of my post.


Additional Supplies:
White cardstock
Black marker
Fun foam
Eerie eyes - Doodlebug Designs
Stamps - Karen Burniston (Retired)
Alcohol markers