Monday, 11 October 2021

Three Candle Birthday Card Trio


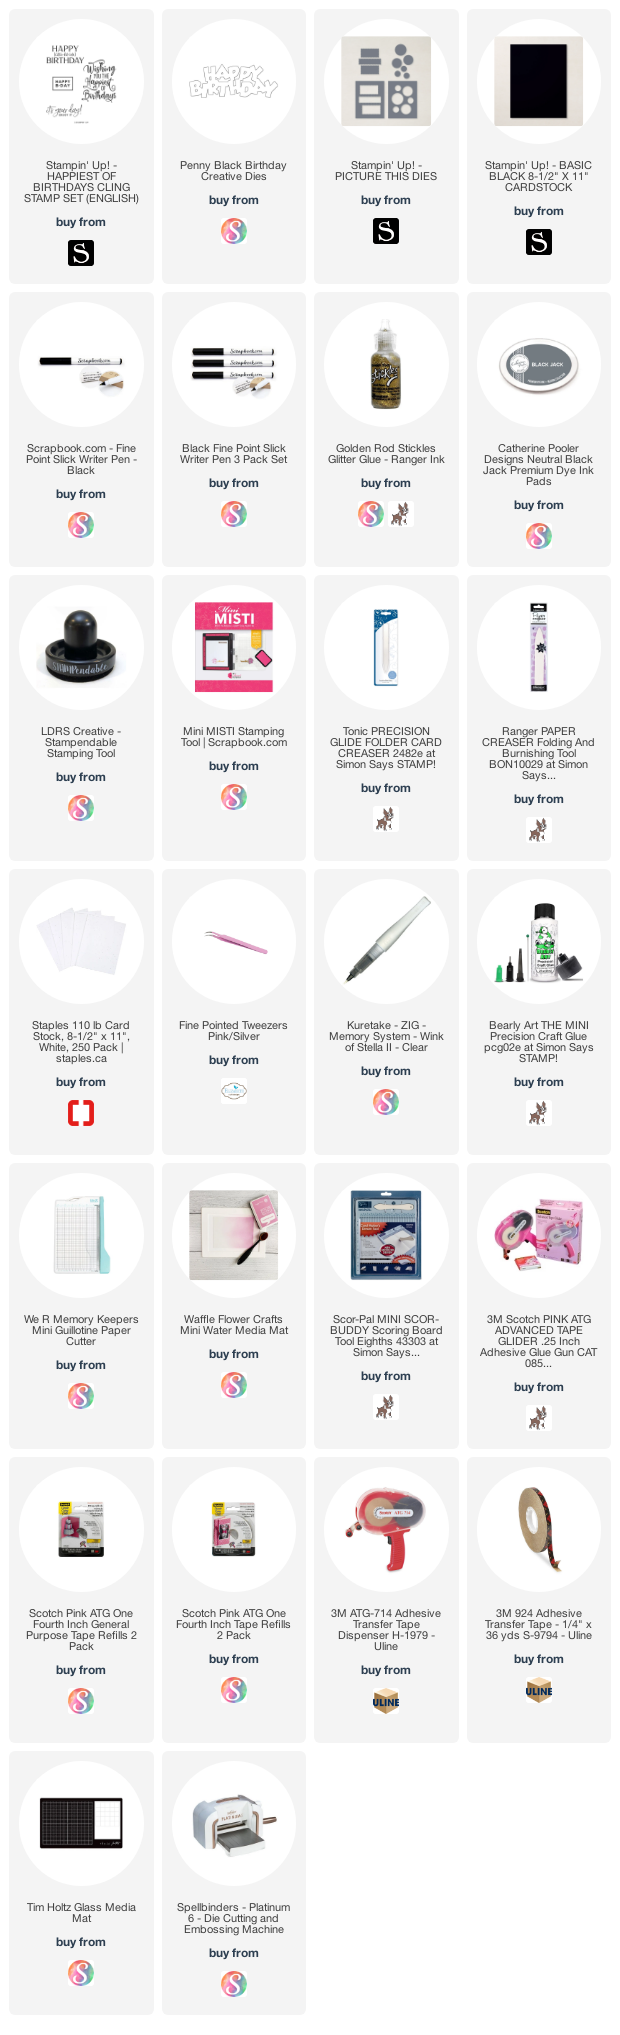
Hello!  It's Masculine Card Monday on my blog and today I'm sharing a trio of Birthday Cards I made to donate to my Mom's old nursing home. I started with the 6 x 6" patterned papers and one of the Picture This dies from Stampin' Up. I cut that from three different patterned papers then inlayed fallaway pieces back into the openings. Since the patterned papers were double sided, I did flip some of them around to the other side.

The candles are older dies from Elizabeth Craft Designs, and the Happy Birthday is a die by Penny Black. I get a lot of use out of that one!


Here is a peek at the inside - each of the cards is the same inside.


This blog uses affiliate links whenever possible. This means, that at no cost to you, if you make a purchase through one of my affiliate links that I may receive a small commission from your purchase. I only link products that I own, love and use for my card making!

Additional Supplies:
Confetti card stock
Candle die - Elizabeth Craft Designs (retired)
Patterned paper - Boy Oh Boy, Carta Bella (retired)

Thanks for stopping by

Sunday, 10 October 2021

Pastel Pumpkin Pop Up Card (with tutorial)


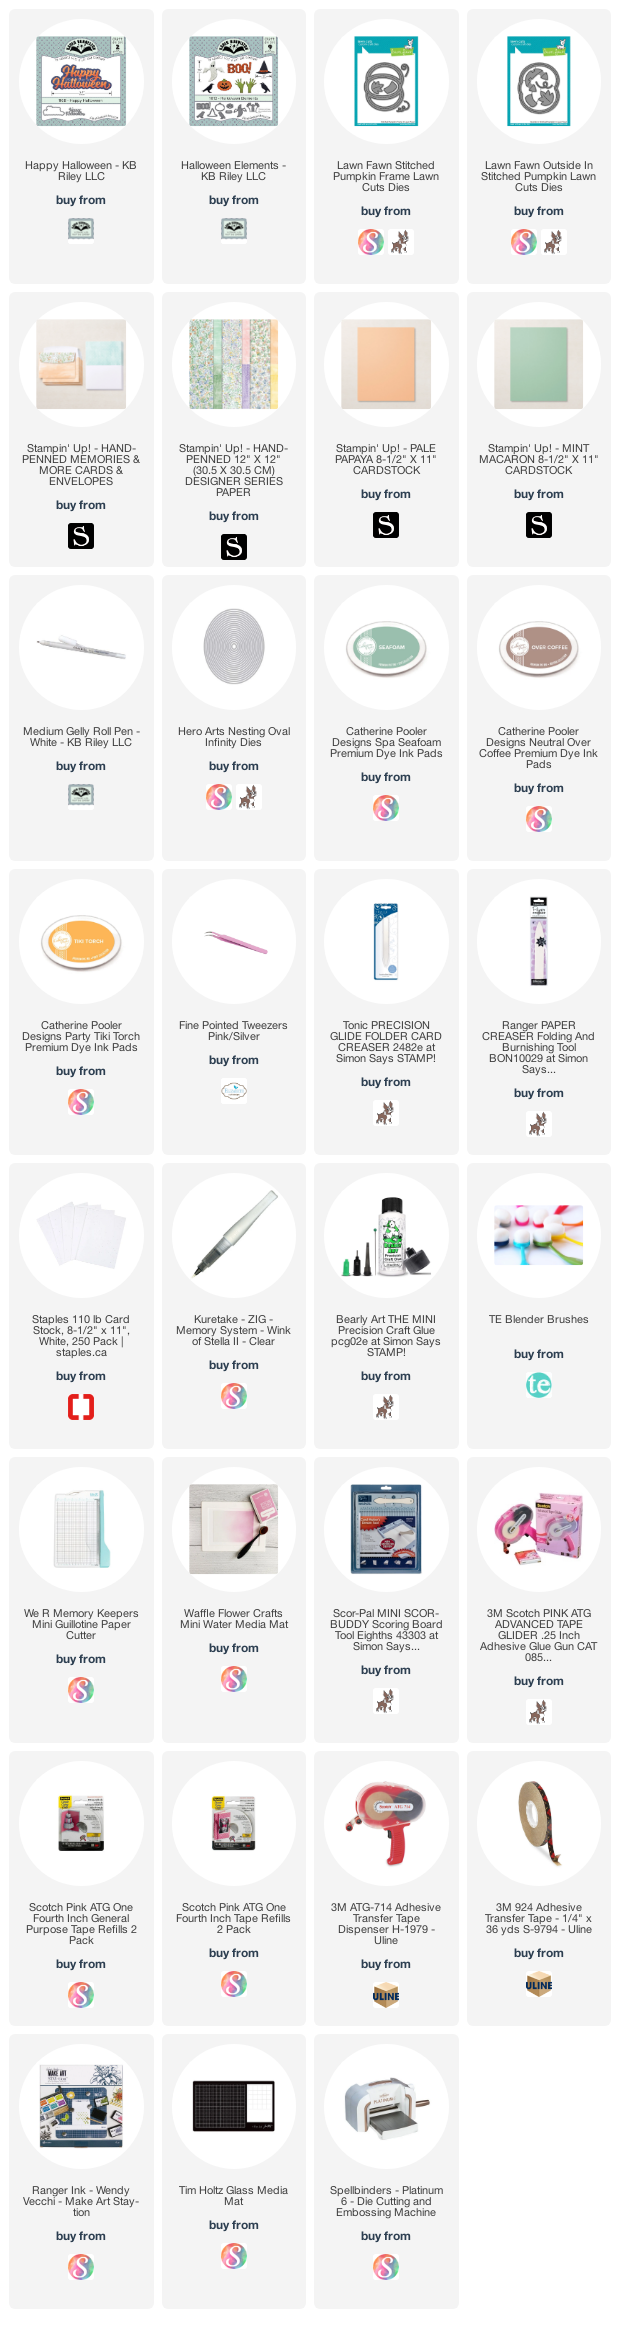
Hello!  My Halloween Card today is in some non-traditional colours ... more sweet than spooky! It's a larger-than-A2 card as well, measuring 4.25 x 6.25" and I have all the details in my YouTube video


In the video, I included a tutorial on how to create a simple box pop up. 

I'm not usually one to snag new release items as soon as they come out (who can keep up!) but when I saw this pumpkin that was coming from Lawn Fawn I knew I would want to add it to my collection. I love dies that are versatile, and this set ticks that box. It can be used for Thanksgiving, Autumn as well as Halloween, you can use either the frame or the base, you can create pumpkin shaped windows or shaker cards etc etc. 😊

The card also has Karen Burniston's Happy Halloween and I love that it comes with the shadow die too.


Inside I used the BOO! from Karen B's Halloween Elements. It's one I pull out and use every Halloween! The layered oval was added to the simple box pop up for a little extra somethin' somethin' inside. All those details are in the video, and everything that is available is linked below for you.


This blog uses affiliate links whenever possible. This means, that at no cost to you, if you make a purchase through one of my affiliate links that I may receive a small commission from your purchase. I only link products that I own, love and use for my card making!

Additional Supplies:
Brown card stock - stash

Thanks for stopping by

Saturday, 9 October 2021

Two Quick and Easy Halloween Cards

Hello!  Today I'm sharing Halloween cards that will be on their way to two of our grandkids. One is a 4" square card and the other is a Mini Slimline. I decided to go ahead and USE UP some of the embellishments and stickers that I have had for years and that included these printed glossy labels. The spider webs are almost a doily that were offered at Stampin' Up a long time ago. There are a lot of them in the package, so I never seem to make a dent in them. I spritzed these with shimmer spray so they are nice and sparkly.


The 3-D stickers were also in my stash - they were so old that the foam tape attached to the back of the stickers just fell away with no adhesive left on them at all. I added new foam tape to the backs, white gel pen highlights and some Winnk of Stella too.


Finally, here is a peek at the inside of the two cards. I added foiled Washi Tape , a stamped sentiment and some orange Glitter Dots.


This blog uses affiliate links whenever possible. This means, that at no cost to you, if you make a purchase through one of my affiliate links that I may receive a small commission from your purchase. I only link products that I own, love and use for my card making!

Additional Supplies:
3-D stickers - from my stash, many years old
Glossy printed labels - from my stash, many years old
Spider Web Doily's - Stampin' Up (retired)
Shimmer Spray
Washi Tape - Recollections
Orange Glitter Dots - Elizabeth Craft Designs (no longer available)

Thanks for stopping by 

Friday, 8 October 2021

Acorn Thanksgiving Card Duo


Hello! These cards (and the video) were completed over two weeks ago, but I wanted to save the post for a Fun Fold Friday here on my blog. You can see all the details on my YouTube video here: 


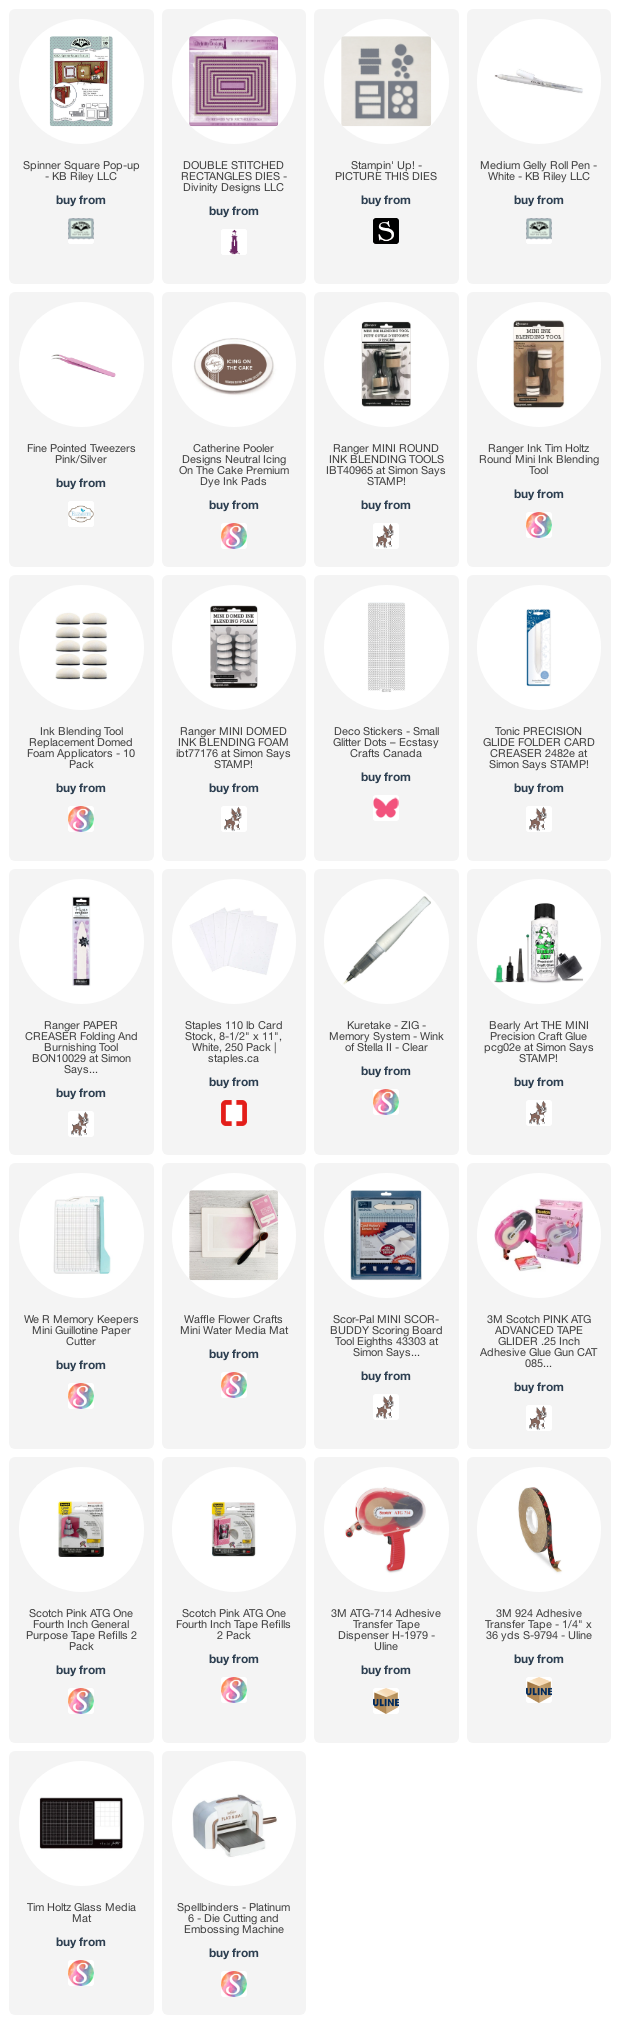
Inside, I used Karen Burniston's Spinner Square Pop Up and the acorns use a retired punch from Stampin' Up. As I said in the video, they were already punched and assembled and sitting in the package of patterned paper.


On the card fronts, I used one of the dies from the Picture This die duo - also from Stampin' Up. Everything that is available is linked below for you.


After die cutting this diagonal striped panel, I backed the rectangle openings with patterned paper scraps. Then I took the fallaway pieces and glued them in the same layout, to the card panel above.


... one more look ...

This blog uses affiliate links whenever possible. This means, that at no cost to you, if you make a purchase through one of my affiliate links that I may receive a small commission from your purchase. I only link products that I own, love and use for my card making!

Additional Supplies:
 Acorn punch, Stampin Up (retired)
Grey copic marker
Thanksgiving Blessings - Taylored Expressions (retired)
Patterned paper - Pumpkin Spice, Pink & Main (retired)

Thanks for stopping by today

Thursday, 7 October 2021

Ball Cap Birthday Slimline Card


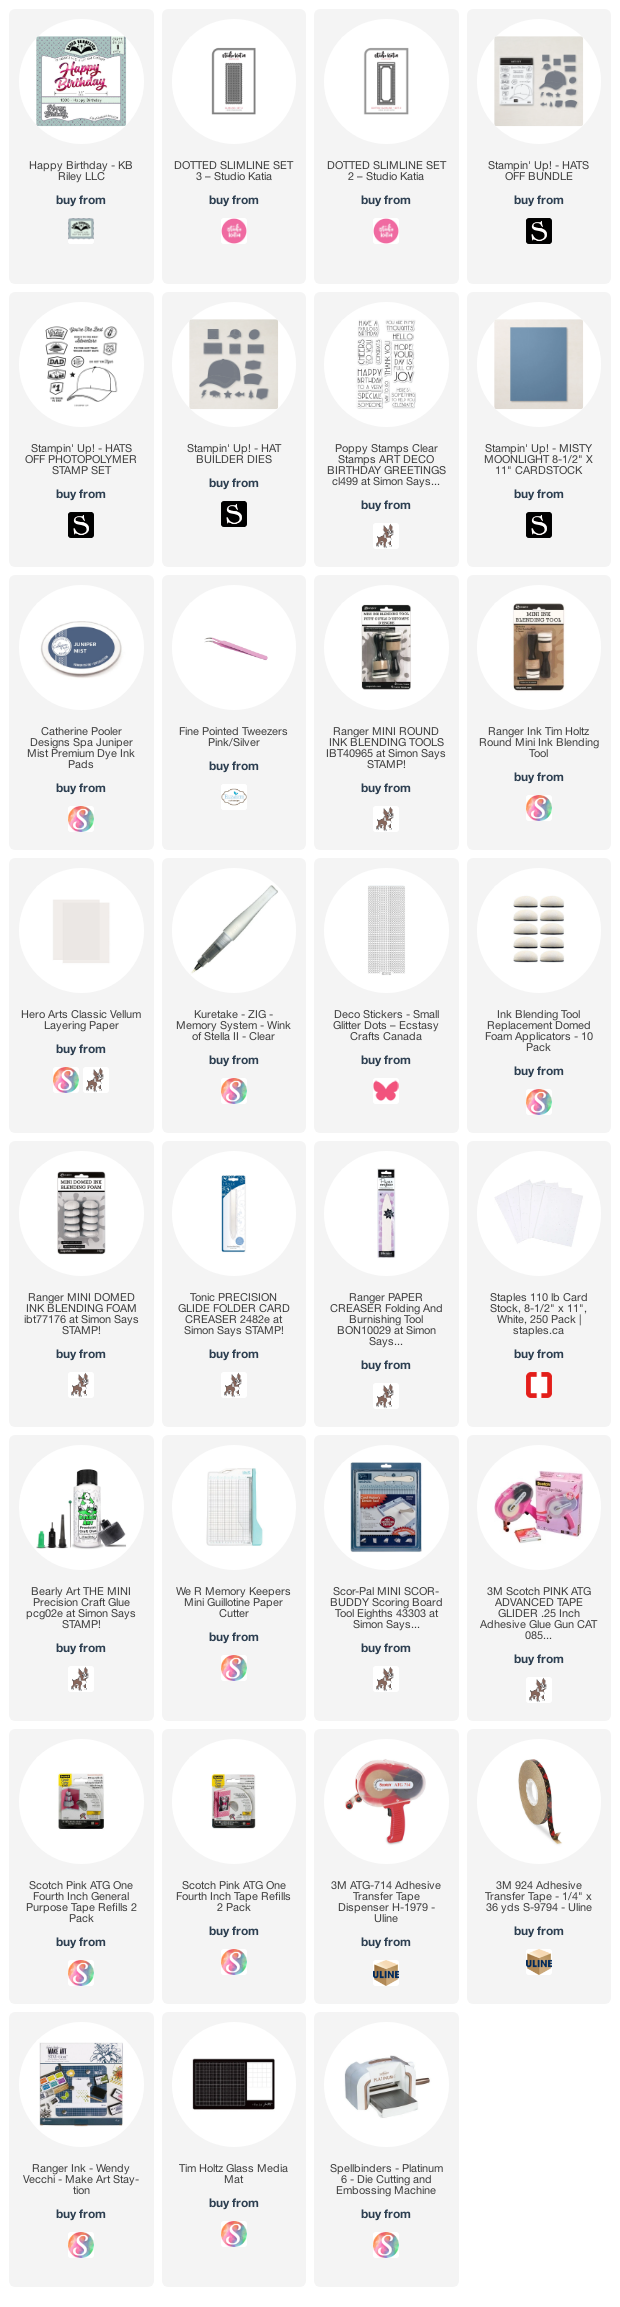
Hello! I am surrounded by baseball loving friends and family, so when I saw this stamp & die bundle from Stampin' Up I just knew I would get a lot of use out of it. This is the Birthday Card I sent to our niece, who is involved with the game both personally and professionally.

I used the new Slimline Dotted Set 3 die from Studio Katia to die cut the scalloped panel and added Karen Burniston's Happy Birthday as well as a stamped and die cut ball cap.


Here is a peek at the inside ...


This blog uses affiliate links whenever possible. This means, that at no cost to you, if you make a purchase through one of my affiliate links that I may receive a small commission from your purchase. I only link products that I own, love and use for my card making!

Additional Supplies:
Images on envelope - May /21 Paper Pumpkin Kit, Stampin' Up
Confetti card stock - stash
Patterned paper - K & Co, old - from my stash

Thanks for stopping by today

Tuesday, 5 October 2021

Costume Fhiona Mini Slimline Card


Hello! My Mini Slimline card today uses more of the new release at Your Next Stamp! I dressed Costume Fhiona as a Bumble Bee and added her to to the card front on an Action Wobble so she bobs and wobbles - so fun!

Here is a peek at the inside, with some light stencilling using the new Geo Fun stencil and a few of the fallaway pieces from when I cut the Honeycomb Die.


I was happy to find this bee printed paper in my stash, and the YNS Honeycomb die worked perfectly behind Fhiona.


This blog uses affiliate links whenever possible. This means, that at no cost to you, if you make a purchase through one of my affiliate links that I may receive a small commission from your purchase. I only link products that I own, love and use for my card making!

Additional Supplies:
Shimmer Spray
Patterned paper - Garden Party, Pebbles
Yellow card stock - stash

Thanks for stopping by

Pop Up Halloween Card


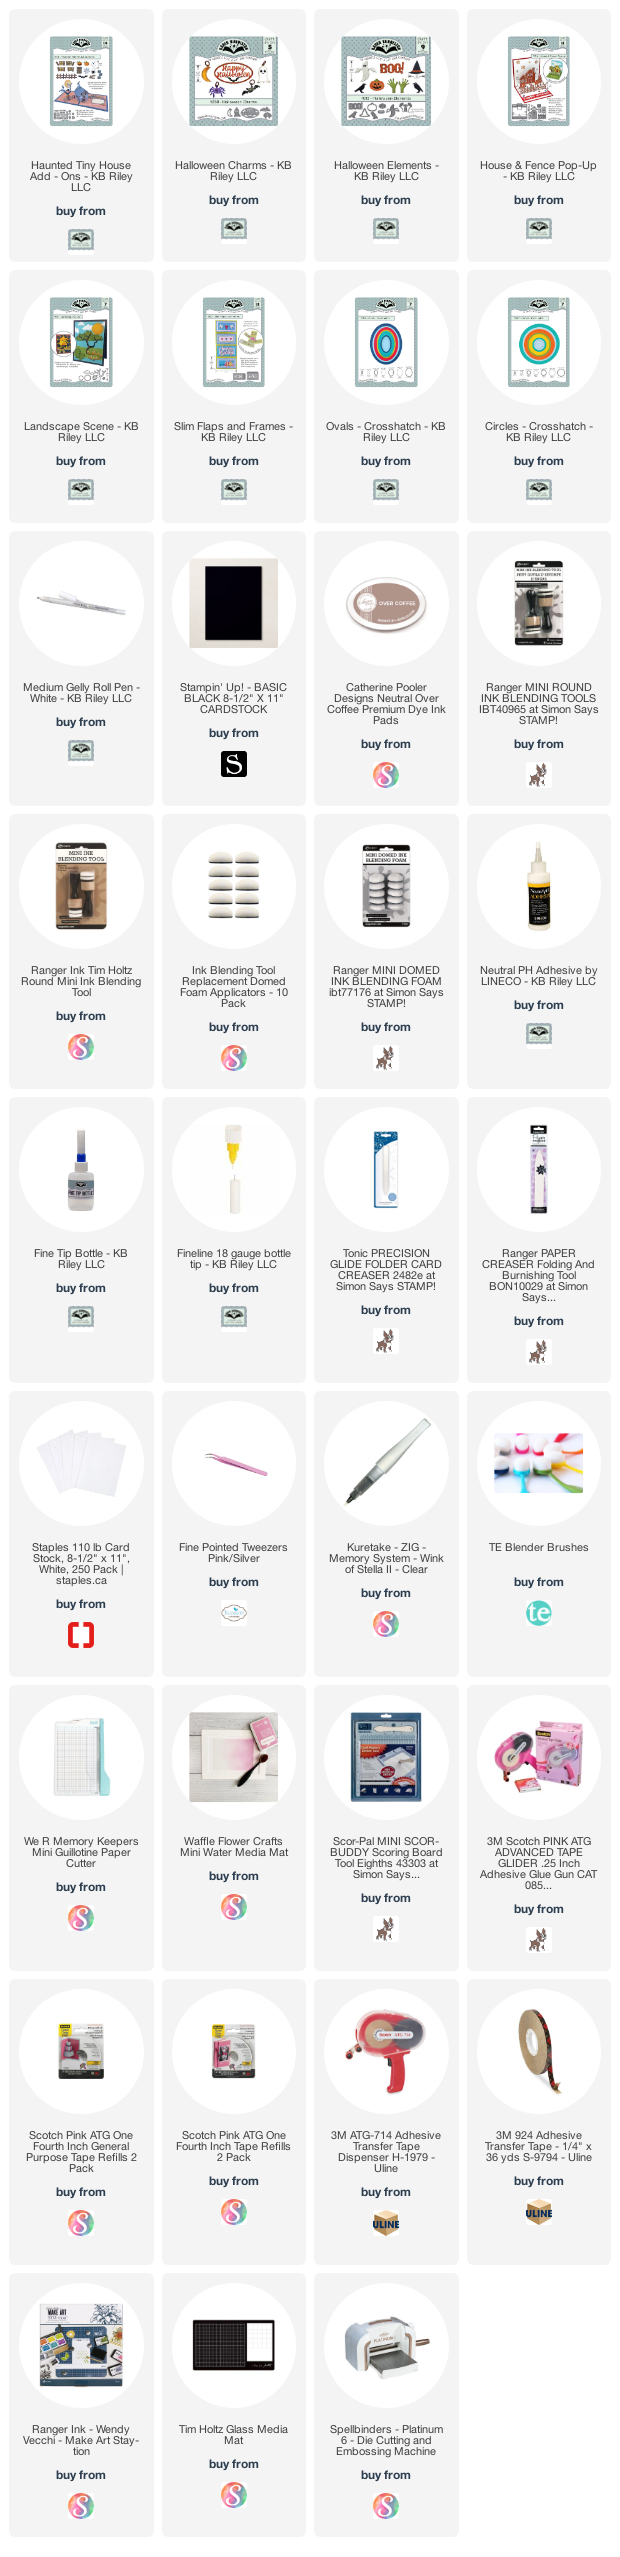
Hello!  It's time for Karen Burniston's October Designer Challenge, where she challenged her Design Team to create a card with the theme 'Haunted - create a Halloween Card'. I combined some new release dies with some previously released ones and since I didn't do a YouTube video I have lots of photos in this post!

I pulled out some retired patterned paper but everything that is available is linked below for you. The Happy Halloween was layered onto a Crosshatch Oval that has been spritzed with Shimmer Spray. The little pumpkin is from the new Haunted Tiny House Add-Ons.


Inside is the Pop Up! If you follow me, you know I rarely post my projects in the same order I make them. I have several Christmas cards done & ready to post in December, and Halloween cards coming up that were made back in August. 😊. I made this card as soon as I finished the September Designer Challenge because I was inspired! I combined elements from the new Haunted Tiny House Add On with the House & Fence Pop Up! 


It's been too long since I made a floating floor card so this seemed like the perfect time to pull that set out, and when I realized I could decorate that house with the decorator dies in the Haunted Tiny House Add On set, I was off and running. This is larger than A2 - it's a 7 x 5" card that fits in a standard A7 envelope for mailing.


To create the spooky trees in the background, I die cut the tree from the Landscape Scene several times from black card stock. Then I snipped some of the branches off the trees and reassembled them to create two taller trees that looked different from each other.

The bats that decorate the crooked fence, the ghost and pumpkin are all from the Haunted Tiny House Add On set!


Finally, since I wanted a place to sign the card, I added a sentiment block with the Slim Flaps and Frames. NOTE:  The floating floor cuts two slots for you to pop up items in the foreground but I only used one of them. To hide the second slot, I fussy cut another diamond from a scrap of the patterned paper and glued it over the little slot opening!


This blog uses affiliate links whenever possible. This means, that at no cost to you, if you make a purchase through one of my affiliate links that I may receive a small commission from your purchase. I only link products that I own, love and use for my card making!

Additional Supplies:
Confetti card stock - stash
Black marker
Cloud patterned paper - Adorable Scorable Painted Clouds, Hunky Dory
Halloween patterned paper - Happy Haunting, Stamping Up (retired)
Shimmer Spray

Thanks for stopping by

Monday, 4 October 2021

Thanksgiving Cards for the Grandkids


Hello!  Today I'm sharing the Thanksgiving cards I made for our Grandkids. I started with this printed note cards & matching envelopes, which I had picked up on the Stampin' Up Clearance Rack months ago. They were such a good price I figured I would use just the card fronts on larger cards. When they arrived I fell in love with the coordinating envelopes and decided to use most of them 'as is'!

There were two different patterned card fronts, the yellow-through-burgundy wash and the teal-with wreath print. The envelopes are shown in the photo above, with the multicoloured sprig on the front and the pretty yellow printed flap.

I'm still working on using up my MANY years old Thanksgiving supplies, so pulled out some felt stickers for the cards. Then I just went through my Thanksgiving stamps to see what would work. The sprig from an older Stampin' Up set matched perfectly so I added some inside the cards as well.


The three boys will be getting the felt squirrel on their cards. Olivia's card has the larger turkey on it (spread with Distress Stickles because - she loves sparkle as much as her Gramma) and Alma gets the red fox sticker.


I added glossy accents to the stickers as well and made sure to let them dry overnight.

This blog uses affiliate links whenever possible. This means, that at no cost to you, if you make a purchase through one of my affiliate links that I may receive a small commission from your purchase. I only link products that I own, love and use for my card making!

Additional Supplies:
Note Cards & coordinating envelopes - Stampin' Up (retired)
'Give Thanks' stamps - Echo Park, retired
Distress Stickles - Ranger
Felt stickers, many years old from my stash


Thanks for stopping by

Sunday, 3 October 2021

Two Fall Leaf Slimline Cards


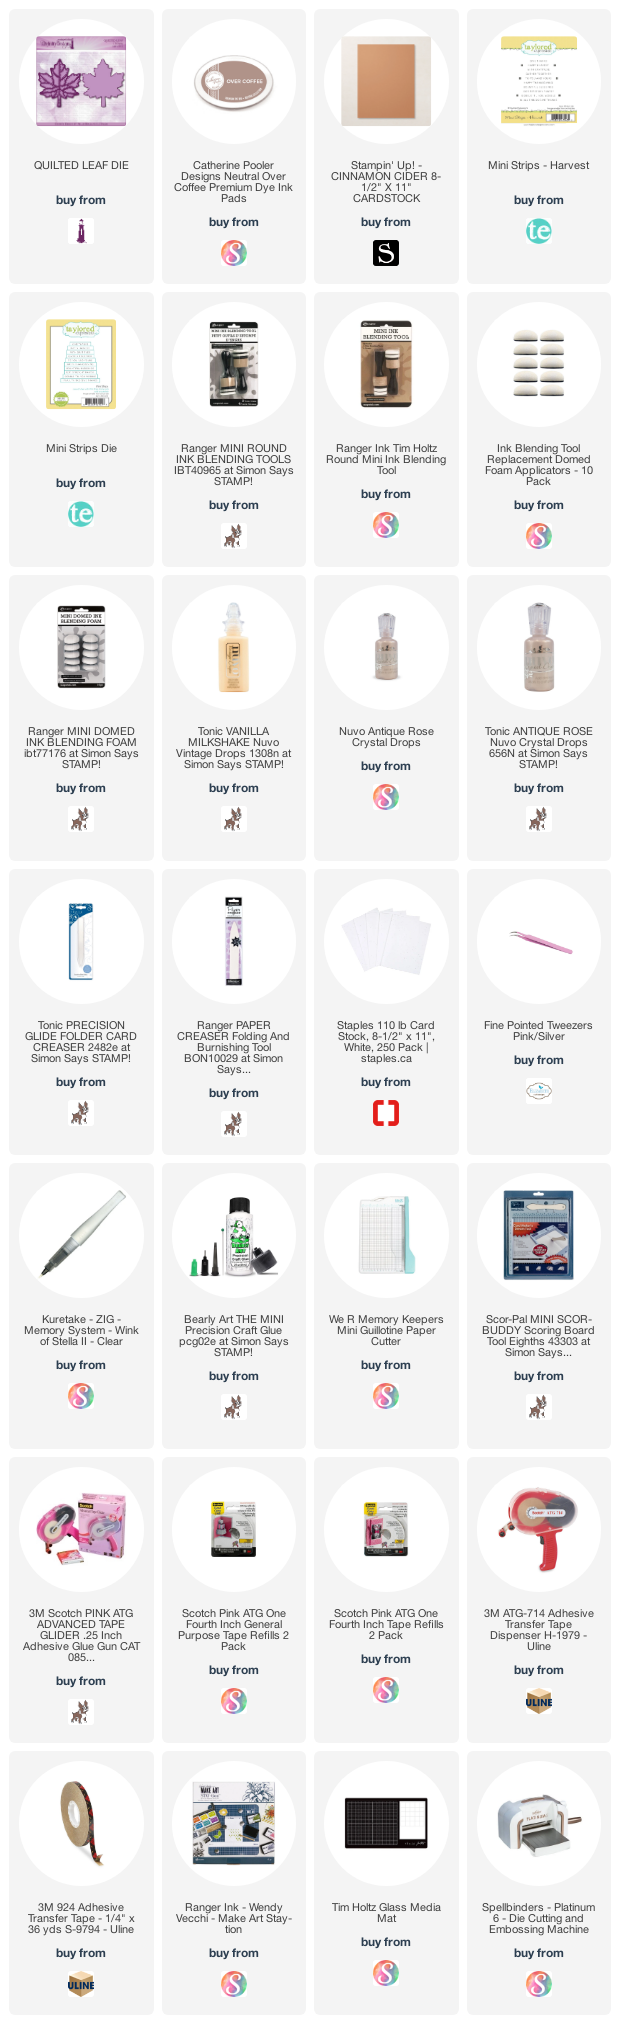
Hello!  Today I'm sharing a Slimline Thanksgiving card duo featuring the Quilted Leaf die from Divinity Designs. I cut one from textured card stock and one from brown, then reassembled them with the pieces in the opposite place. 

I added the sentiment strips from Taylored Expressions Mini Strips Harvest and pretty patterned papers from Prima. It's an older paper pad called Amber Moon and I believe it is retired. Everything that is available is linked below for you.


Because the paper pad had quite a few of these cutaparts, I added one to the inside of each of the cards. This is the first one ...


... and here is the second one.


 This blog uses affiliate links whenever possible. This means, that at no cost to you, if you make a purchase through one of my affiliate links that I may receive a small commission from your purchase. I only link products that I own, love and use for my card making!

Additional Supplies:
Patterned paper - Amber Moon, Prisma
Adorable Scorable, Painted Cloud Sky - Hunky Dory
Tan recycled card stock - stash
Brown card stock - stash
Tasteful Labels - Stampin’ Up (retired)

Thanks for stopping by today

Saturday, 2 October 2021

October 2021 Sheetlod of Cards


Hello! It's the second of the month and that means it's time for another Sheetload of cards. Since I'm on the YouTube Collaboration Team, I have a video for you: 

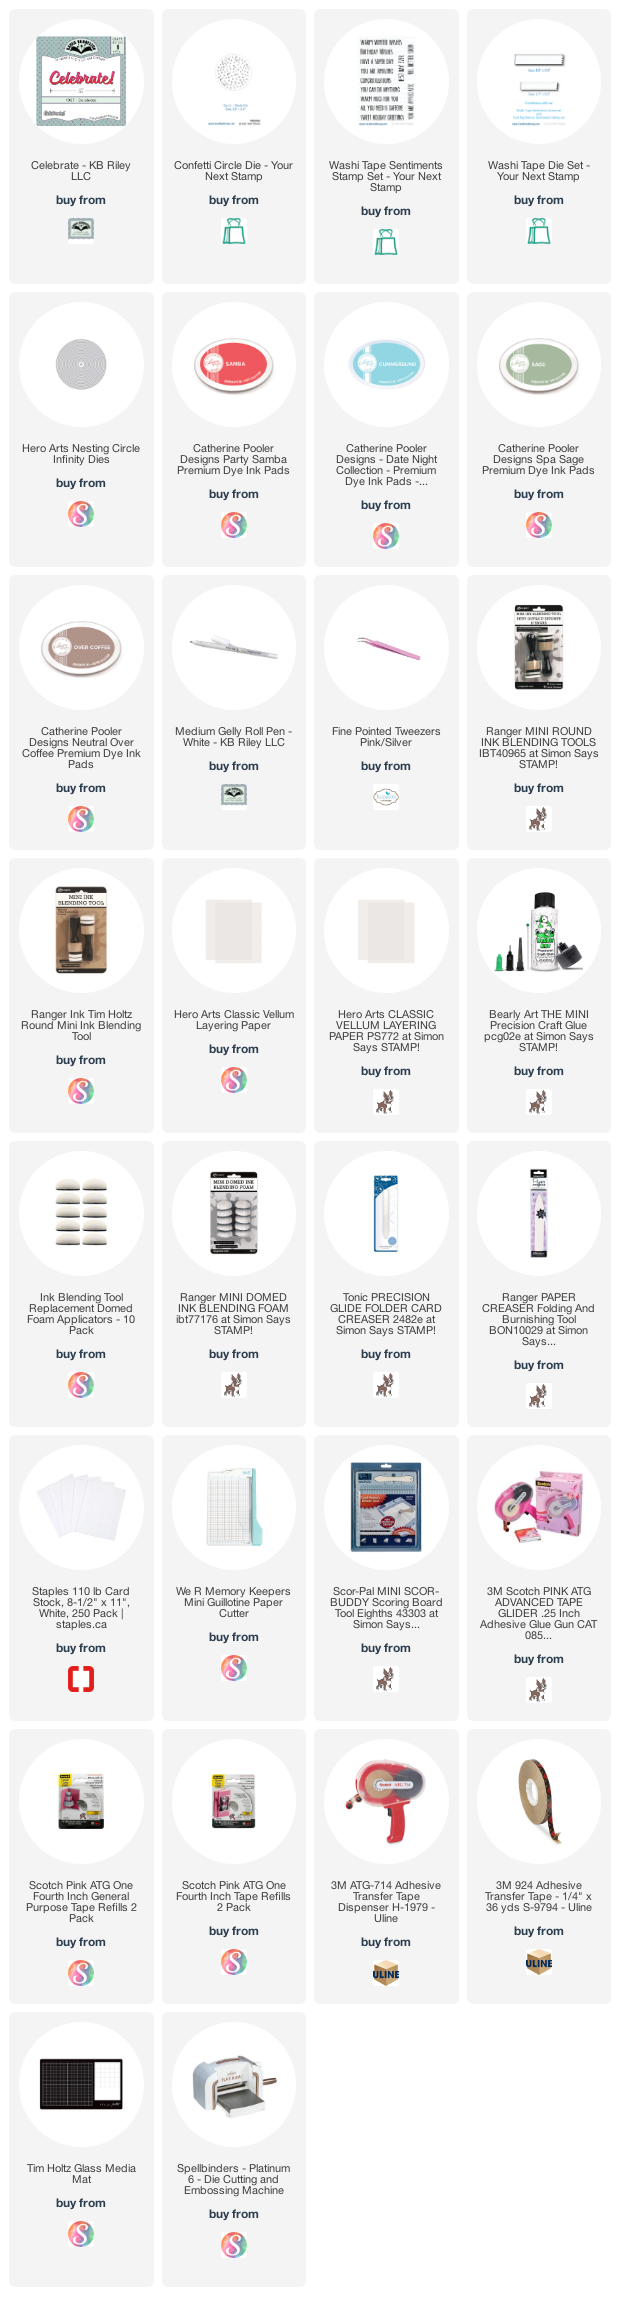
This month the yield is 10 cards, and I made all 10 of them into Birthday cards I can donate to my Mom's old nursing home. I changed my cards a little, as I wanted to use this Confetti Circle die from Your Next Stamp as my focal image. 


Some of the cards have the stamped Happy Birthday, and others have the Celebrate which is a die from Karen Burniston. I added a vellum strip behind each of the ones with the Celebrate die, pulling in the vellum from the Sheetload sketch.


The card interiors were all done the same, and I added some of the leftover paper strips inside each one for a pop of colour.


Check out my YouTube video to find out how you can download the October 2021 Sheetload of cards!


If you create cards using this month’s SheetLoad, make sure to use the following hashtags: #SUYSOct2021 #ShowUsYourSheetLoad #SheetLoadOfCards


This blog uses affiliate links whenever possible. This means, that at no cost to you, if you make a purchase through one of my affiliate links that I may receive a small commission from your purchase. I only link products that I own, love and use for my card making!


Additional supplies:
Shimmer spray
Sentiment inside - LJD Birthday Greetings, MFT Stamps (retired)
Patterned paper - Lime Twist, My Minds Eye (retired)

Thanks for stopping by