Monday, 6 September 2021

Mini Slimline Gift Card Holder


Hello and welcome to Masculine Card Monday here on my blog. Today I'm sharing a Mini Slimline card that is also a Gift Card Holder. I was inspired by these shiny resin stickers from my stash - I had them out for a different project and now I have used up the whole sheet! Oh, how I love to USE THINGS UP!

The plaid patterned paper is from a 6 x 6" pad I picked up from the Stampin' Up Clearance Rack. There are a ton of colour combinations in that package, which will make it very versatile. I got the Taylored Expressions Mini Slimline window die for my birthday and I get SO much use out of it. I'm so happy to have it.


Here is a peek at the inside - and I added the gift card pocket using dies from Lawn Fawn and stamps from MFT. Everything that is available is linked below.


... one more look ...


This blog uses affiliate links whenever possible. This means, that at no cost to you, if you make a purchase through one of my affiliate links that I receive a small commission from your purchase. I only link products that I own, love and use for my card making!
Additional Supplies:
Leaf stickers - EK Success (old, from my stash)
Green pearl textured card stock (stash)
Light grey card stock
Black pen
Patterned paper - Plaid, Stampin' Up (retired)
Gifting Fun, MFT Stamps (retired)

Thanks for stopping by

Sunday, 5 September 2021

Make a Wish Birthday Cards


Hello!  A sweet lady in the USA sent me some of 'That Paper', which is only available at Hobby Lobby. We don't have Hobby Lobby here in Canada, and this paper had been VERY popular at the time because of a talented carmaker called Bette Manning. She posts her cards in the Facebook group called Stamp Junkies and since she inspired so many people with her use of this paper, we all just started referring to it as 'That Paper'. 

'That Paper' has my favourite colours and leaves ... what's not to love! Since I had it out for a different project, I thought I would create some Birthday cards for my Mom's old nursing home.


Inside I used the leftover strips to create little fishtail banners, and stamped the sentiments in several different coordinating inks.


This blog uses affiliate links whenever possible. This means, that at no cost to you, if you make a purchase through one of my affiliate links that I receive a small commission from your purchase. I only link products that I own, love and use for my card making!

Additional Supplies:
Eucalyptus paper - Hobby Lobby
Teal card stock
Gold glitter dots - Elizabeth Craft Designs (out of stock)
Birthday Cheer - Papertrey Ink (retired)

Thanks for stopping by

Saturday, 4 September 2021

Teal Pumpkin Thanksgiving Card

Hello!  I'm sharing a Thanksgiving card today using some non-traditional colours. My friend Kelly created a teal pumpkin card last month, and when I was putting this patterned paper away from a different project I realized it would make a great Thanksgiving card with a teal pumpkin! I thank Kelly for her inspiration.

The Canadian Thanksgiving is just a month away, so I guess I had better get started making and sharing more cards in that theme so they can get in the mail in time!

It doesn't show up in the photos, but the stitched pumpkin base got a blast with shimmer spray and it's SO pretty in real life. The pumpkin dies are from Lawn Fawn and everything that is available is linked below for you.


The aqua card base and envelope are larger than A2 - the card measures 5 x 6.5". I had picked up a package of these at Michaels a few years ago. The sentiment stamp inside is retired, but it's a great one and I love it. So many companies make 'Happy Thanksgiving" or other one line greetings but so few make larger verses for the insides. 


Once again I used 'That Paper' which was a gift from a friend in the USA. It has my favourite colours in it and I love using it for my cards. 

This blog uses affiliate links whenever possible. This means, that at no cost to you, if you make a purchase through one of my affiliate links that I receive a small commission from your purchase. I only link products that I own, love and use for my card making!
Additional Supplies:
Patterned paper - Eucalyptus, Hobby Lobby
Aqua 5 x 6.5" card and envelope - Michaels
Various card stock scraps
Shimmer Spray
Stamp inside - Be Full, Neat & Tangled
Gold Glitter Dots - Elizabeth Craft Designs (out of stock)

Thanks for stopping by

Friday, 3 September 2021

Back To School Rockin' Rectangle Card


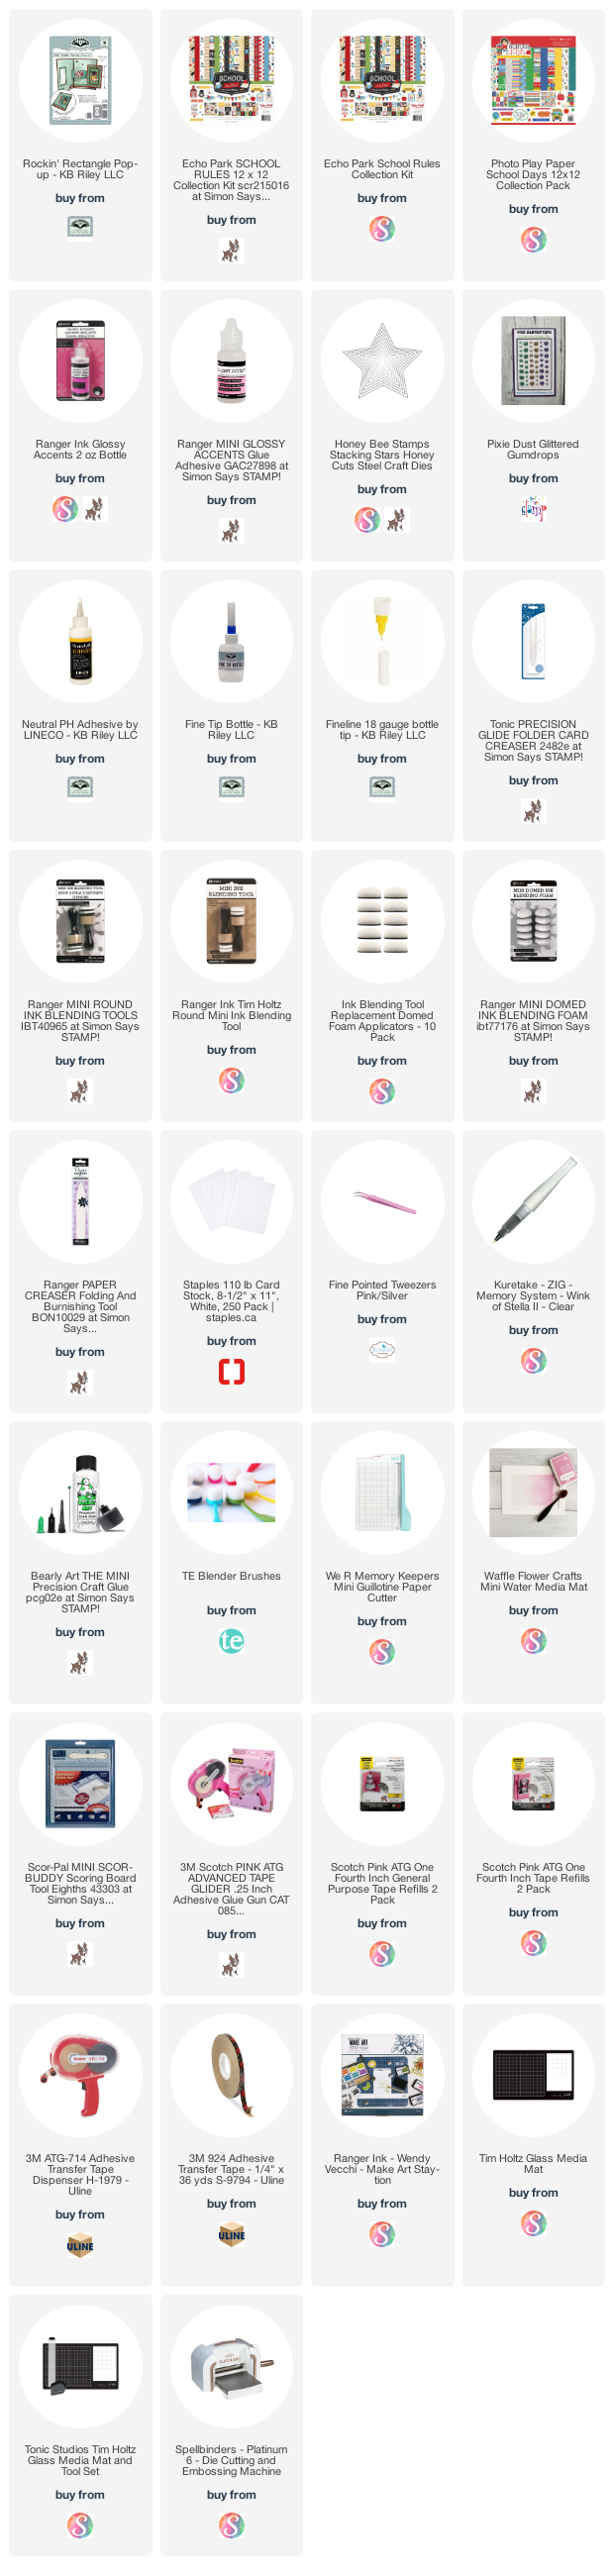
Hello and welcome to Fun Fold Friday here on my blog! I'm sharing a Back To School card for our eldest Granddaughter using Karen Burniston's Rockin' Rectangle die set and I have a walkthrough of my card on YouTube: 


Here is a peek at the inside, where I used another one of the cut parts (or Journal Cards) attached to the Rockin' Rectangle mechanism. I also pulled out some stickers from my stash to finish it off.


The books got some Wink of Stella, and the owl eye and beak were coated with glossy accents for shine. Olivia loves to read, so I thought this card would be appropriate for her.


This blog uses affiliate links whenever possible. This means, that at no cost to you, if you make a purchase through one of my affiliate links that I receive a small commission from your purchase. I only link products that I own, love and use for my card making!
 Additional Supplies:
Patterned paper & Cut Apart - School Days, Photo Play
Stickers - Jolee's Boutique

Thanks for stopping by

Thursday, 2 September 2021

September Sheetload of Cards

Hello!  It's the second of the month, and that means it's time for another Sheetload of Cards! Since I'm on the Sheetload YouTube Collaboration Team, I have a walkthrough of my cards and more details about this month's Sheetload in my YouTube Video.  Details of how you can download your own Sheetload of Cards can be found in the video description.

Choosing these fun cactus images from Your Next Stamp, I made all eight of my cards Birthday Cards and will be donating them to my Mom's old nursing home. To add the colour to the cactus I swiped die inks onto an acrylic block and picked up the colour with a water brush. Then I painted on the colour. 

NOTE:  Your Next Stamp is working on a new website, that will be ready mid month, so if you are checking out these stamps they will be showing as SOLD OUT until the new website is live.


Here is a peek at the inside ...


This blog uses affiliate links whenever possible. This means, that at no cost to you, if you make a purchase through one of my affiliate links that I receive a small commission from your purchase. I only link products that I own, love and use for my card making! 

Additional Supplies:
Patterned paper - Cute Cute Cacti, DCWV
Green card stock
Subtle Embossing Folder - Stampin' Up
Grey Copic Marker
Nuvo Drops - Woodland Green (retired)

Thanks for stopping by

Wednesday, 1 September 2021

Hearts & Flowers Birthday Card


Hello!  I am sharing yet another card with the pretty floral stamp/die duo from Divinity Designs' April Blessings Box. I also used their lovely floral patterned paper and the Matting Rectangle die - and everything is linked below. The Matting Rectangle die leaves just a tiny border of the card front showing, and I am going to really enjoy using it!

The open heart piece got lots of shimmer with Wink of Stella, and there are Stickles on the flowers for lots of sparkle. The Happy Birthday is a gold peel off sticker I've had in my stash for YEARS and I also added some gold Glitter Dots as well. I've been using them for many years but it doesn't appear that Elizabeth Craft Designs is restocking them anymore. 😩


Here is a peek at the inside ...


This blog uses affiliate links whenever possible. This means, that at no cost to you, if you make a purchase through one of my affiliate links that I receive a small commission from your purchase. I only link products that I own, love and use for my card making!

Additional Supplies:
Happy Birthday Peel Off, Starform
Glitter Dot Peel Off's - Elizabeth Craft Designs

Thanks for stopping by

Tuesday, 31 August 2021

Winter Cabin Gift Card Holder


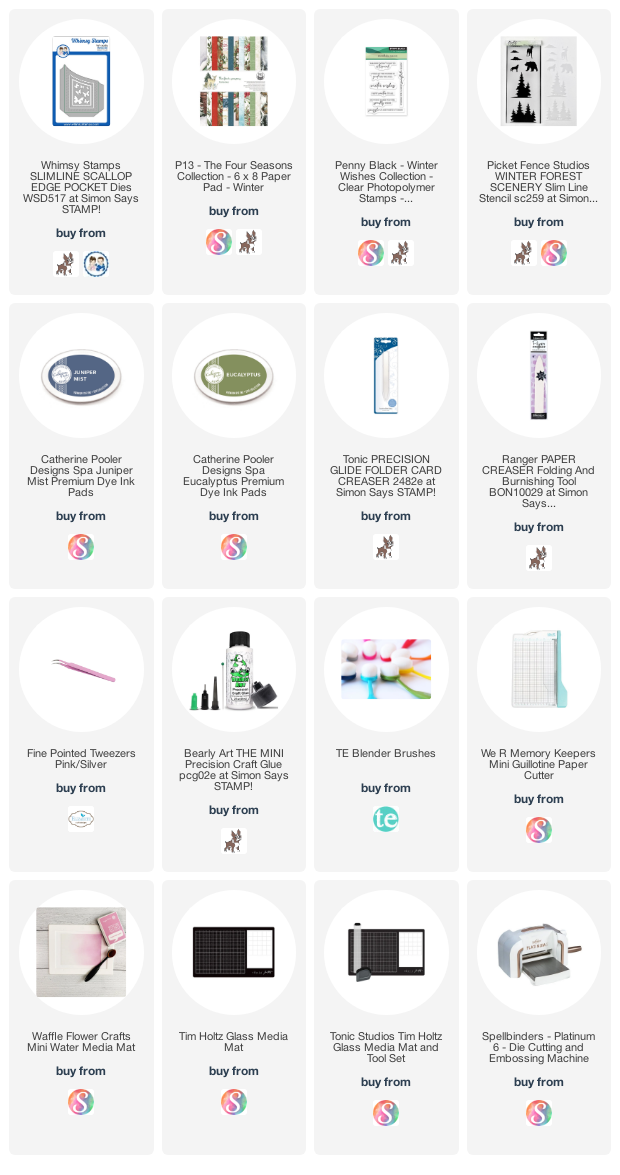
Hello!  I love to have Gift Card Holders on hand, so created one for the holidays. I used Whimsy Stamps Slimline Scalloped pocket in a different way though and I was happy with how well it worked for a Mini Slimline card! I chose the pocket die set because it came with some layering pieces and I knew it could be versatile, but now that I see how well it works for a Gift Card Holder on it's own I'm even happier with it!

I cut the pocket and decorative mat from a sheet of patterned paper, then added the sentiment stamp on the pocket. It's hard to see in the photos, but the pocket got a blast from my shimmer spray and it's so nice and sparkly!


Here is a peek at the back - this is not a folding card, it's more 'post card' style. I added some stamping and then stencilled trees along the bottom edge. The navy card stock that I used for the Gift Card base is actually a Duplex, so it's navy on the front and white flecked on the back side.

The same stencil was added to the envelope as well.

This blog uses affiliate links whenever possible. This means, that at no cost to you, if you make a purchase through one of my affiliate links that I receive a small commission from your purchase. I only link products that I own, love and use for my card making!

Additional Supplies:
Shimmer spray
Navy Duplex card stock
Sentiments on back - BYOP, Stampin' Up (retired)

Thanks for stopping by
Monday, 30 August 2021

Underwater Slimline Shaker

Hello!  Today I'm sharing the Slimline shaker card I sent to a friend. I've been hoping to get together with her for ages, but things keep getting in the way. I do hope to 'sea' her soon!

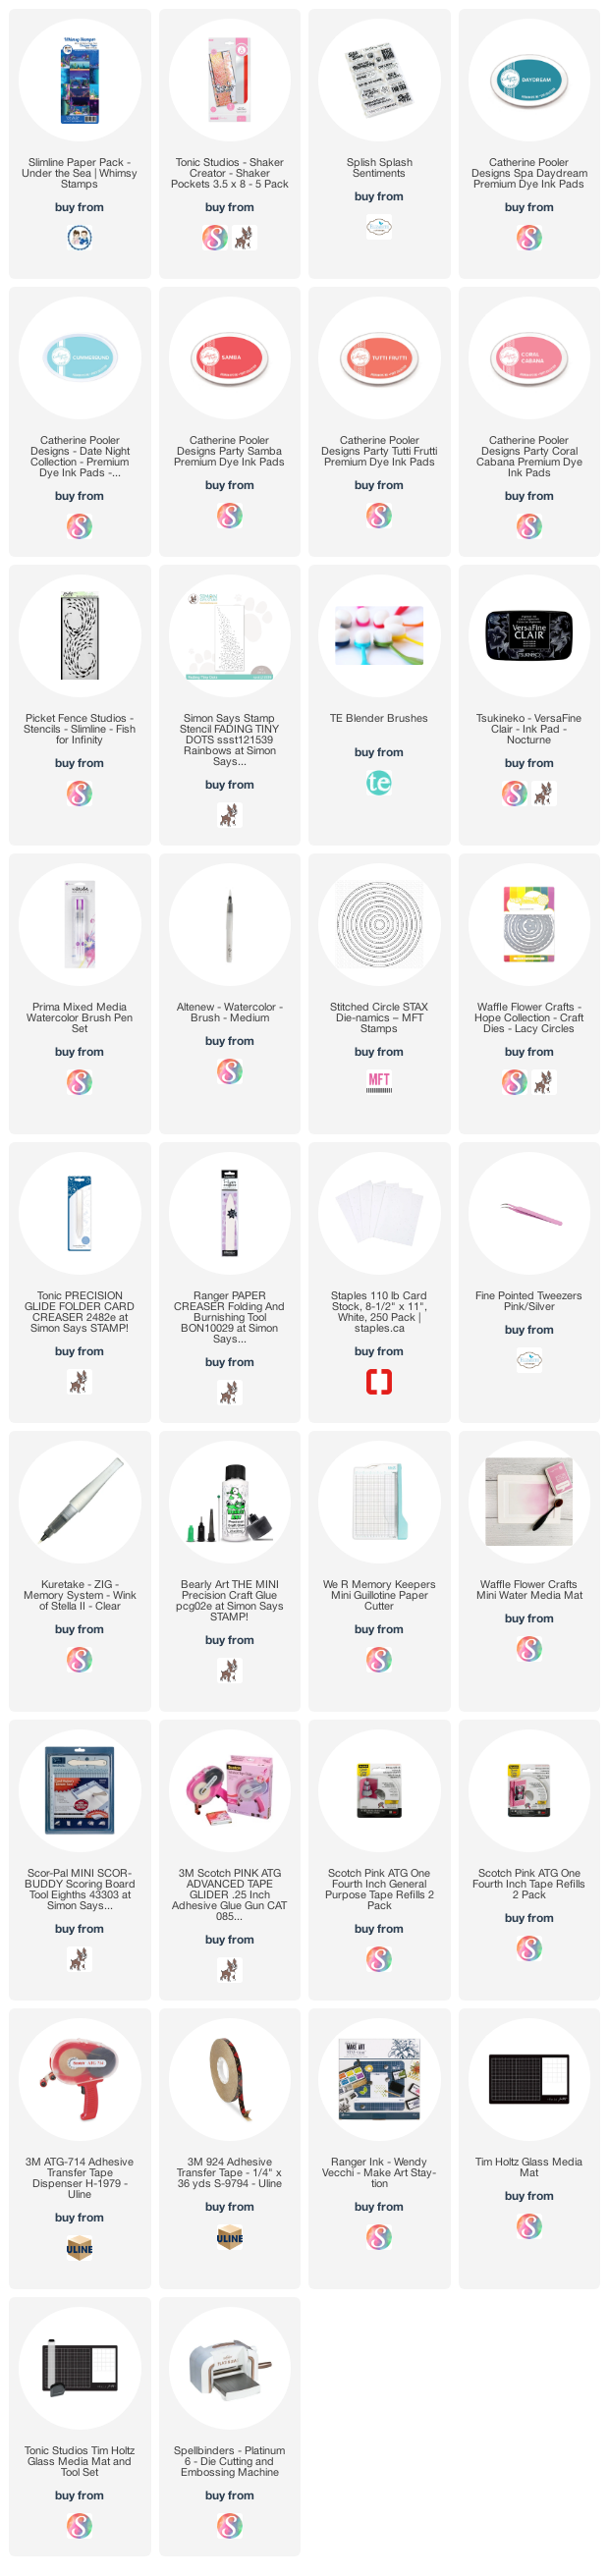
This was my first time using these Slimline shaker pockets by Tonic and I am not very happy with them. The score lines are misaligned, which means there are gaps at two corners large enough for the sequins to fall through! Luckily I have the tools and knowhow to add more scoreline and miter the corners, but I should't have had to do that. I do like the quality & weight of the pockets though! 

They are also a bit of an odd size, but I did know this before I purchased and figured I'd just adjust my card base. In case you were looking at them they are 3-1/2 x 8" instead of the 'normal' slimline size of 3-1/2 x 8-1/2". I'll end up using the remaining ones as I was happy with how my card turned out in the end.


The patterned paper is from a Slimline pad by Whimsy Stamps, and I have linked everything that is available below. Before I closed up the shaker card I adhered some die cut seaweed, a seashell and a crab directly to the patterned paper panel. Then the stamped sentiment was added to layered stitched circles on the front of the shaker.


Here is a peek at the inside, where I added some stencilling on the white panel in coordinating colours. It was light enough for me to write my personal message on, even with the stencilling.


This blog uses affiliate links whenever possible. This means, that at no cost to you, if you make a purchase through one of my affiliate links that I receive a small commission from your purchase. I only link products that I own, love and use for my card making!

Additional Supplies:
Coral, green and navy speckled card stocks
Seaweed and Seashell dies - Elizabeth Craft Designs (retired)
Stencil on envy - Carabelle Studio

Thanks for stopping by

Sunday, 29 August 2021

Eight Birthday Cards with Polaroid Frames

Hello!  I had been working on using up this 12 x 12" Paper Pad to make Birthday Cards for donating to my Mom's old nursing home. It probably took me about 10 days to finish the pad, but I did! This was almost 2 years ago - I created 4 x 5.25" card panels so that I could easily attach them to A2 card bases when I was ready to finish off the cards. 

It was fun using up lots of the little bits and pieces, and the striped paper I cut into strips for a pop of colour on the cards. The pad also had these polaroid style images, so I got out the Pierced Polaroid Frame from Your Next Stamp and created little frames for those images. Adding a square of transparency or acetate to the backs of the Polaroid Frames then the printed panel underneath was a fun detail and I love how they catch the light!


The interior of the cards were all done the same. I still have a dozen or so of those panels to add to card fronts as I need to top up my monthly donation cards, but for now these ones are finished.


One more look ...


This blog uses affiliate links whenever possible. This means, that at no cost to you, if you make a purchase through one of my affiliate links that I receive a small commission from your purchase. I only link products that I own, love and use for my card making!

Additional Supplies:
Patterned Paper, Stickers & Cut Aparts - Dear Lizzy, Neapolitan
Holographic circle stickers - stash

Thanks for stopping by
Saturday, 28 August 2021

Hanging Plant Fold Flap Slimline

Hello! I haven't done a Fold Flap Slimline card in awhile, so that is what I did for today's card. I dug out my (retired) Hanging Plant die set and made several of them up to have on hand for future cards. I had been eyeing a similar set at Stampin' Up but decided that this one is close enough and I really don't need 'more of the same' in my craft room. Hahaha, I say that now - but if that set ends up on the clearance rack, I just might jump all over it. Anyhow, I chose two of the hanging plant embellishments I had created and added them to this card.

The pretty braided rectangle is a die set by Pink Fresh Studio (linked below) created for Mini Slimline cards. It was also the perfect size to decorate the front of my Slimline!


I added more of 'That Paper' inside ... it was a gift from a friend in the USA, and my favourite colours.  The sentiment circle is hidden when the card is closed and there is room on the white panel to sign my name when I go to send the card.


Glossy accents was added to the pot inside the card, so it looks more like a ceramic pot. 😊


... one more look ...


EDITED TO ADD:  To create the card, cut your card stock 7 x 8.5". With the 7" side across the top, score at 1.25 and 3.5". The first score creates the flap that you fold to the front of your card. You can leave it as is and decorate all the panels, but I generally adhere my flap to the front of my card at the top and bottom with thin foam tape.

This blog uses affiliate links whenever possible. This means, that at no cost to you, if you make a purchase through one of my affiliate links that I receive a small commission from your purchase. I only link products that I own, love and use for my card making!

Additional Supplies:
Scraps of card stock in various colours
Patterned Paper - Eucalyptus, Hobby Lobby
Copics
Green card stock
Subtle Embossing Folder - Stampin' Up
Washi Tape - stash
Sentiment - unknown (old, from my stash)
Sizzix Hanging planter die - retired?

Thanks for stopping by today